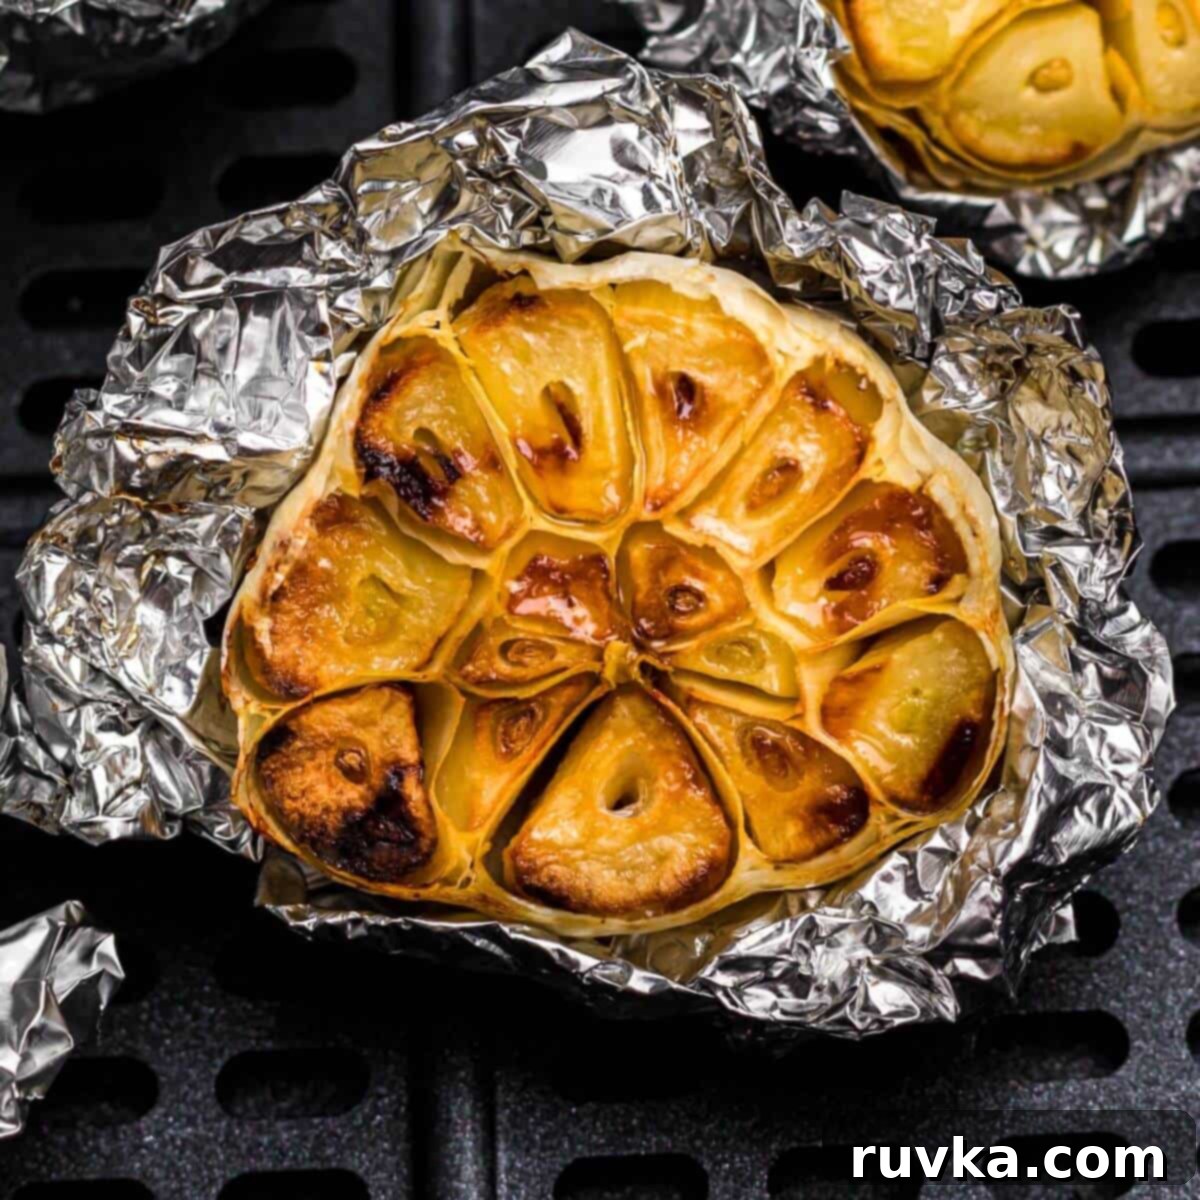
Air Fryer Roasted Garlic: The Easiest Way to Flavorful, Creamy Cloves
Discover the magic of making perfectly roasted garlic right in your air fryer! This incredibly simple method transforms pungent raw garlic cloves into soft, golden, and deeply flavorful morsels that are rich in taste and unbelievably versatile. Forget the long oven roasting times; your air fryer delivers exceptional results with minimal effort, making it easier than ever to infuse your favorite dishes with that irresistible roasted garlic goodness.
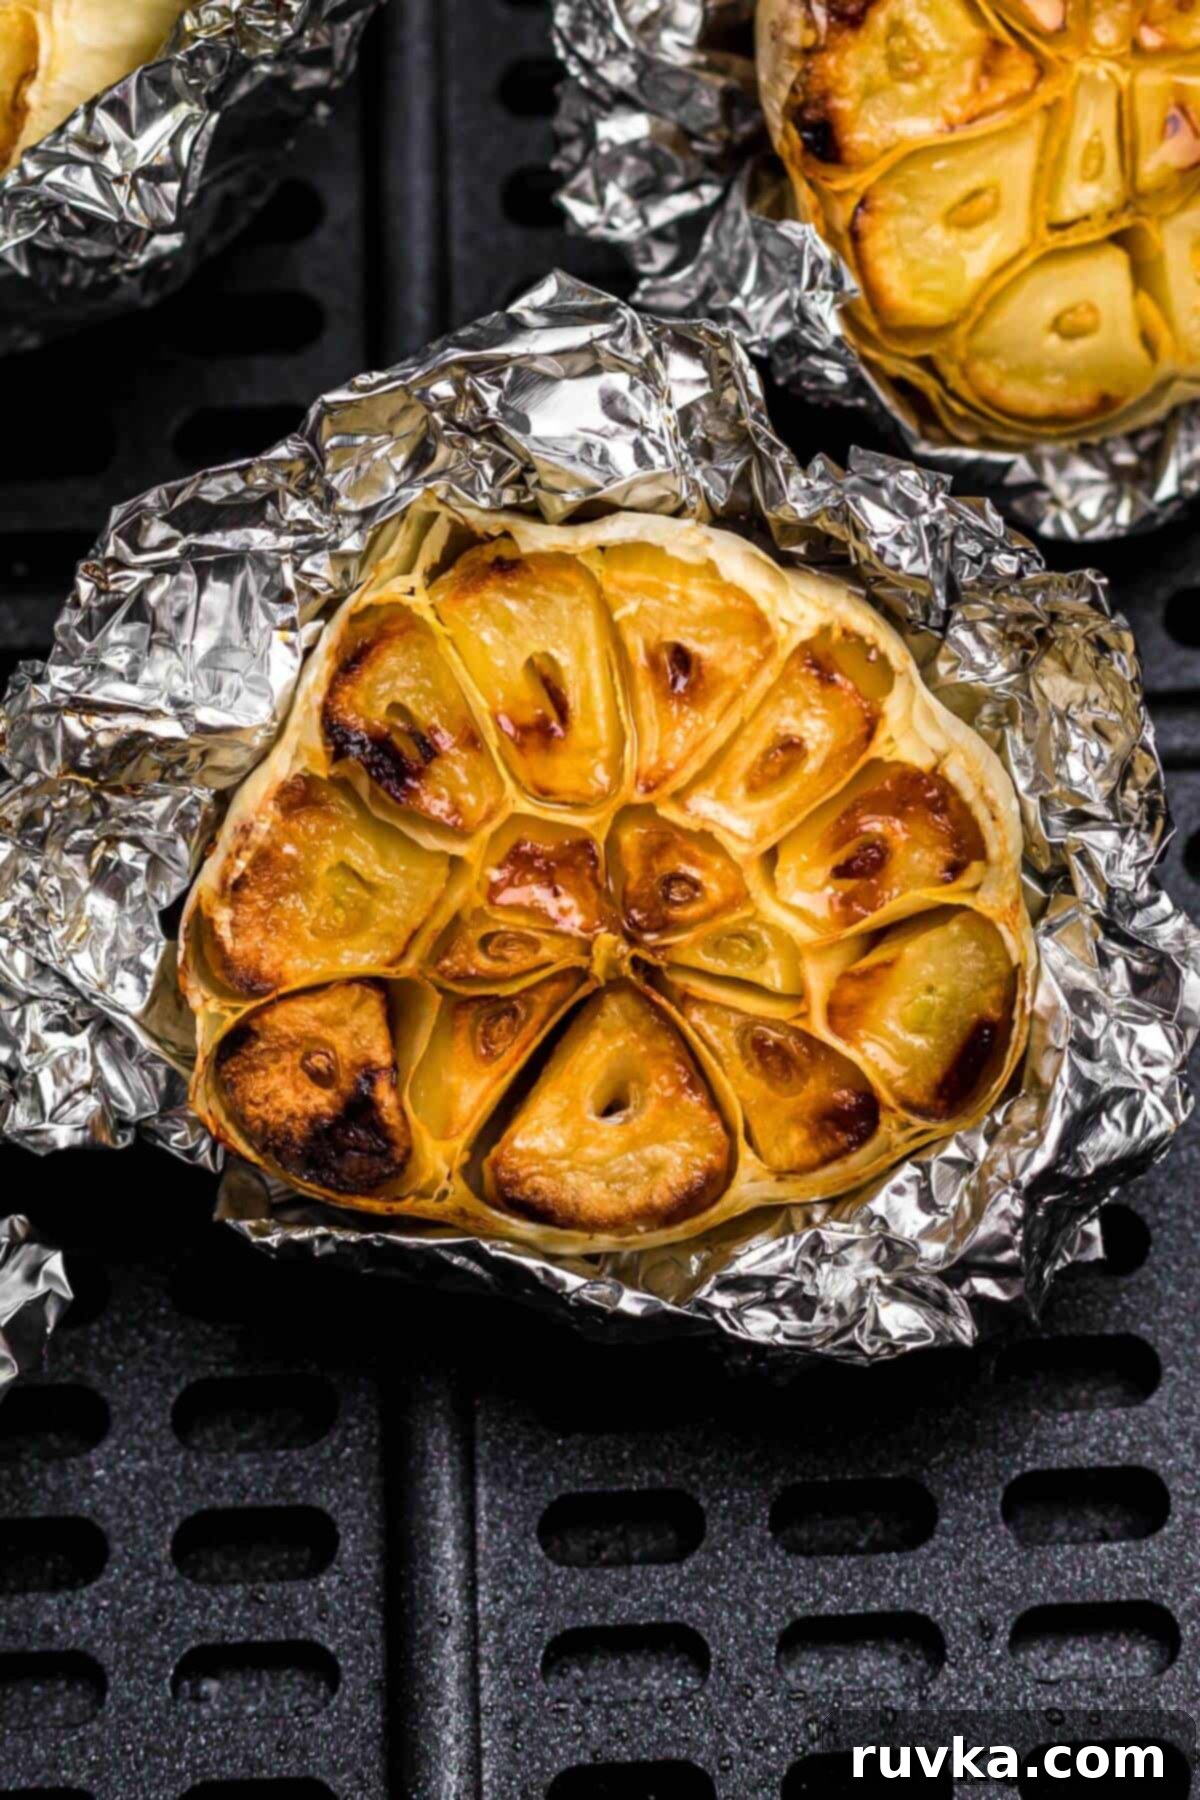
Once you’ve experienced the delightful taste and texture of roasted garlic, you’ll find yourself adding these golden cloves to nearly everything. Imagine enhancing a vibrant homemade guacamole with its subtle sweetness, elevating your everyday salad dressings, or creating a luxurious cream cheese-based dip for crackers and crudités. You can simply spread it generously over a warm, crusty piece of bread for an instant gourmet treat, or mix it into creamy mashed potatoes for an unforgettable side dish. The possibilities are truly endless!
Table of Contents
- WHY I LOVE THIS RECIPE
- INGREDIENTS
- DIRECTIONS
- EXPERT TIPS
- VARIATIONS
- STORING
- FAQS
- MORE AIR FRYER VEGETABLES RECIPES
- Air Fryer Roasted Garlic Recipe
WHY I LOVE THIS RECIPE
Roasting garlic in the air fryer is a game-changer for several reasons. Firstly, it produces incredibly soft, tender garlic cloves with a naturally creamy, almost buttery texture. This transformation from raw garlic’s sharp, pungent bite to a mellow, sweet, and aromatic delight makes it effortless to incorporate incredible garlic flavor into a myriad of dishes. With just a few simple ingredients and minimal prep, you can achieve gourmet-level results right in your kitchen.
The beauty of this method lies in its efficiency. Air frying circulates hot air rapidly, cooking the garlic more quickly and evenly than a traditional oven. This means you can enjoy that deep, rich roasted garlic flavor in a fraction of the time, without heating up your entire kitchen. It’s perfect for a weeknight meal when you want to add a special touch without extra fuss, or when you’re craving that comforting aroma.
Imagine the culinary possibilities: Stirring these sweet, tender cloves into your favorite pasta dishes or rich sauces for an unparalleled depth of flavor. If you’re whipping up a homemade soup, a quick batch of air-fried roasted garlic can elevate it from good to extraordinary. The sweet, umami notes of roasted garlic are a perfect complement to almost any savory dish. For a truly indulgent experience, smear a few cloves over a perfectly cooked air fryer steak, baked chicken, or a crispy piece of fish. Your family and friends will undoubtedly rave about the enhanced taste!
If you’re already a fan of garlic and your air fryer, be sure to explore other fantastic recipes like air fryer garlic knots, savory air fryer garlic butter shrimp, classic air fryer garlic bread, or irresistible air fryer garlic steak bites. Each offers a unique way to celebrate this beloved aromatic ingredient.
INGREDIENTS
You’ll be surprised at how few ingredients are needed to create such a profound flavor. The key is quality!
- Heads of Garlic: Choose firm, plump heads of raw garlic without any soft spots or green sprouts, which can indicate older garlic.
- Extra Virgin Olive Oil: A good quality extra virgin olive oil, like Bertolli, not only helps the garlic roast beautifully but also adds its own rich flavor. You can also use other high smoke point oils such as avocado oil.
Optional Additions: A pinch of kosher salt and freshly ground black pepper can enhance the garlic’s natural sweetness and add a subtle kick.
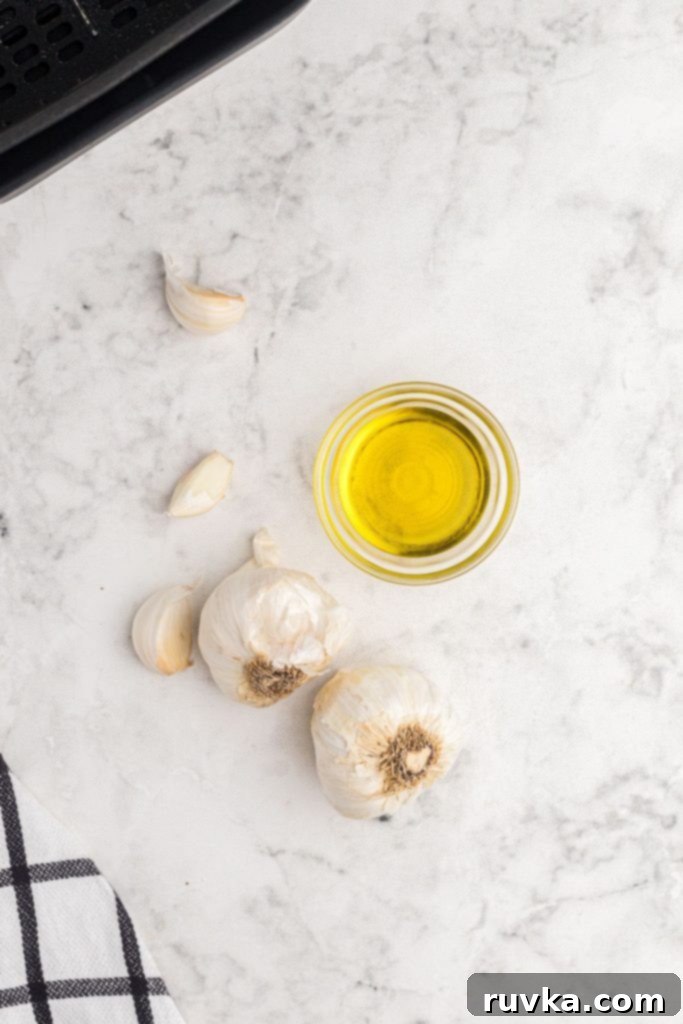
I typically prepare this recipe using my trusty Cosori air fryer. Keep in mind that air fryers vary in wattage and efficiency, so your cooking times might need slight adjustments. It’s always a good idea to monitor your food during the last few minutes of cooking to ensure perfect results.
DIRECTIONS
Follow these simple steps for perfectly air-fried roasted garlic:
STEP 1
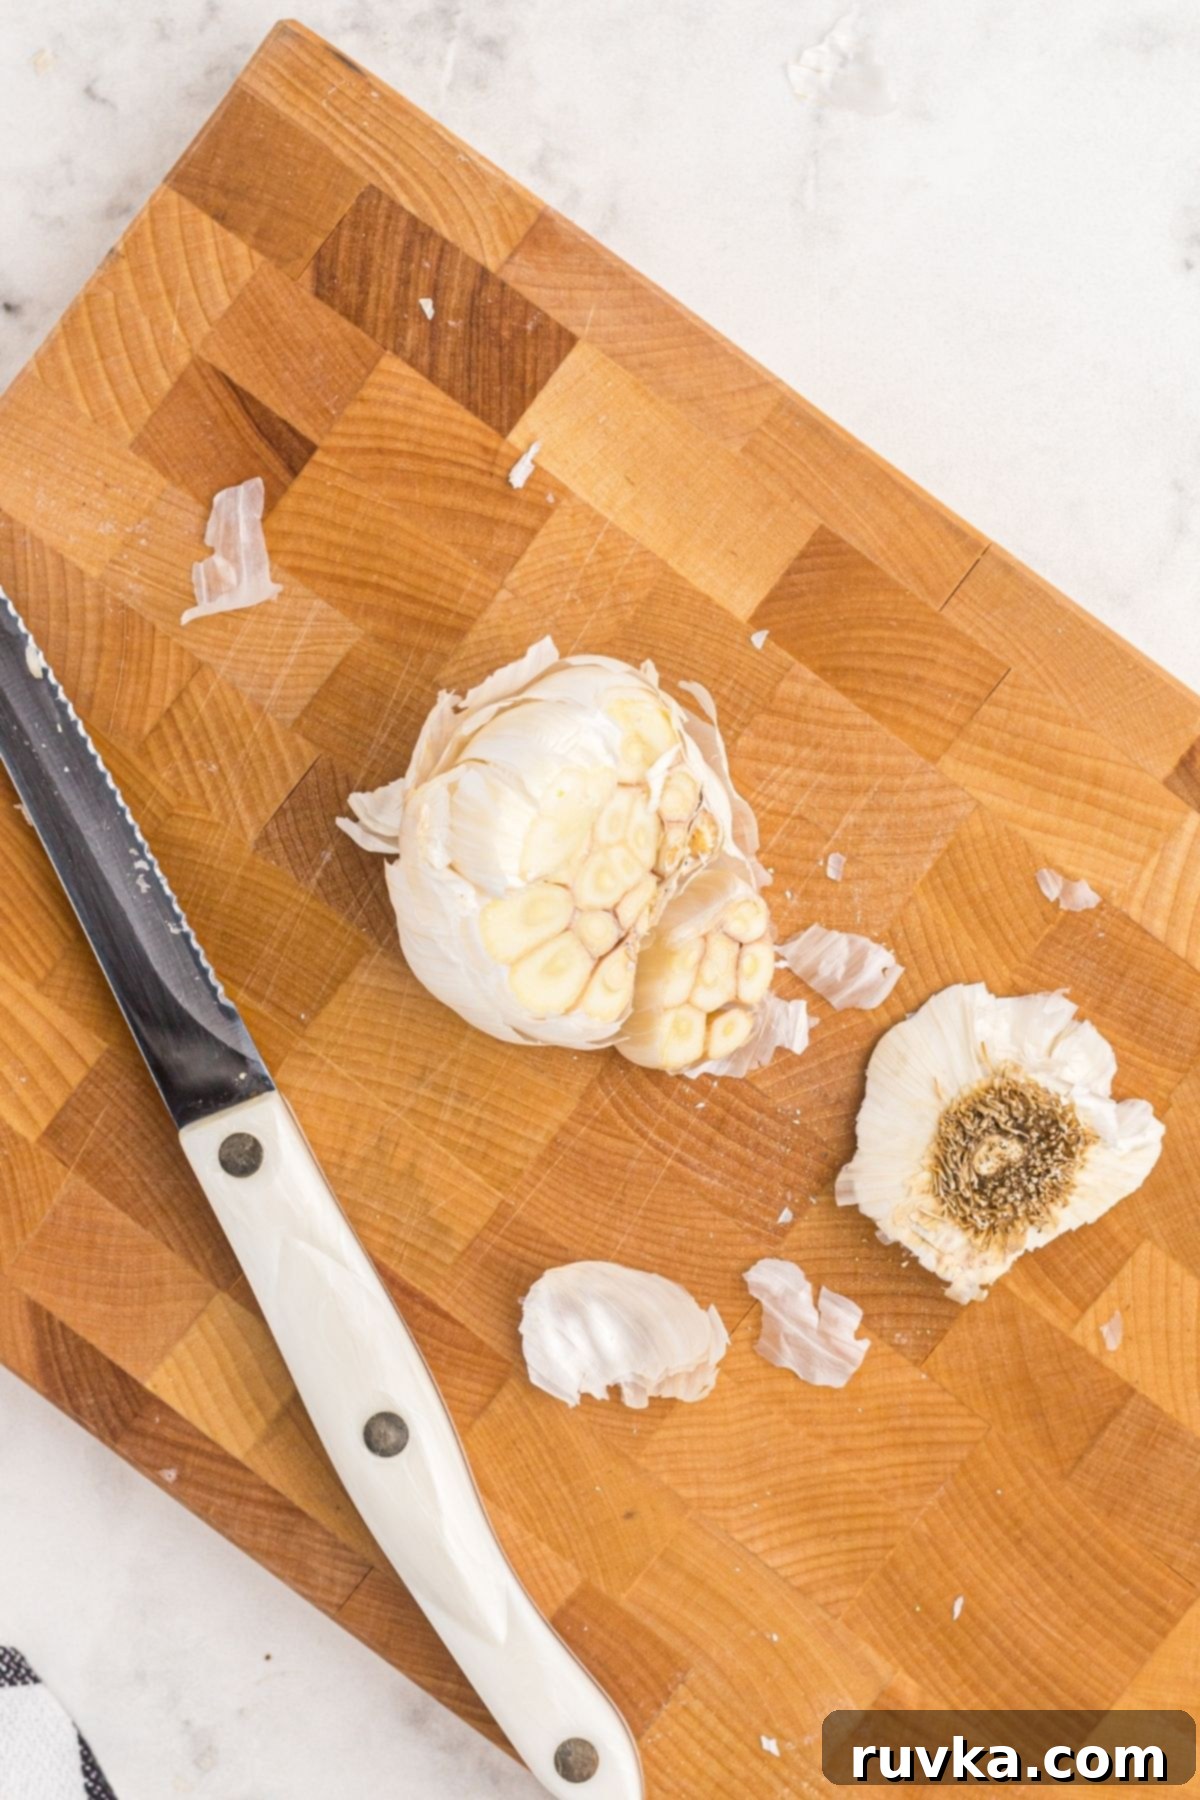
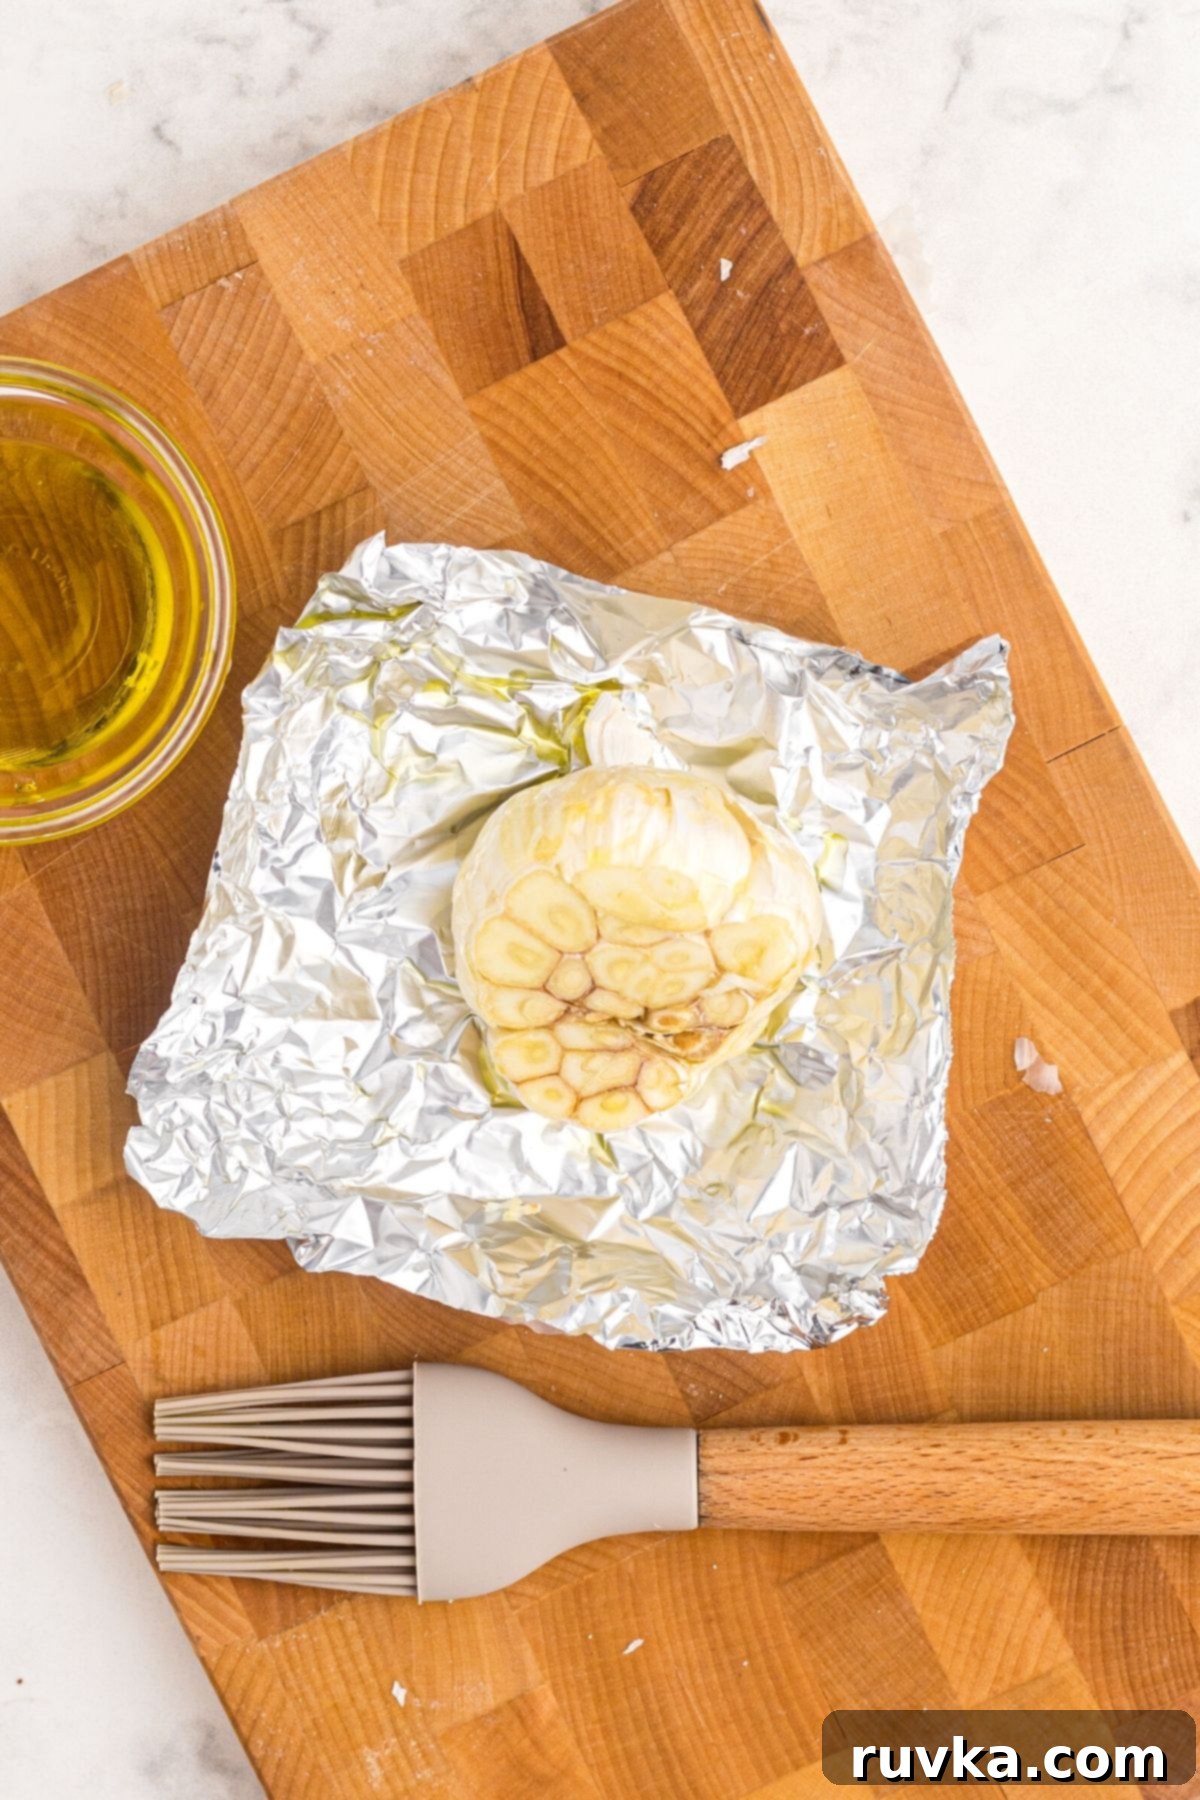
Using a sturdy cutting board and a sharp knife, carefully slice off about a quarter to a half-inch from the very top of each garlic head. This exposes the tips of the cloves, allowing the oil and heat to penetrate, ensuring they soften beautifully.
STEP 2
Place the prepared fresh garlic head onto a small piece of aluminum foil. Ensure the foil piece is large enough to completely wrap around the garlic head later.
STEP 3
Generously coat the entire exposed top of the garlic bulb with olive oil. You can use a pastry brush for an even application, or simply drizzle the olive oil directly over the bulb. Gently roll the garlic head in the small piece of foil to ensure the oil covers the bulb evenly, reaching into all the exposed cloves.
STEP 4
Carefully pull all edges of the aluminum foil up and over the garlic head, creating a snug packet. Ensure all exposed parts of the bulb are sealed within the foil. This traps the moisture and steam, helping the garlic to roast and soften without drying out or burning.
STEP 5
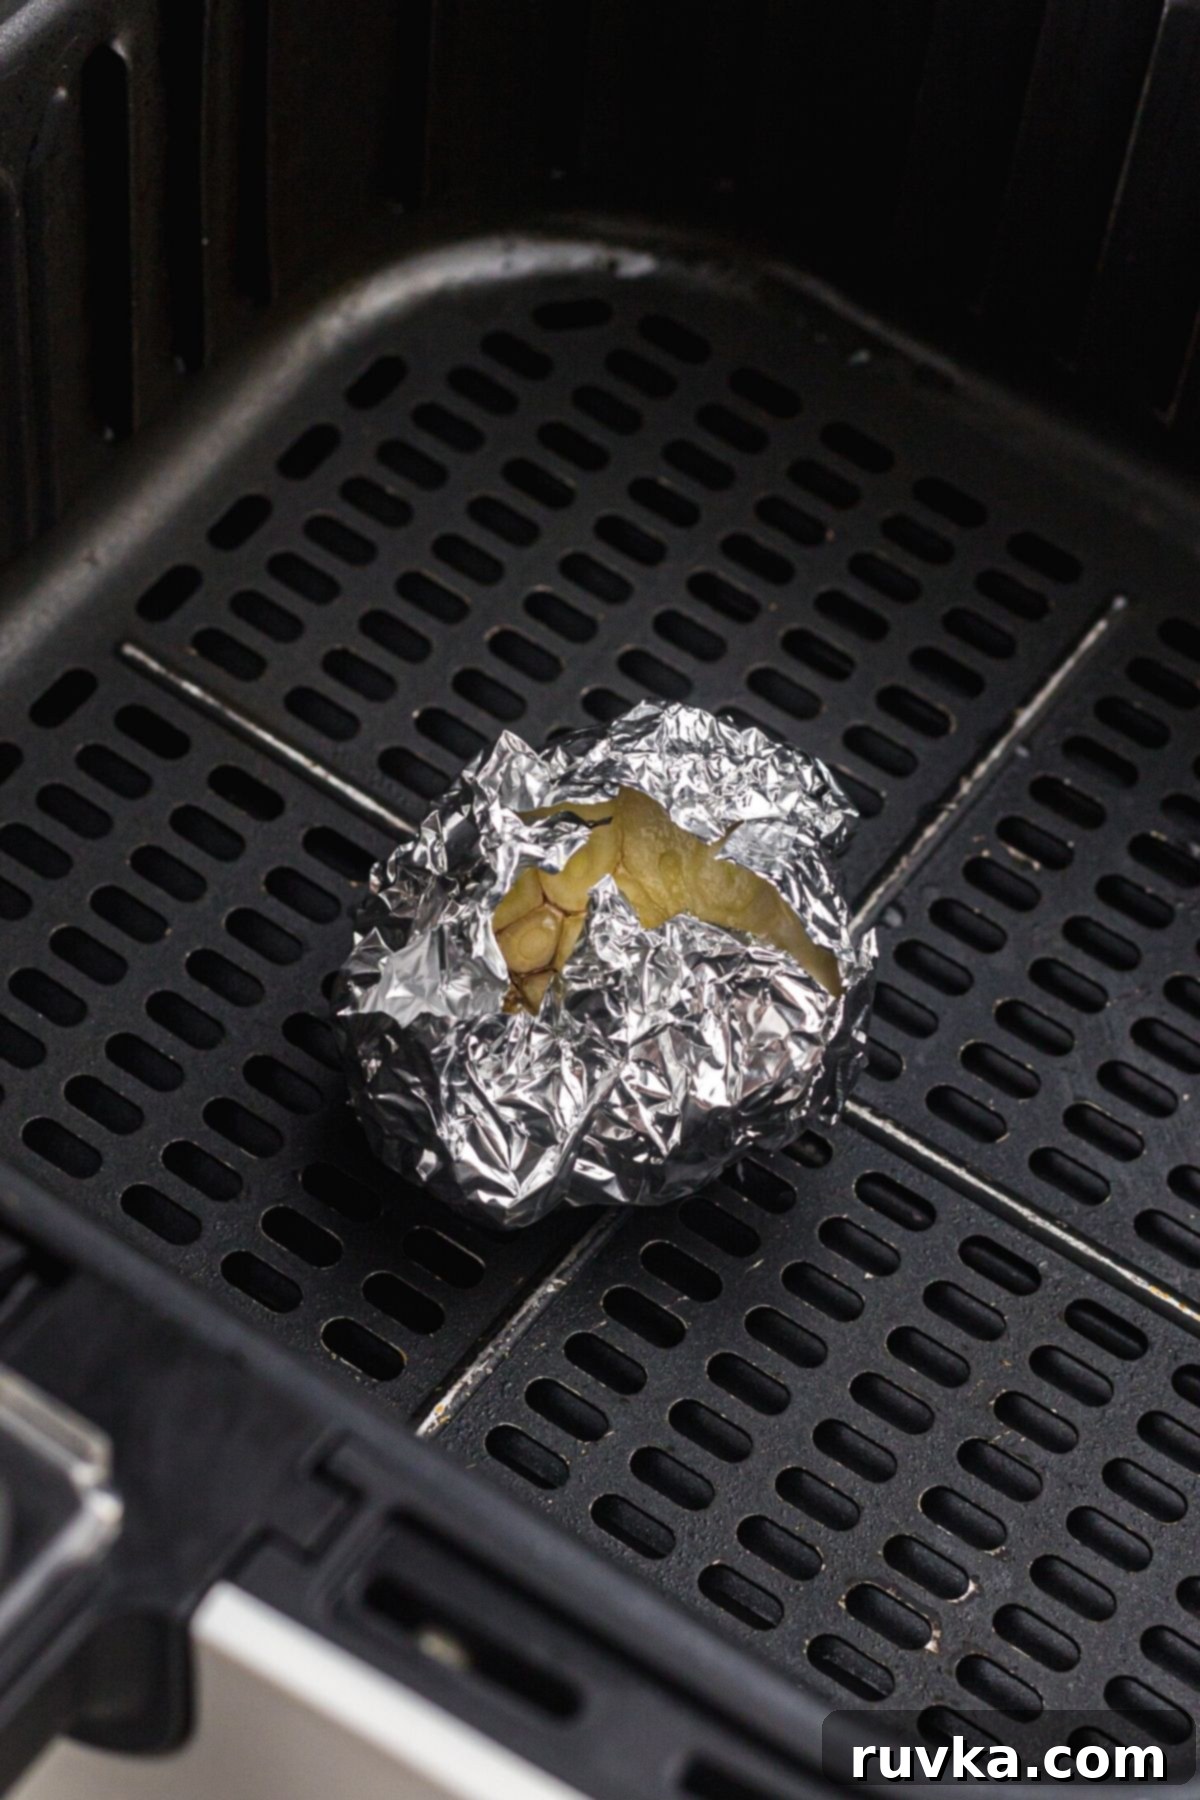
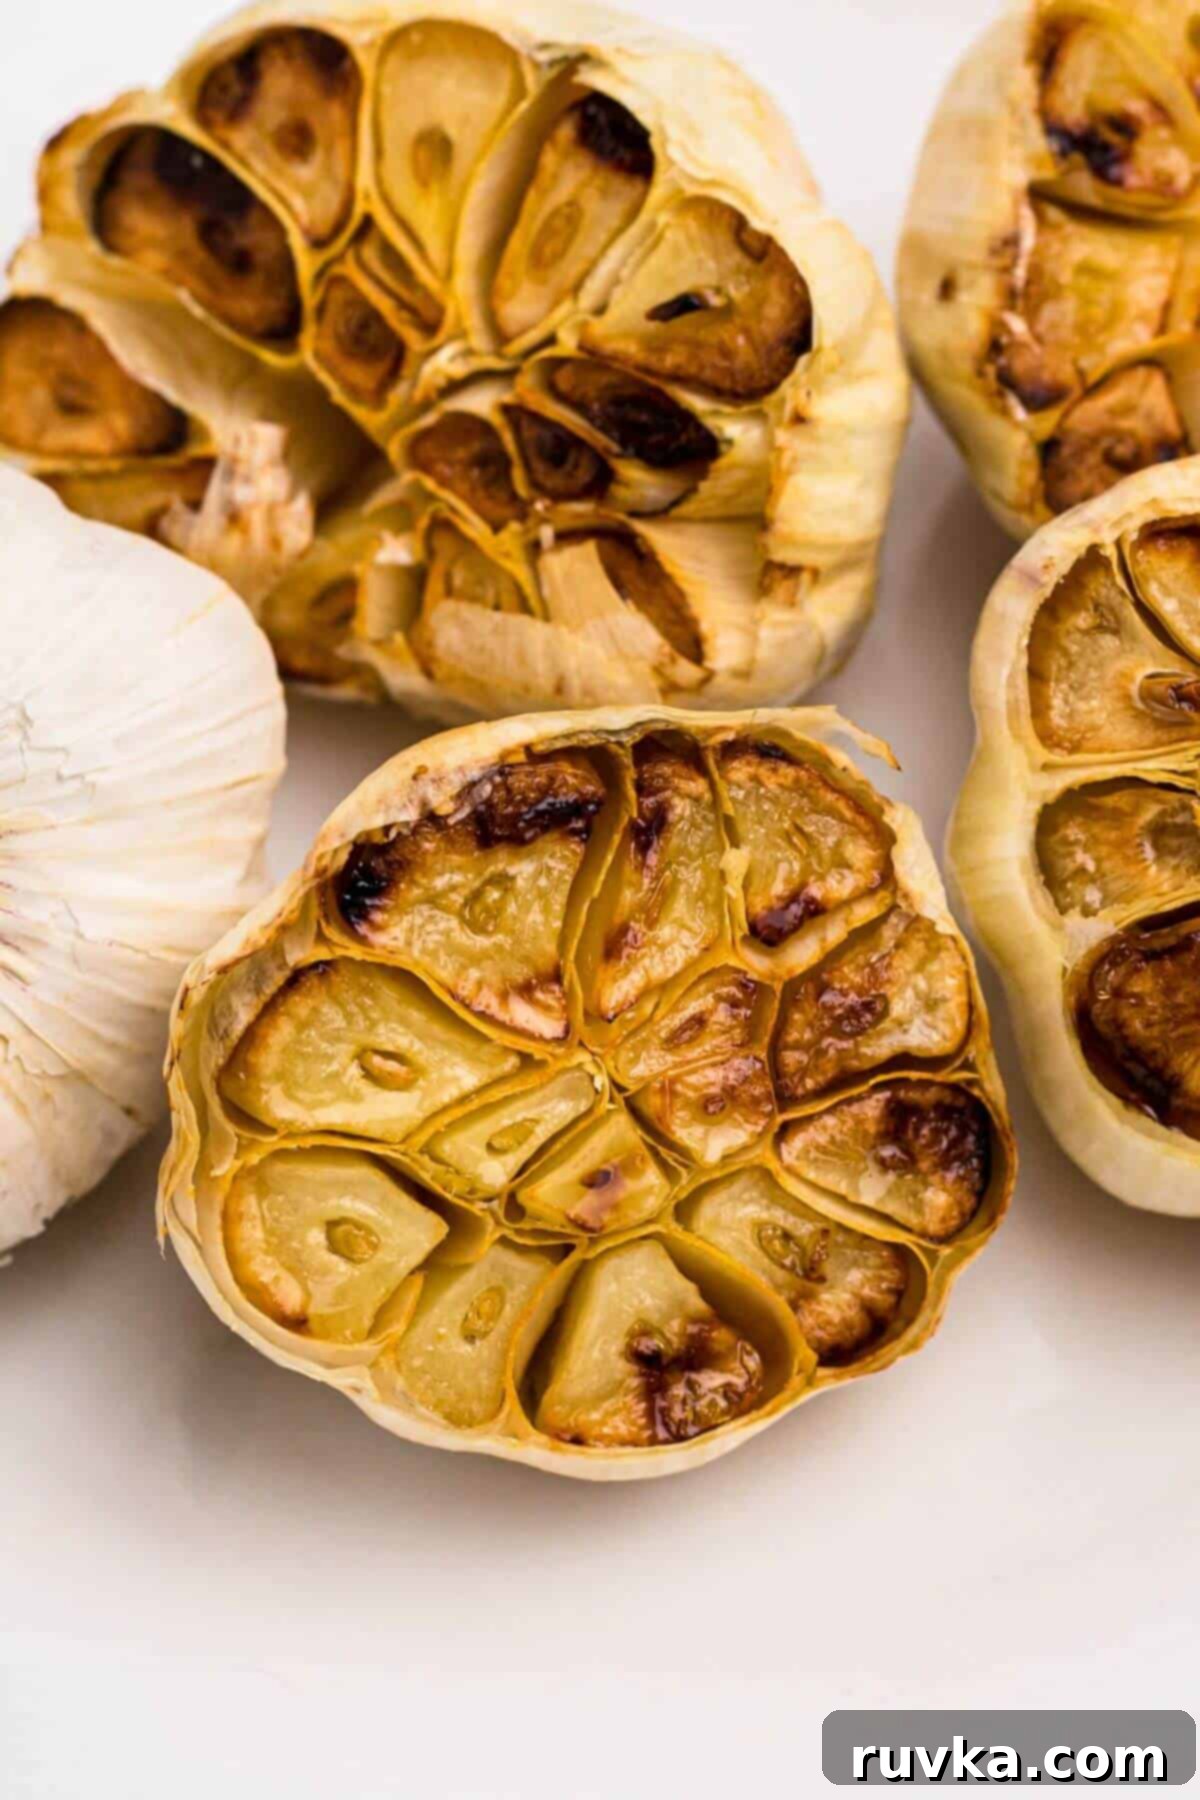
Place the foil-wrapped garlic packets in a single layer in your air fryer basket or on the tray. Avoid overcrowding to allow for proper air circulation. Roast the garlic at 380 degrees F (193 degrees C) for 20-25 minutes. The garlic is done when it is incredibly soft to the touch and has a beautiful golden-brown color.
STEP 6
Once cooked, allow the garlic to cool slightly before attempting to remove the individual cloves. This makes them easier to handle and prevents burns. The best and easiest way to extract each creamy clove is to gently squeeze the bottom of the garlic bulb, and they will effortlessly slide out from their papery skins. Discard the skins.
In a rush for a quick garlic side? Don’t forget to check out these delicious air fryer frozen garlic knots!
EXPERT TIPS
- Perfect Extraction: As mentioned in the directions, the roasted garlic cloves are easiest to remove when they are still slightly warm. A gentle squeeze from the base of the bulb should make them pop right out. If they’re too cool, they might stick a bit more.
- Know Your Air Fryer: Cooking times can vary significantly between different air fryer brands and models (basket-style vs. oven-style). For your first batch, check the garlic around the 18-minute mark. You’re looking for cloves that are deeply golden and very soft. If they seem firm, give them a few more minutes.
- No Foil? No Problem (with caution!): While foil helps steam the garlic for a super soft, creamy texture, you can roast garlic without it. Just drizzle the entire heads with olive oil and place them directly in the air fryer basket, or in a small oven-safe ramekin or baking dish. Note that the results might be slightly drier and the outer cloves could become crispier. Adjust cooking time to 15-20 minutes and watch closely to prevent burning.
- Garlic Selection: Always choose firm, unblemished garlic heads. Avoid those with green sprouts, as this indicates older garlic that can have a slightly bitter taste.
- Aromatics Boost: For an extra layer of flavor, before wrapping, sprinkle a pinch of your favorite dried herbs like rosemary, thyme, or oregano on top of the oiled garlic head.
- New to Air Fryers? If you’re just starting your air frying journey, we have a comprehensive article about What is an Air Fryer. It covers everything from how they work to what delicious meals you can create, helping you get the most out of your appliance.
- Essential Accessories: Looking for the BEST accessories to use with your air fryer? We’ve curated a list of our favorite Air Fryer Accessories that can make cooking even easier and more versatile. For this recipe, a good pastry brush is handy for applying oil, and aluminum foil is essential!
VARIATIONS
The beauty of air fryer roasted garlic lies in its incredible versatility. Once you have a batch of these sweet, creamy cloves, your culinary creativity can truly shine:
- Compound Butter: Mash the roasted garlic with softened unsalted butter and a sprinkle of fresh herbs (like parsley, chives, or rosemary) to create a fragrant compound butter. This is fantastic on an air fryer loaded baked potato, melted over air fryer frozen green beans, or spread on a perfectly cooked air fryer ribeye steak.
- Gourmet Spreads: Mix the mashed roasted garlic into cream cheese, goat cheese, or ricotta for an instant gourmet spread. Slather it over a crispy, homemade air fryer two-ingredient dough bagel, or use it as a base for canapés.
- Flavorful Aioli: Transform plain mayonnaise into a rich garlic aioli – a fancy name for a truly delicious garlic mayonnaise. It’s perfect for dipping fries, spreading on sandwiches, or serving alongside roasted vegetables.
- Soups and Sauces: Puree the roasted garlic and stir it into soups (like a creamy tomato or potato soup) or pasta sauces for an instant depth of flavor. It adds a subtle sweetness and umami that elevates any liquid dish.
- Salad Dressings & Marinades: Whisk mashed roasted garlic into your homemade vinaigrettes or use it as a base for marinades for chicken, fish, or vegetables. Its mild flavor won’t overpower other ingredients.
- Hummus & Dips: Add a few cloves to your homemade hummus recipe for a sweeter, less sharp garlic flavor, or blend it into any bean or vegetable dip for an extra dimension of taste.
- Bruschetta Topping: Spread the creamy roasted garlic directly onto toasted baguette slices, then top with fresh tomatoes, basil, and a drizzle of balsamic glaze for a quick and elegant appetizer.
STORING
Proper storage is crucial to enjoy your delicious roasted garlic safely and for longer periods:
- Refrigeration (Short-Term): If you plan to use the roasted garlic within a few days, you can store it in a small airtight container or a sandwich-sized storage bag in the refrigerator for up to 3 days.
- Storing in Oil (Caution!): While traditionally, roasted garlic is often stored submerged in olive oil, it’s very important to note the risks. Garlic in oil, especially at room temperature, creates an anaerobic environment that can promote the growth of Clostridium botulinum, which causes botulism. If you choose to store it in oil, it *must* be done in the refrigerator and consumed within 3-4 days. For added safety, consider acidifying the garlic with a bit of lemon juice or vinegar before adding oil, or use commercially prepared garlic in oil. For home use, freezing is generally safer for longer storage in oil.
- Freezing (Long-Term): For longer storage, freezing is your best bet. Place individual roasted garlic cloves on a parchment-lined baking sheet and freeze until solid (about 1-2 hours). Once solid, transfer the frozen cloves to a freezer-safe bag or an airtight container. They will last for up to 3-6 months. Alternatively, you can mash the roasted garlic and mix it with a little olive oil, then freeze it in ice cube trays. Once frozen, pop out the cubes and store them in a freezer bag. This makes it easy to grab just the amount you need for recipes.
FAQS
Yes, you absolutely can! If you skip the foil, simply drizzle the entire garlic head (or peeled individual cloves) generously with olive oil and place them directly in the air fryer basket or in a small oven-safe ramekin. Air fry for about 15-20 minutes at 380°F (193°C), checking frequently. The garlic might not get as soft and creamy as when wrapped in foil, and the outer skins might get crispier, but it will still be delicious and flavorful.
Absolutely! Garlic is not just a flavor enhancer; it’s packed with health benefits. It’s known as a skin purifier and can contribute to a youthful glow. Rich in antioxidants, garlic can help boost your immune system, potentially preventing various seasonal illnesses like colds and flu. Furthermore, regular consumption may aid in regulating blood pressure and lowering cholesterol levels, contributing to overall cardiovascular health. Roasted garlic retains many of these benefits, making it a delicious and healthy addition to your diet.
Look for garlic heads that are firm to the touch and have a tight, intact papery skin. Avoid any heads that feel soft, spongy, or show signs of green sprouts, as these are indications that the garlic is older and may have a stronger, sometimes bitter, flavor.
You can! If you have pre-peeled garlic cloves or prefer to peel them beforehand, toss them with olive oil (and optional salt/pepper) in a small bowl. Then, either wrap them in a small foil packet or place them in a heat-safe ramekin in the air fryer. Since they have no skin, they will cook faster, likely needing only 10-15 minutes at 380°F (193°C). Keep a close eye on them to prevent burning.
If your garlic is burning, your air fryer might be running a bit hot, or the foil might not be sealed well. Try lowering the temperature by 10-20 degrees F and checking a few minutes earlier. If it’s not soft enough, it simply needs more time. Reseal the foil packet and continue air frying in 3-5 minute increments until the cloves are tender and easily squeezed out.
MORE AIR FRYER VEGETABLES RECIPES
Side Dishes
Air Fryer Cauliflower Steaks
Side Dishes
Air Fryer Peppers and Onions
Dinner
Air Fryer Falafel
Appetizers
Air Fryer Stuffed Mushrooms
There’s truly nothing quite like the deep, mellow, and slightly sweet flavor of freshly roasted garlic. It’s a simple ingredient that can dramatically enhance your meals, adding a touch of gourmet elegance with minimal effort. Making it in the air fryer makes this delicious addition even more accessible and convenient for any home cook. We hope you enjoy incorporating this versatile ingredient into all your favorite recipes!
We Would Love to Hear From YOU!
Let Us Know What You Think!
Be sure to leave a review of this recipe and give it a star rating. It lets us know how we are doing and lets others know they should try it!
Tag Us In Your Photos! Are you on Facebook? If so, join our Easy Air Fryer Recipes Group (with hundreds of thousands of Air Fryer Foodie Fans!) and share your photos! We love to see your creations.
Are you on Instagram? Follow along and TAG US @airfryingfoodie.
Have a Question or General Feedback?
Jump down to the COMMENT section and let us know! We would love to help and also love feedback on all of our posts.
Air Fryer Roasted Garlic
Rate
Equipment
-
1 Air Fryer
Ingredients
- 1 garlic bulb
- 1 tablespoon olive oil
Instructions
-
On a cutting board with a sharp knife carefully slice off the head of the garlic bulb.
-
Place the fresh garlic head on a piece of aluminum foil.
-
Use a pastry brush to coat the entire bulb of garlic with olive oil or drizzle olive oil over bulb and gently roll bulb of garlic in aluminum foil to cover bulb evenly.
-
Wrap foil to seal all exposed parts of bulb.
-
Air fry at 380 degrees F for 20-25 minutes, air fry until garlic softens and is golden brown.
-
Allow garlic to cool prior to removing individual garlic cloves. The best way to remove each clove of garlic is to gently squeeze top of bulb and they will easily slide out of garlic bulb.
Notes
Nutrition
Nutrition information is automatically calculated, so should only be used as an approximation.
Like this? Leave a comment below!
