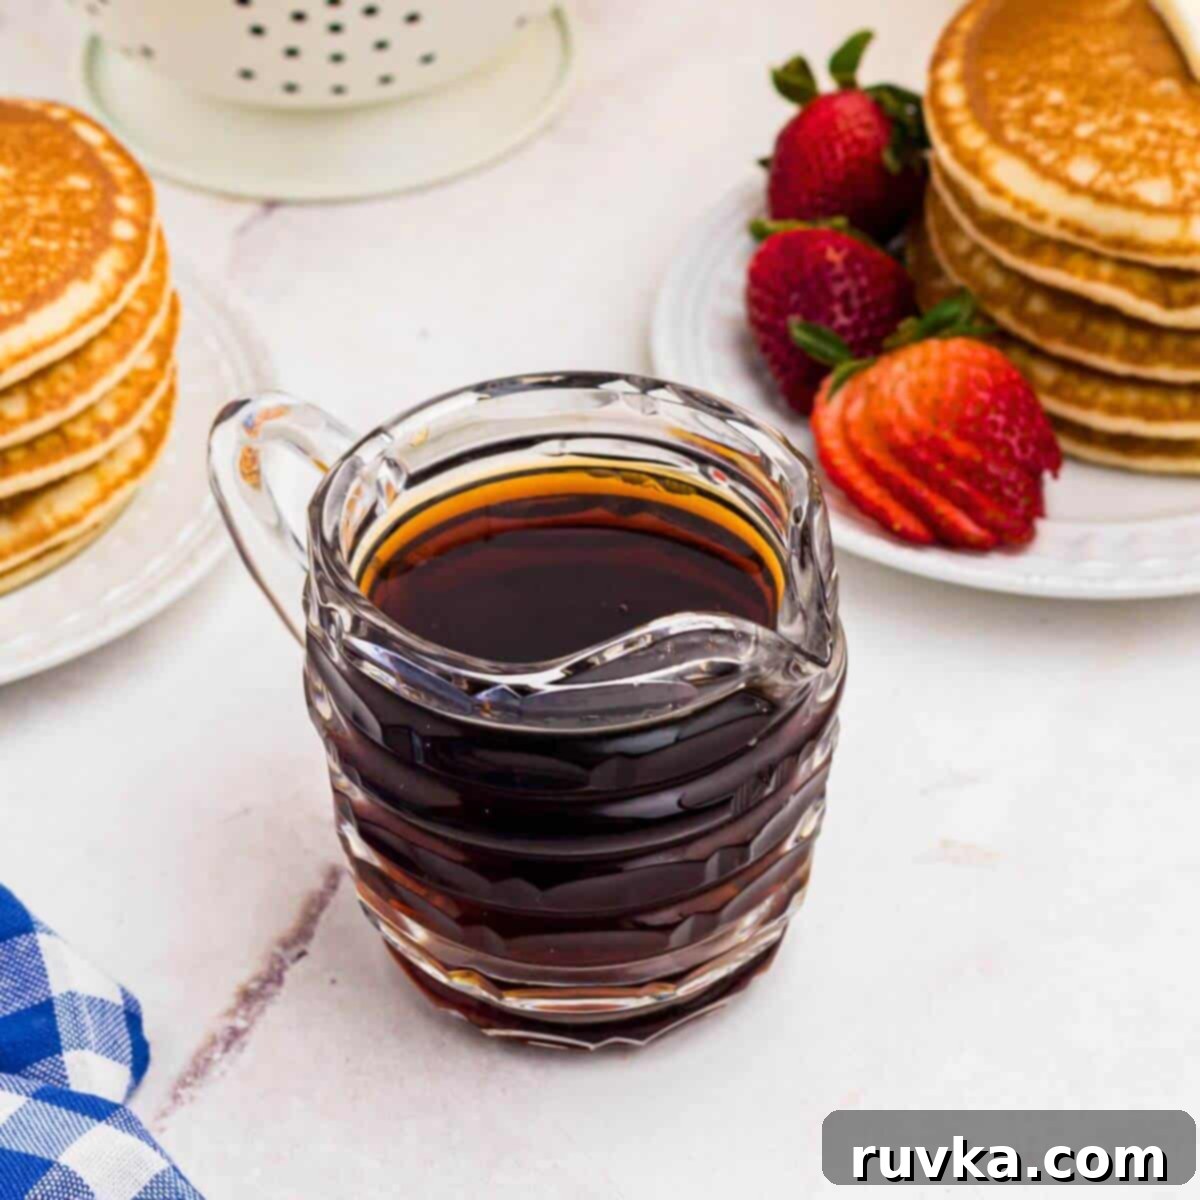
Homemade Pancake Syrup: The Easiest 4-Ingredient Recipe for Delicious Maple & Butter Flavors
Tired of expensive store-bought syrups filled with high-fructose corn syrup and artificial ingredients? This incredible homemade pancake syrup recipe is your simple, budget-friendly solution! Crafted with just four basic ingredients, it’s remarkably easy to make and delivers that beloved, rich maple or buttery flavor everyone craves. You’ll be amazed at how quickly you can whip up a batch of warm, golden syrup that tastes far superior to anything from a bottle.
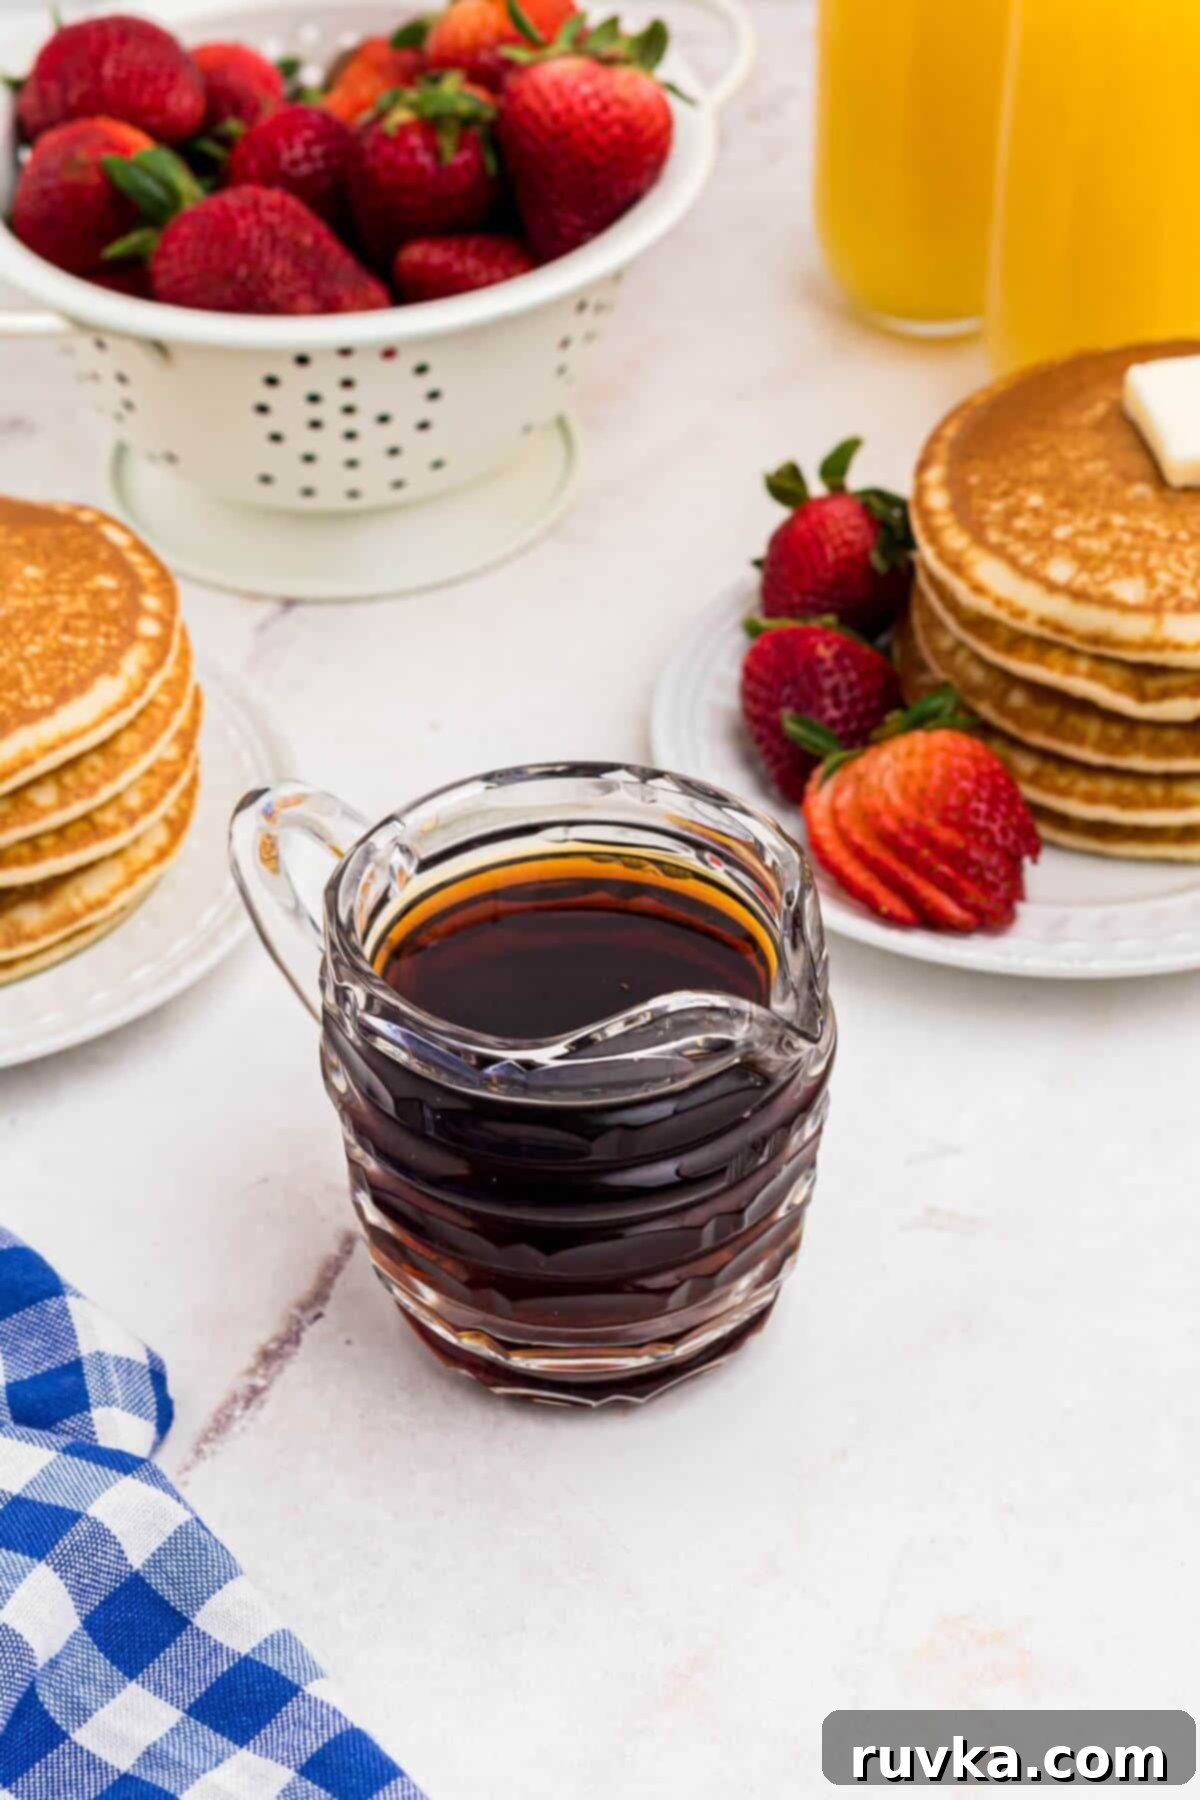
This recipe provides a quick and straightforward guide to creating delicious pancake syrup in mere minutes. With just a few pantry staples and a saucepan, you’ll have a delightful, warm syrup ready to elevate your breakfast table. It’s the perfect accompaniment for fluffy pancakes, crispy waffles, or golden French toast, making every morning meal feel extra special. The best part? You control what goes into it!
Why I Love Making This Homemade Syrup
There are so many reasons to fall in love with making your own syrup from scratch. For me, it boils down to three key factors: ease, taste, and peace of mind. This recipe truly exemplifies how simple, from-scratch cooking can be, especially when it calls for minimal ingredients.
First and foremost, the ease and taste are unparalleled. This homemade syrup is not only incredibly simple to prepare, but it also boasts a rich, comforting flavor that rivals, if not surpasses, many store-bought options. It’s a game-changer for regular pancake breakfasts or special family gatherings. Knowing that I can create a delicious, warm syrup anytime means I never have to worry about running out.
Secondly, it offers wonderful control over ingredients. I prioritize avoiding unnecessary preservatives, high-fructose corn syrup, and artificial food colorings whenever possible. Making syrup at home ensures that I know exactly what my family is consuming, offering a healthier and more natural alternative to many commercial brands. This transparency is incredibly comforting.
Finally, the cost-effectiveness is a significant bonus. Pure maple syrup can be quite expensive, and other store-bought varieties often don’t deliver the desired quality. This recipe allows you to enjoy a luxurious, maple-flavored syrup at a fraction of the cost, making it an excellent choice for budget-conscious families who still want to enjoy gourmet breakfasts.
If you’re a fan of easy, delicious breakfasts, you’ll also adore our other air fryer recipes like air fryer pop tarts, air fryer bacon, air fryer scrambled eggs, or air fryer sausage links. They pair perfectly with a fresh batch of homemade syrup!
Ingredients for Your Homemade Syrup
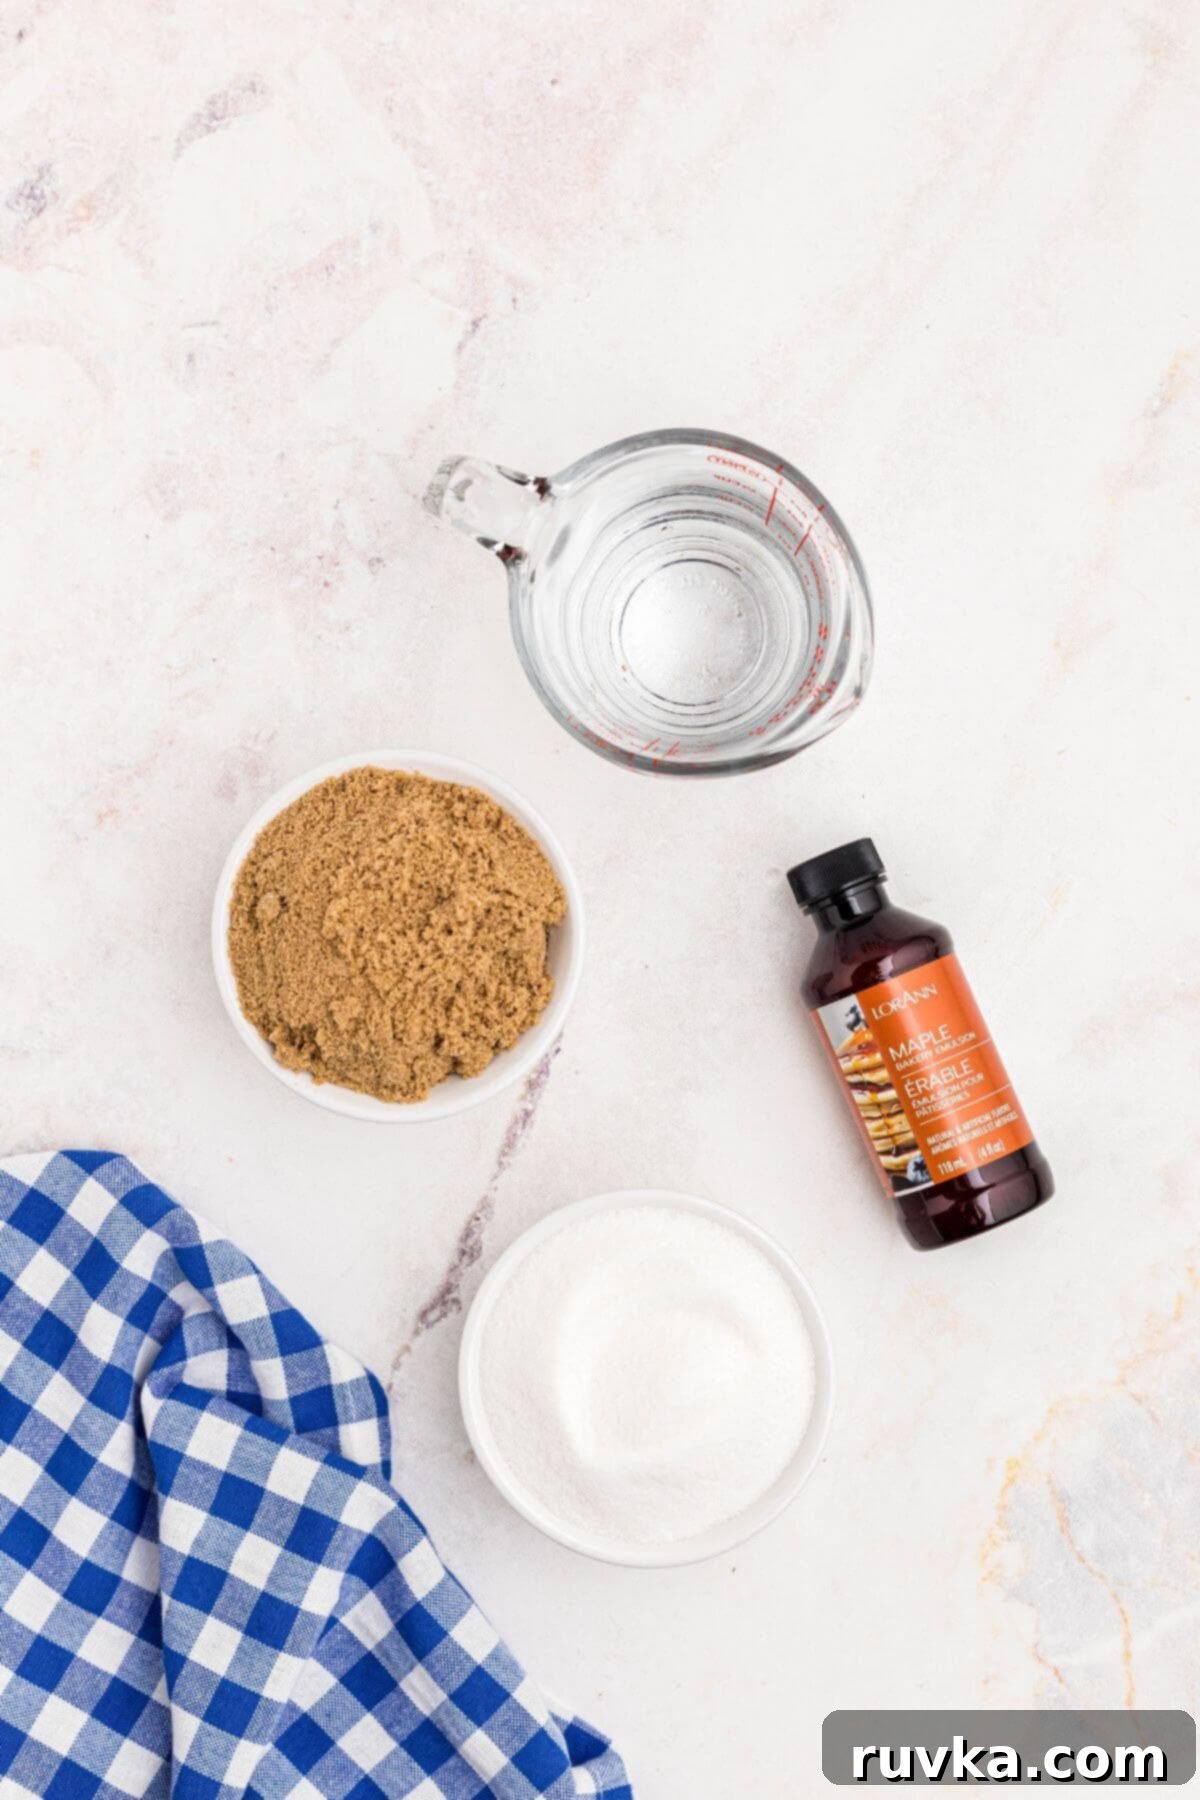
Gathering your ingredients is the first step to making this wonderfully easy syrup. You only need four basic items, most of which you likely already have in your pantry:
- Water: This forms the base of your syrup, dissolving the sugars and creating the liquid consistency.
- Granulated Sugar: Provides the primary sweetness and contributes to the syrup’s body and texture.
- Brown Sugar: This is a crucial ingredient! Brown sugar adds a lovely depth of flavor, a hint of molasses, and a beautiful golden-amber color that mimics traditional maple syrup. It truly enhances the richness.
- Maple Flavoring Extract: The secret to achieving that authentic maple taste without using expensive pure maple syrup. For a different twist, use a teaspoon of butter extract for a rich, buttery syrup, or vanilla extract for a classic, plain sweet syrup. You can also combine a small amount of vanilla with maple extract for a more complex flavor.
How to Make Homemade Pancake Syrup: Step-by-Step Instructions
Making this syrup is incredibly straightforward. Just follow these simple steps, and you’ll have a warm, delicious syrup ready in no time!
STEP 1: Combine Ingredients in a Saucepan
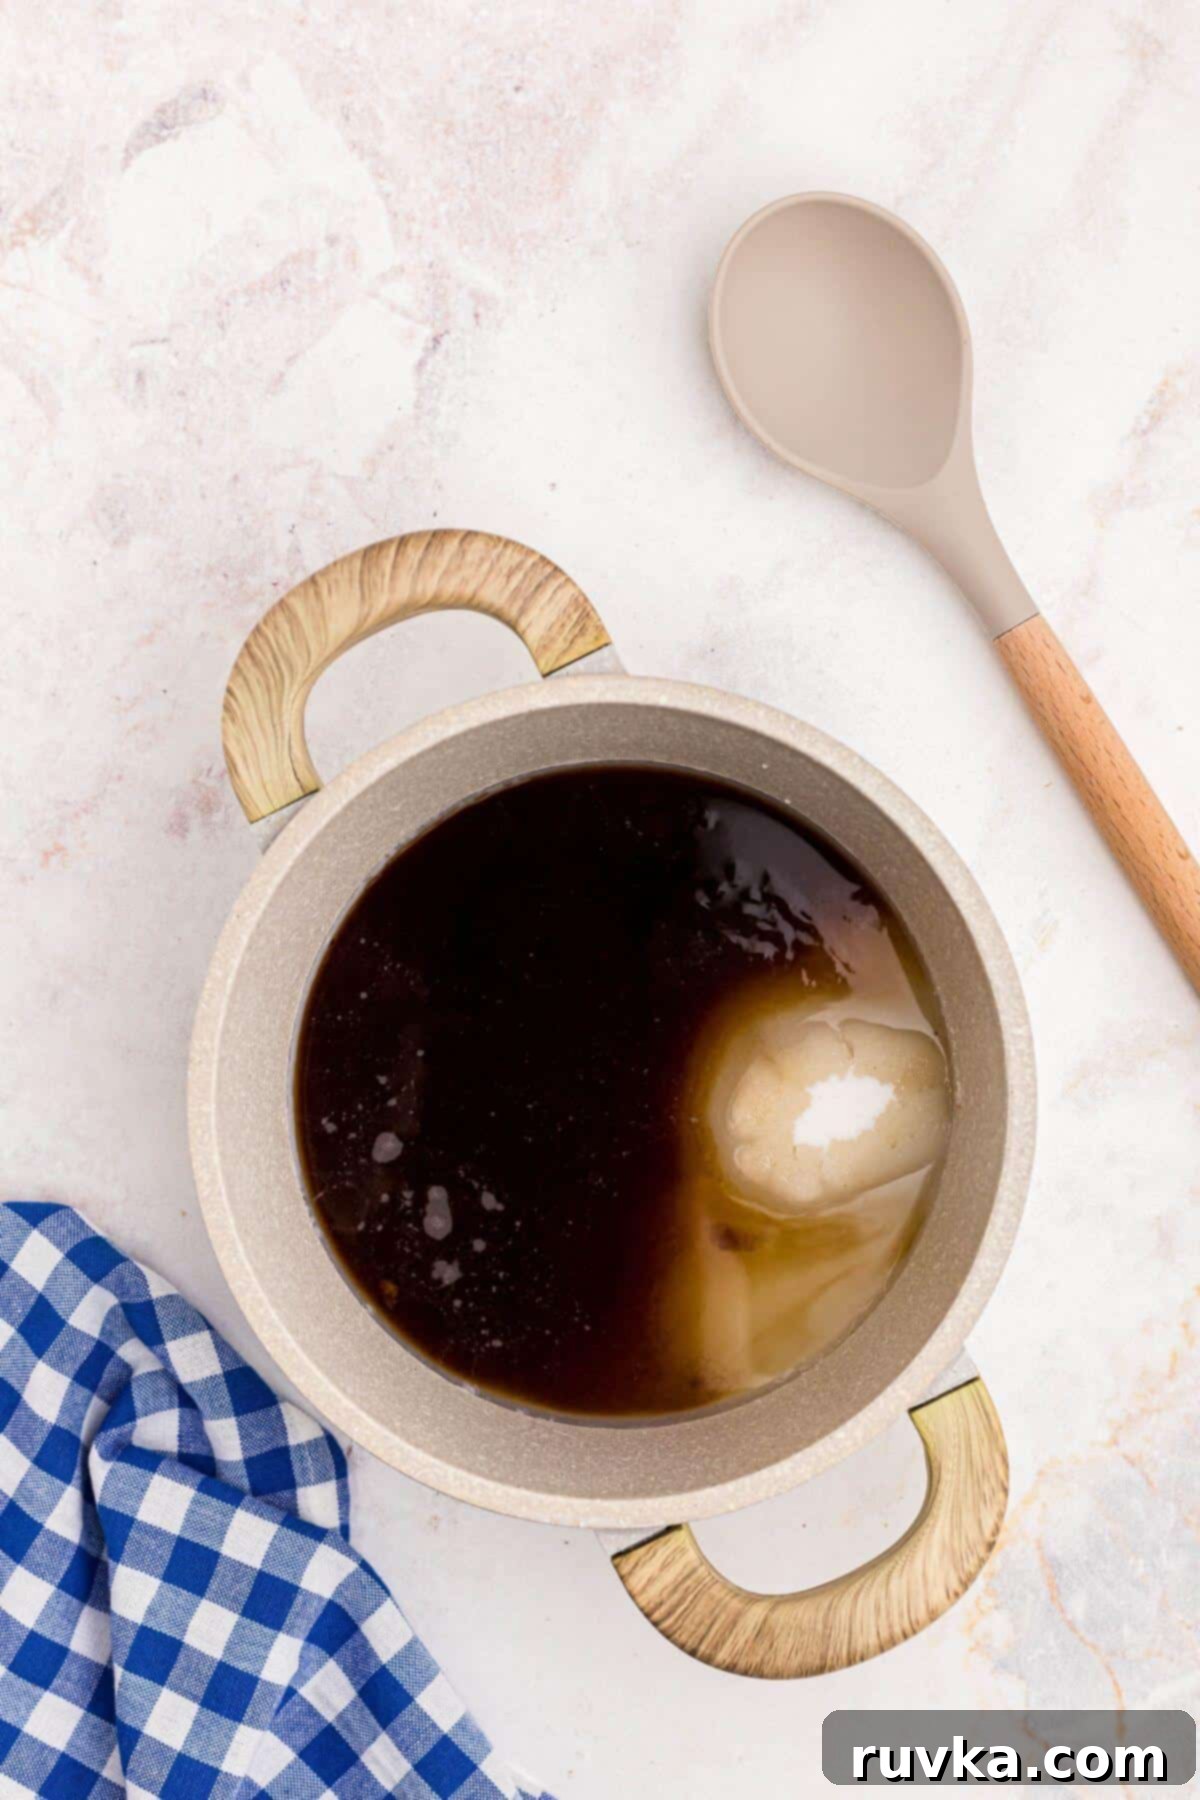
Begin by adding the water, granulated sugar, and brown sugar to a medium-sized saucepan. A heavy-bottomed saucepan is ideal as it helps distribute heat evenly and prevents scorching.
STEP 2: Dissolve the Sugars
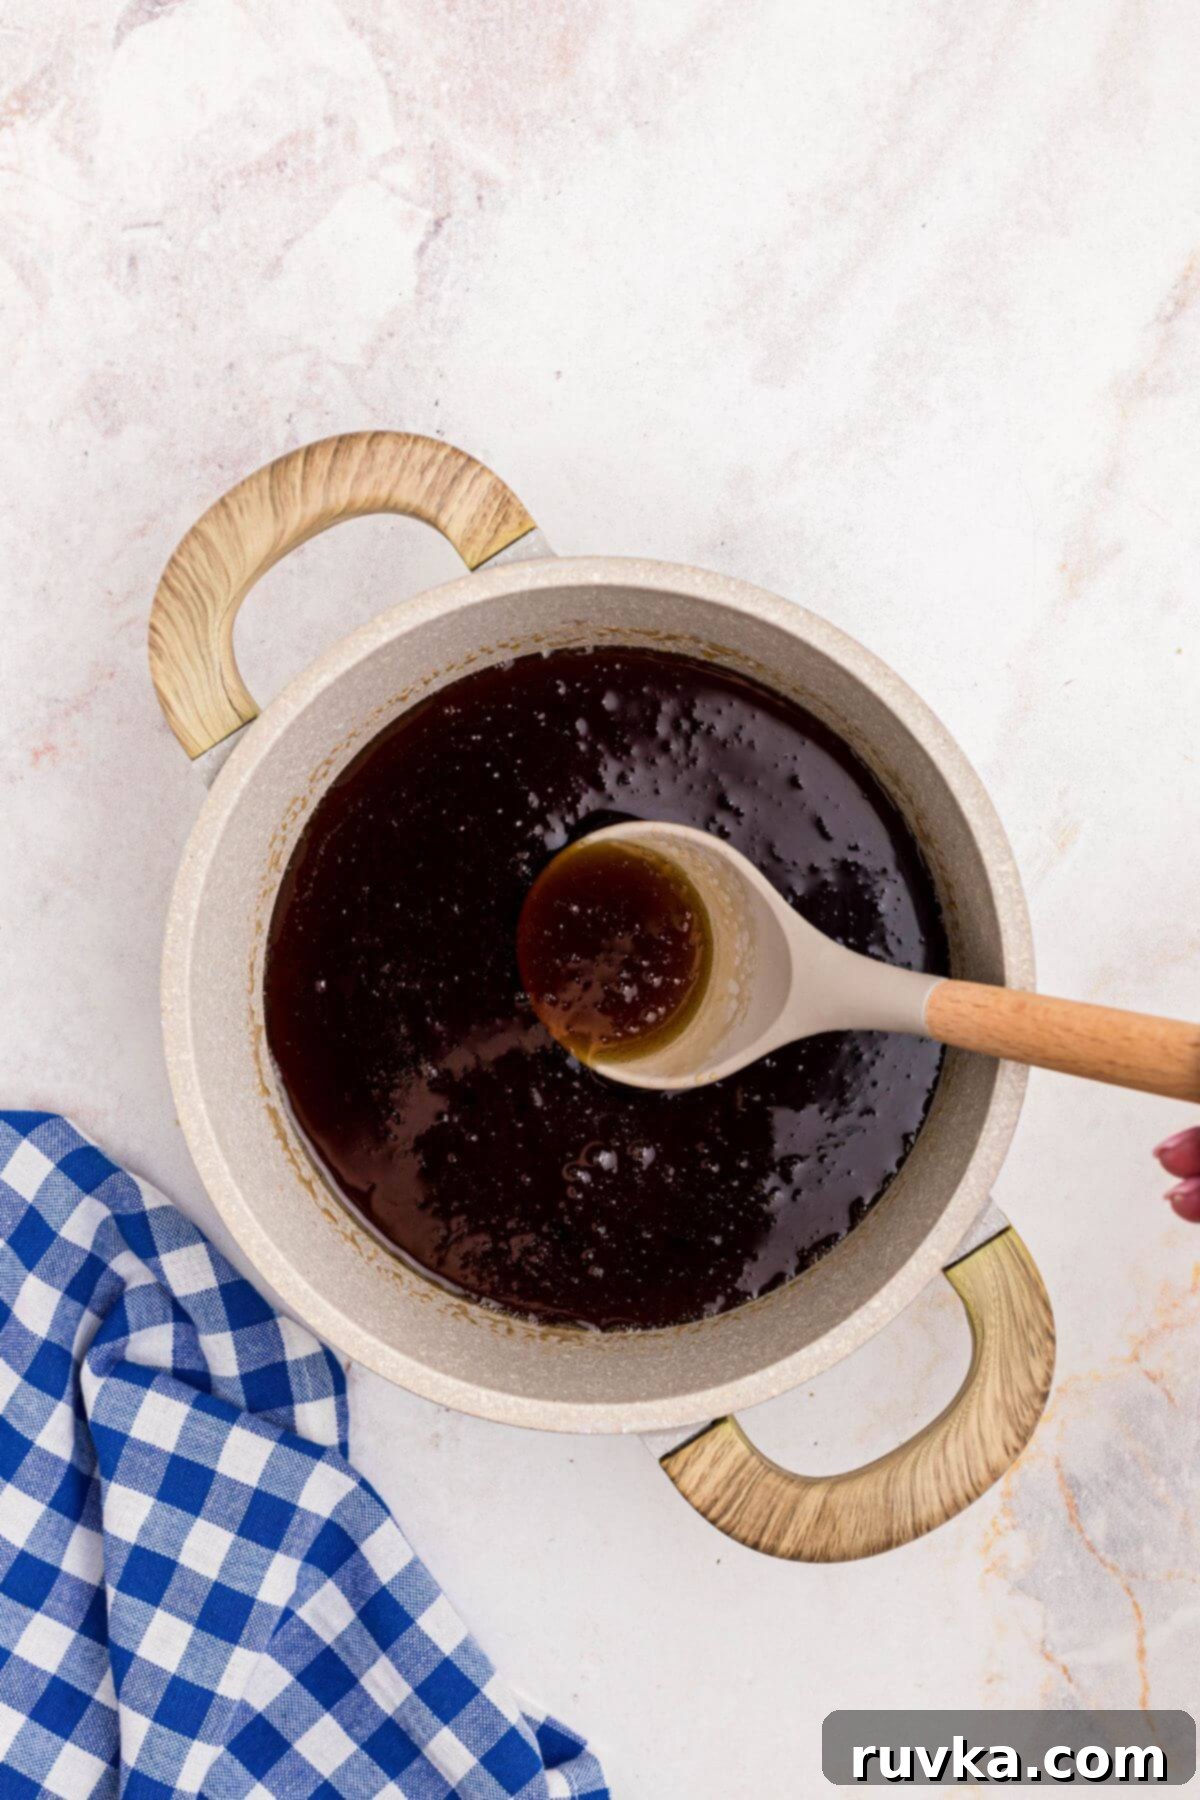
Place the saucepan over medium heat. Stir the mixture continuously until both the granulated and brown sugars are completely dissolved. This step is crucial to prevent the sugar from sticking to the bottom of the pan and burning, and also ensures a smooth syrup texture.
STEP 3: Simmer to Thicken
Once the sugars are fully dissolved, continue stirring until the mixture begins to lightly boil. Reduce the heat to low, and let the syrup simmer gently for 3-5 minutes, stirring occasionally. This simmering period helps the syrup to thicken slightly. Remember, it will thicken considerably more as it cools.
STEP 4: Add Flavor and Cool
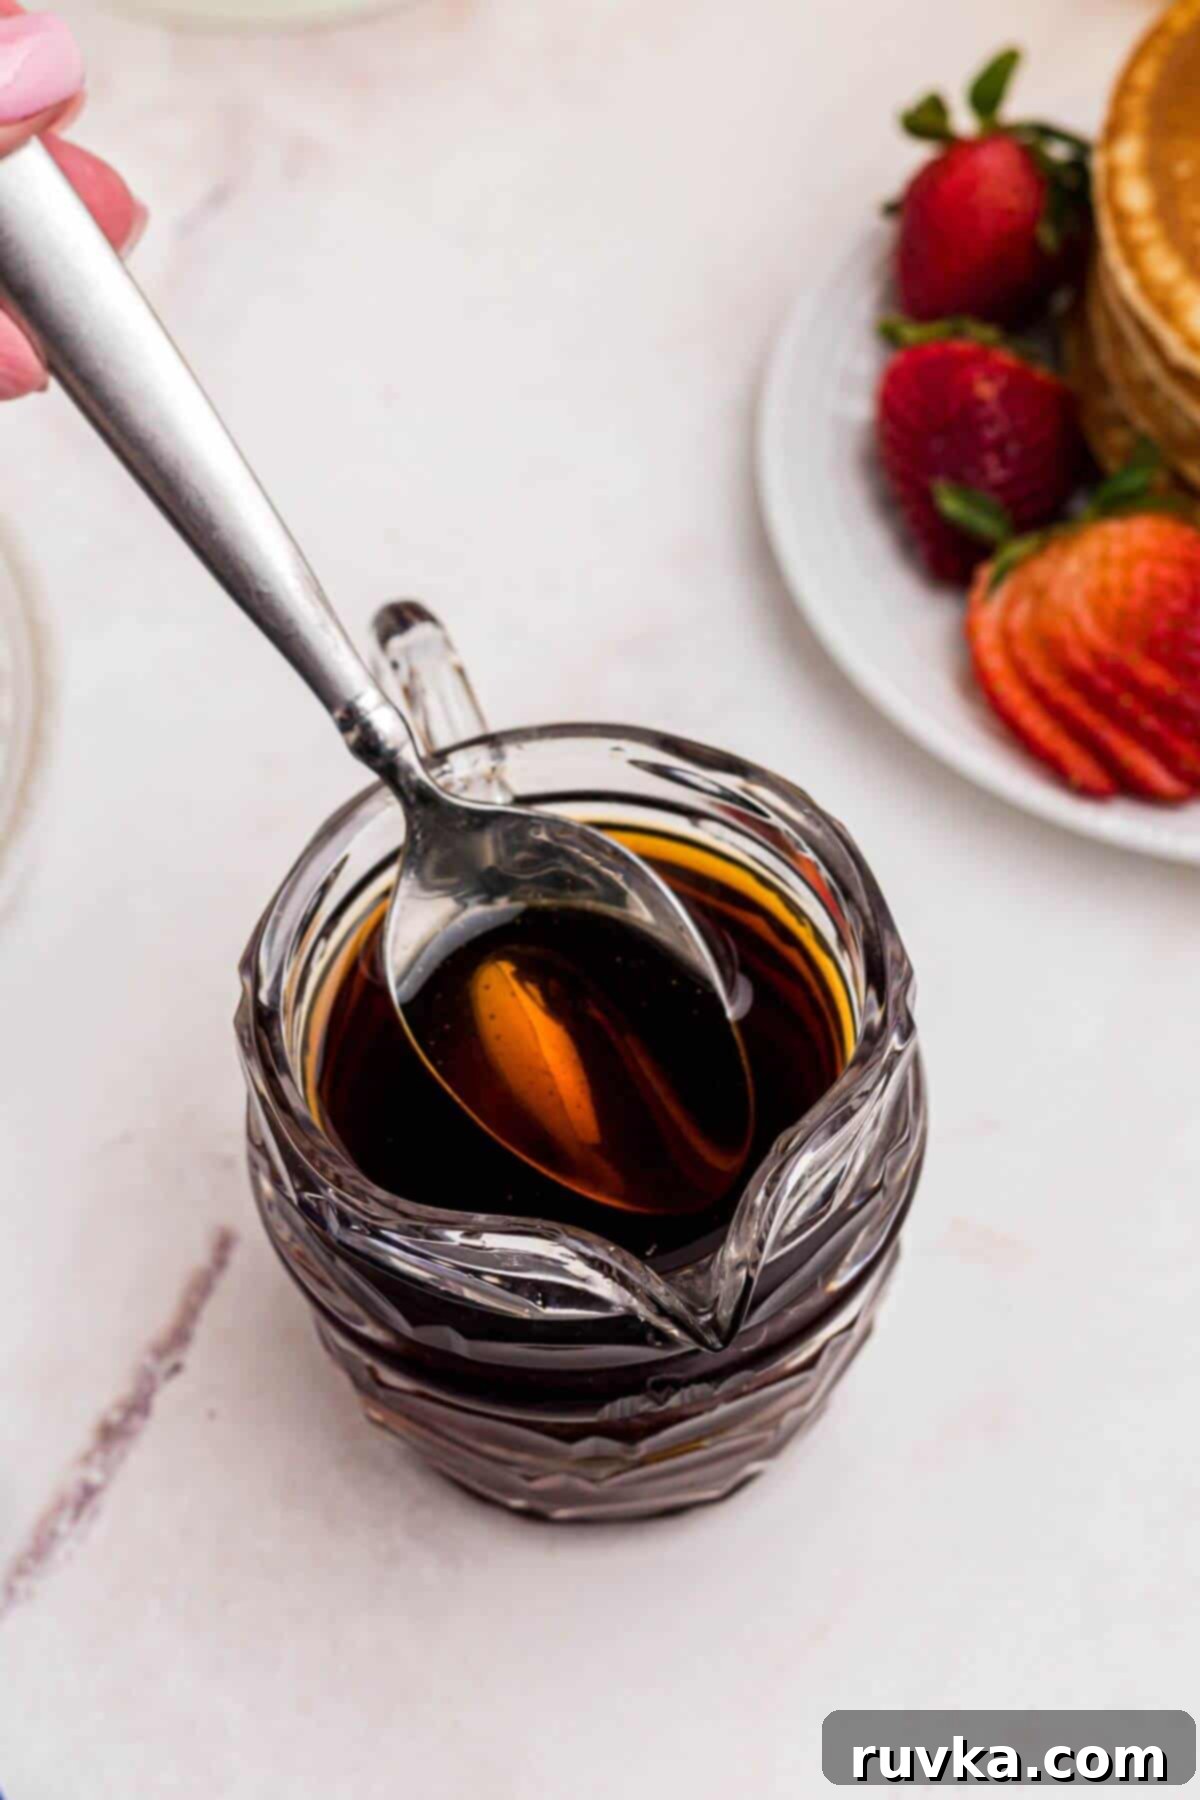
Remove the saucepan from the heat immediately. Stir in your chosen maple, butter, or vanilla extract. It’s important to add the extract off the heat to preserve its delicate flavor. Let the syrup cool completely before transferring it to a storage container or serving. This cooling process is essential for the syrup to reach its ideal consistency.
Expert Tips for the Best Homemade Syrup
Achieving perfect homemade syrup is easy with a few simple tips:
- Cooling is Key: Always allow the syrup to cool completely before serving or storing it. It will be extremely hot after simmering, and its true thickness develops only once it cools down. If you use it while hot, it will seem much thinner than its final consistency.
- Adjusting Thickness: If you desire a thicker syrup, you have a couple of options. You can either let the mixture simmer for an additional minute or two (be careful not to overcook, as it can turn into candy!), or you can stir in an extra tablespoon of granulated sugar at a time while it’s still warm on the stove, ensuring it dissolves completely. For a thinner syrup, simply whisk in a tablespoon or two of hot water until it reaches your preferred consistency.
- Enhance the Flavor: A tiny pinch of salt can surprisingly enhance the sweetness and overall flavor of the syrup. For an even richer taste, stir in a teaspoon of unsalted butter along with the extract in the final step.
- Prevent Crystallization: To prevent sugar crystals from forming on the sides of the saucepan during cooking, avoid scraping down the sides of the pan with your spoon once the mixture begins to boil. You can also use a pastry brush dipped in water to gently wash down any crystals that form.
- Serve Warm: While the syrup needs to cool for storage, serving it slightly warm on pancakes or waffles is pure bliss. See the reheating section for easy methods.
- Easy Cleanup: Don’t let a sticky saucepan intimidate you. Fill the saucepan with hot water immediately after pouring out the syrup, and let it soak. The residual sugar will dissolve, making cleanup a breeze.
If you need a delicious homemade pancake recipe to go with your syrup, check out our air fryer pancakes post for a quick and easy method.
Delicious Syrup Variations to Try
The beauty of homemade syrup lies in its versatility. Once you’ve mastered the basic recipe, you can easily experiment with different flavors to create unique and exciting syrups for any occasion. Here are some ideas:
- Flavorful Extracts: The possibilities are endless! Beyond maple, butter, and vanilla, consider adding:
- Caramel Extract: Perfect for apple pancakes or a drizzle over ice cream.
- Almond Extract: Offers a delicate, nutty flavor that pairs wonderfully with fruit-filled crepes or waffles.
- Chocolate Extract: A fantastic addition for chocolate chip pancakes or as a dessert topping.
- Orange or Lemon Extract (or Zest!): Adds a bright, citrusy note, ideal for light and airy pancakes or French toast.
- Coconut, Rum, or Hazelnut Extracts: For a more gourmet or exotic twist.
Try making a few different flavors for a fun pancake brunch buffet!
- Fruit Syrups: For a fresh, fruity syrup, add a puree of your favorite fruit after the sugars have dissolved and before simmering. Simmer gently to infuse the flavor.
- Berry Syrups: Mash 1/2 cup of fresh or frozen (and thawed) berries (strawberries, blueberries, raspberries) and add them to the syrup base. You can strain the puree after simmering for a smooth syrup or leave it chunky for texture.
- Peach or Apple Syrups: Dice and gently cook down 1/2 cup of peaches or apples with a tablespoon of water until soft, then mash and add to the syrup base.
- Spiced Syrups: Infuse your syrup with warm spices. Add a cinnamon stick, a few cloves, a star anise pod, or a pinch of ground nutmeg to the saucepan along with the sugar and water. Remove the whole spices before adding the extract and cooling.
Storing and Reheating Your Homemade Syrup
Proper storage ensures your homemade syrup remains fresh and delicious for weeks to come, ready for your next breakfast craving.
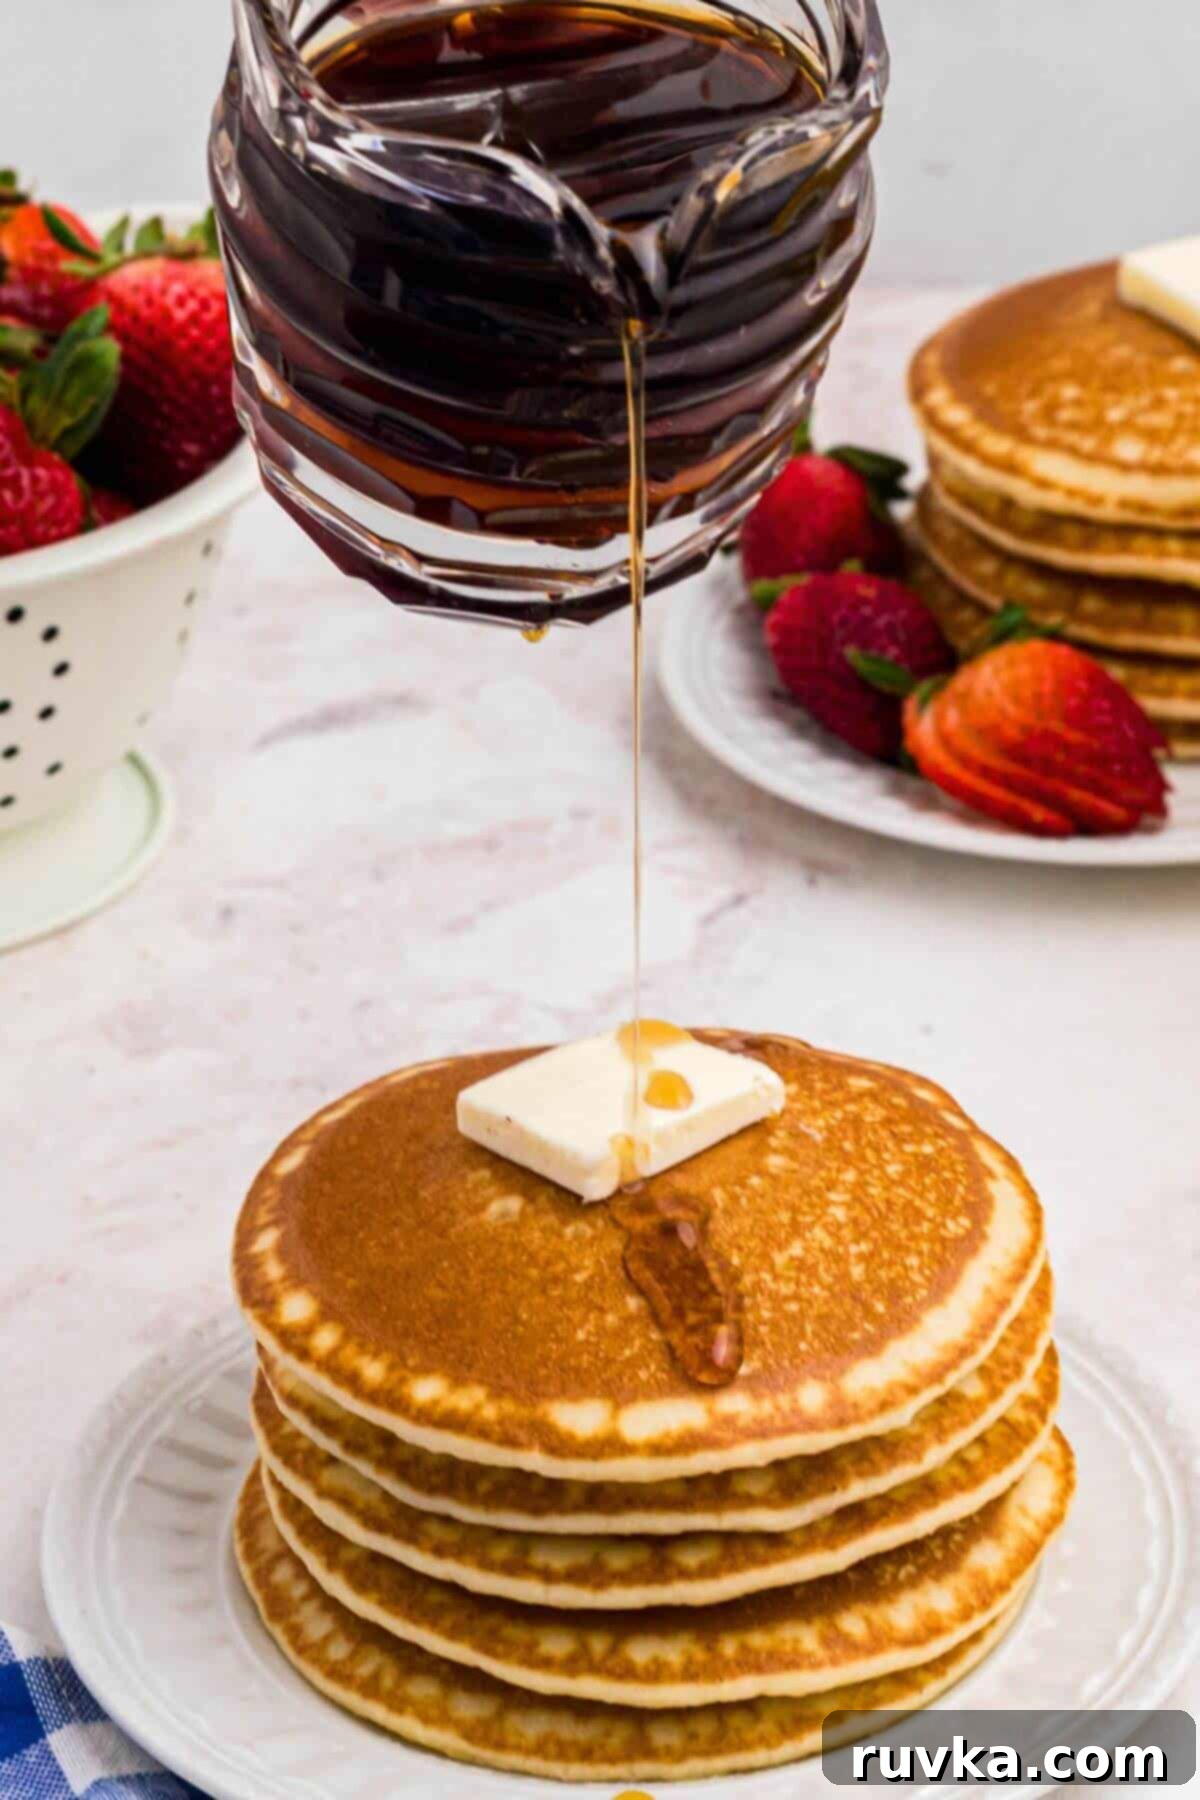
- Storing: After the syrup has completely cooled, transfer it to a clean, dry, and airtight container. Glass mason jars with tight-fitting lids are excellent for storage. Alternatively, a squeeze bottle makes for easy pouring. Store the syrup in the refrigerator, where it should stay fresh for up to 2-3 months. Always check for any signs of mold or off-smell before using, though this is rare with sugar-based syrups.
- Reheating: If you prefer your syrup warm, which many do, simply reheat it gently.
- Microwave: Pour the desired amount into a microwave-safe container and heat for 30 to 60 seconds, or until warmed through. Stir halfway for even heating.
- Stovetop: Transfer the syrup to a small saucepan and heat over low heat, stirring occasionally, until it reaches your desired temperature. Be careful not to bring it to a rolling boil again, as this can affect the consistency.
Frequently Asked Questions About Homemade Pancake Syrup
This versatile homemade syrup is perfect for so much more than just pancakes! Drizzle it over waffles, French toast, oatmeal, or even a bowl of yogurt and granola. It makes a fantastic topping for ice cream, fruit salads, or cheesecakes. Get creative and try it in glazes for baked goods or savory dishes like ham or chicken, or even stir a spoonful into your morning coffee or a cocktail for a sweet touch.
When it’s hot, this homemade syrup will appear thinner than most store-bought varieties. However, as it cools, it will thicken considerably to a lovely, pourable consistency. If you desire an even thicker syrup, you can add an extra tablespoon or two of sugar while it’s heating on the stove to dissolve, or simply simmer it for an additional minute or two during the cooking process. Store-bought syrups often contain added thickeners, which this natural recipe avoids.
While you can experiment with artificial sweeteners, the results in terms of consistency and flavor may vary significantly. Sugar is crucial for the syrup’s body and ability to thicken. If using a sugar substitute, you might need to add a thickening agent like a tiny amount of cornstarch slurry (cornstarch mixed with a little cold water) to achieve a syrup-like texture. It’s best to try a small batch first.
Crystallization occurs when sugar molecules re-form into solids, often due to undissolved sugar crystals acting as a seed or over-stirring once boiling. If your syrup crystallizes, gently reheat it in a saucepan over low heat with a tablespoon or two of water. Stir until the crystals dissolve. To prevent it, ensure all sugar is dissolved before the mixture comes to a boil, and avoid stirring vigorously after it starts boiling.
Absolutely! This recipe is easily scalable. Simply double or triple the ingredients proportionally to make a larger batch. This is perfect for meal prepping, gifting, or if you have a big family or plan to entertain guests. Just use a larger saucepan and ensure adequate stirring for even heating.
This homemade syrup is a fantastic, cost-effective alternative that achieves a very similar flavor profile to pure maple syrup, thanks to the maple extract and brown sugar. Pure maple syrup is derived directly from the sap of maple trees, while this recipe uses a sugar and water base with flavoring. Both are delicious, but this homemade version offers a budget-friendly way to enjoy that classic taste without compromising on quality or natural ingredients.
More Easy Breakfast Recipes
Round out your breakfast table with these other fantastic and easy recipes:
Breakfast
Air Fryer French Toast
Breakfast
Air Fryer Pancakes
Breakfast
Frozen Waffles in Air Fryer
Breakfast
Air Fryer French Toast Sticks
I genuinely love making this simple syrup from scratch to pair with my French toast, waffles, or pancakes for breakfast. The bold maple flavor is absolutely perfect, and there’s a comforting assurance in knowing we’ll always have delicious maple syrup ready to go, whenever the craving strikes!
Homemade Pancake Syrup
Rate
Ingredients
- 1 cup granulated sugar
- 1 cup brown sugar
- 1 cup water
- 1 teaspoon maple flavor extract
Instructions
-
Add the water, granulated sugar, and brown sugar to a medium sized saucepan.
-
Place the saucepan over medium heat and stir continuously until the sugars are completely dissolved.
-
Once the sugars have dissolved, continue stirring until it begins to lightly boil. Turn the heat to low, and let the syrup mixture simmer for 3-5 minutes, while stirring.
-
Remove the saucepan from heat, and then add in the maple extract and stir it into the syrup. Let the syrup cool before storing or using.
Notes
For a thicker syrup, add in a tablespoon of white sugar at a time until it reaches your desired consistency.
Use a different flavor extract for your syrup to change up the flavor! Butter extract or vanilla extract are delicious!
Nutrition
Nutrition information is automatically calculated, so should only be used as an approximation.
Like this? Leave a comment below!
