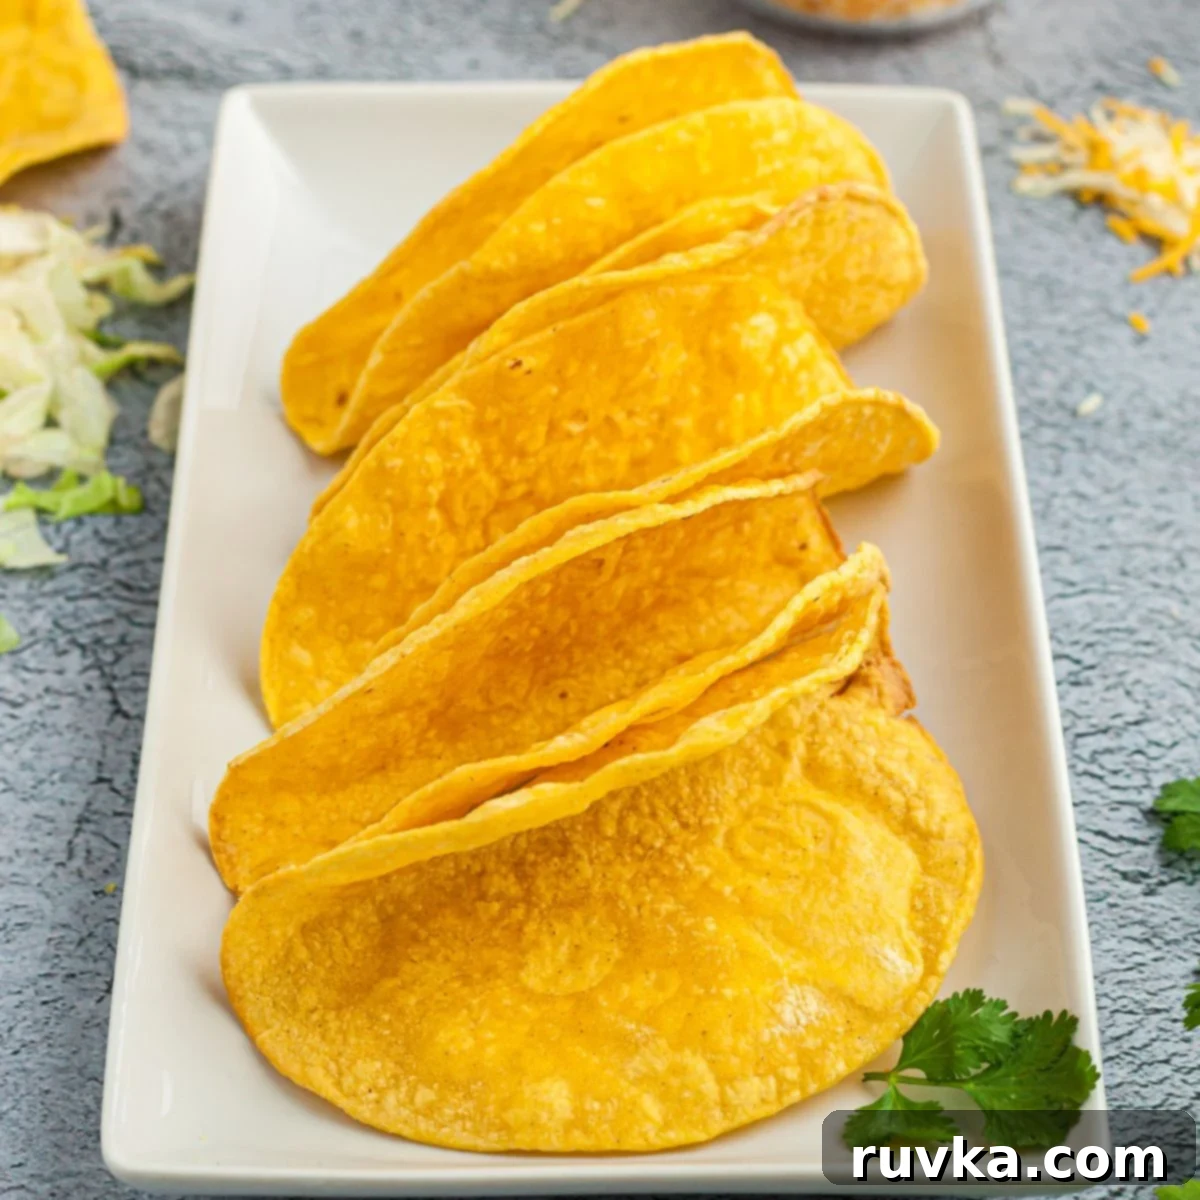
Crispy Air Fryer Taco Shells: Your Ultimate Guide to Homemade Perfection
Say goodbye to soggy, greasy taco shells and hello to a healthier, crispier alternative! This Air Fryer Taco Shells recipe is a game-changer for your next taco night, delivering perfectly golden and crunchy shells without the fuss or mess of deep-frying. Imagine hot, fresh, homemade taco shells ready in mere minutes, transforming an ordinary meal into an extraordinary culinary experience. Whether you’re whipping up a quick weeknight dinner or preparing an elaborate taco bar for friends and family, these air-fried shells promise a delightful crunch that perfectly complements your favorite fillings. Get ready to elevate your taco game and discover how incredibly simple it is to achieve restaurant-quality crispy tacos right in your own kitchen.
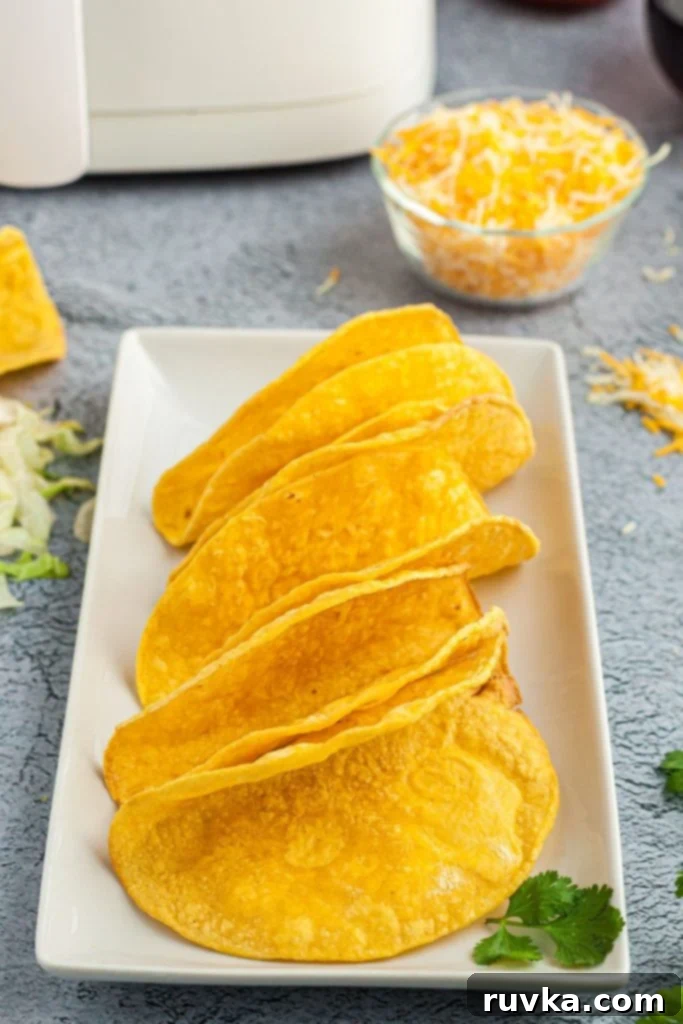
Why You’ll Love Making Taco Shells in an Air Fryer
There are countless reasons why the air fryer is your new best friend for homemade taco shells. First and foremost, it’s a remarkably healthier alternative to traditional deep-frying. Instead of submerging tortillas in a pool of hot oil, your air fryer uses circulating hot air to achieve that irresistible crispness with just a fraction of the oil. This means fewer calories, less fat, and a lighter, guilt-free crunch for your tacos.
Beyond the health benefits, convenience is king. Preparing crispy taco shells in the air fryer is incredibly fast and mess-free. Forget splattering oil on your stovetop or dealing with a greasy cleanup afterward. With the air fryer, you simply brush a little oil on your tortillas, pop them in, and in less than 5 minutes, you have perfectly golden, ready-to-fill shells. This makes it an ideal solution for busy weeknights when you need a quick dinner but don’t want to compromise on flavor or quality.
Furthermore, air frying allows for consistent results every time. The even heat distribution ensures each shell is uniformly crispy, from edge to edge. This method also gives you greater control over the texture; you can achieve a soft, pliable crisp or a super crunchy bite, depending on your preference and the cooking time. The ability to make a few shells for yourself or a whole batch for “Taco Tuesdays” or family gatherings is what makes this method so versatile and loved by home cooks. It truly takes taco night to a whole new level of ease and deliciousness!
You might also enjoy these Air Fryer Taco Stuffed Shells.
Simple Ingredients for Perfect Crispy Taco Shells
One of the best things about making homemade taco shells is how few ingredients you need. With just two main items, you can transform humble tortillas into crunchy vessels for your favorite fillings. Here’s what you’ll need:
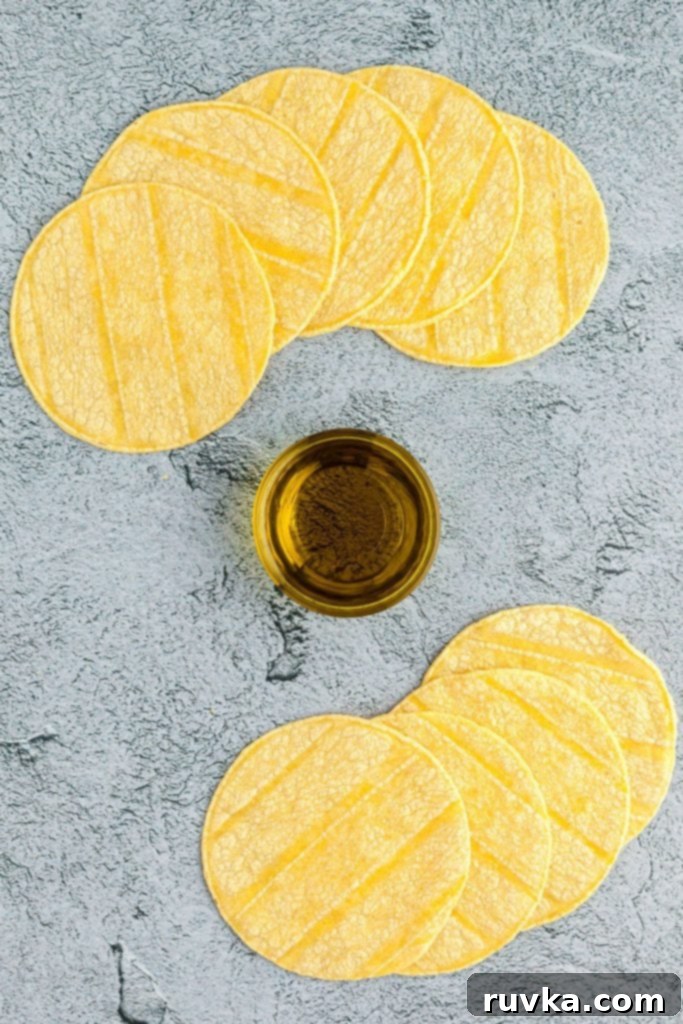
- Corn Tortillas: While this recipe focuses on corn tortillas for that authentic crunch, you can absolutely use flour tortillas for a softer, chewier shell. Just be aware that cooking times might vary slightly for flour tortillas to reach desired crispness. Brands like Mission Tortillas work wonderfully.
- Canola or Olive Oil: A light coating of oil is essential for achieving that golden crisp exterior. You can also use avocado oil, or even a non-stick cooking spray for an even lighter touch.
How to Make Crispy Taco Shells in Your Air Fryer: A Step-by-Step Guide
Making your own crispy taco shells at home has never been easier, thanks to the air fryer. Follow these simple steps for perfect results every time:
- Lightly Coat Tortillas with Oil:
Using a pastry brush, gently spread a thin layer of canola or olive oil on both sides of each corn tortilla. The oil helps achieve that beautiful golden-brown color and ensures maximum crispiness. Be sure not to overdo it; a light coating is all you need to prevent sogginess. For an even lighter option, use cooking spray.

- Shape and Place in Air Fryer Basket:
For classic taco shell shapes, drape each oiled tortilla over a taco mold. If you don’t have a specific taco mold, don’t worry! You can easily create small “tents” using aluminum foil. Simply crumple pieces of foil into long, sturdy shapes and drape the tortillas over them to create the desired ‘U’ shape. Arrange the shaped tortillas in a single layer in your air fryer basket, ensuring they don’t overlap for even cooking. For air fryers with racks, you can also drape the tortillas directly over the racks, allowing them to hang down and cook into a shell shape.

- Air Fry Until Golden and Crisp:
Preheat your air fryer to 400 degrees F (200 degrees C). Once hot, place the basket with the shaped tortillas into the air fryer and cook for 4-6 minutes. Keep a close eye on them, especially after the two-minute mark, as air fryer models vary and the fan might shift lighter tortillas. You’re looking for a beautiful golden-brown color and a firm, crispy texture. The precise timing will depend on your air fryer’s wattage and the thickness of your tortillas.

- Fill with Your Favorite Toppings:
Once crispy, carefully remove the hot taco shells from the air fryer. They’ll be ready to fill immediately with your choice of savory meats, fresh vegetables, cheeses, and sauces. Enjoy the ultimate homemade taco experience!
I typically make this recipe in my Cosori 5.8 qt. air fryer, which is a basket-style model. Depending on your specific air fryer – its size, wattage, and whether it’s a basket or oven-style with racks – cook time may need to be adjusted by an additional 1-2 minutes. Always monitor for doneness to prevent burning.
Expert Tips for the Best Air-Fried Taco Shells
Achieving the perfect crispy taco shell in your air fryer is simple, but a few insider tips can make all the difference:
- Don’t Overcrowd the Basket: For optimal air circulation and even crisping, always cook taco shells in a single layer. If you’re making a large batch, work in batches. Overcrowding leads to steaming, not frying, resulting in soft or unevenly cooked shells.
- Preheat Your Air Fryer: Just like an oven, preheating your air fryer ensures that the tortillas hit a consistent temperature immediately, leading to a quicker and crispier result.
- Warm Tortillas Slightly: If your tortillas are cold or stiff, warm them briefly in the microwave for 10-15 seconds or on a dry skillet for a few seconds per side before oiling and shaping. This makes them more pliable and less prone to cracking when draped over a mold or foil.
- Even Oil Distribution: Use a pastry brush or an oil spray for an even, thin coating of oil. Too much oil can make the shells greasy, while too little might result in a dry, less crispy texture. Non-stick cooking spray, avocado oil spray, or olive oil cooking spray are excellent alternatives if you want to minimize oil usage.
- Monitor Closely: Air fryers cook quickly! Start checking your shells at the 3-4 minute mark. They can go from perfectly golden to burnt in a matter of seconds, especially if you have a high-wattage air fryer.
- Experiment with Seasonings: For an extra layer of flavor, sprinkle your oiled tortillas with a pinch of salt, garlic powder, onion powder, or even a specialized taco seasoning blend before air frying. See the FAQ section for more seasoning ideas!
- Cool Before Filling (Optional but Recommended): While you can fill them immediately, allowing the shells to cool for a minute or two on a wire rack helps them firm up even more, ensuring they stay crispy once filled.
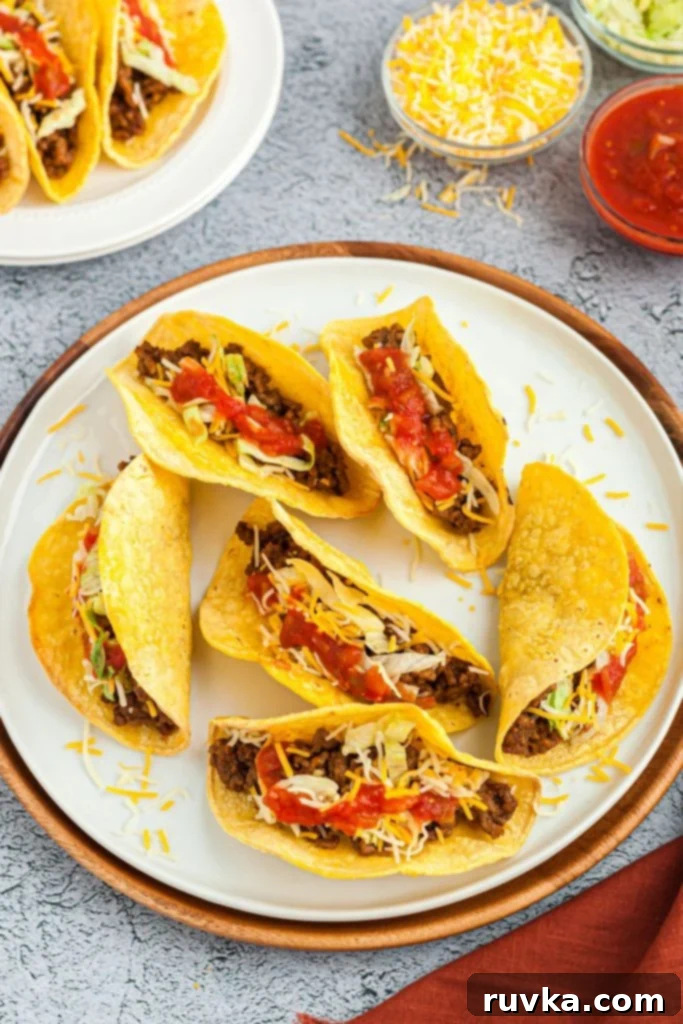
Endless Possibilities: Filling and Serving Your Crispy Taco Shells
Once your homemade air-fried taco shells are perfectly golden and crispy, the real fun begins: filling them! The beauty of tacos lies in their versatility, allowing everyone to customize their meal to perfection. Setting up a “Taco Bar” is an excellent idea for family dinners or entertaining friends, making it a super fun night for everyone to build their own delicious taco creations.
Popular Taco Fillings:
While the classic seasoned ground beef is always a crowd-pleaser, don’t hesitate to explore other exciting options:
- Seasoned Ground Beef: A timeless favorite, easily spiced with taco seasoning.
- Shredded Chicken: Cooked and shredded chicken, perhaps seasoned with chipotle or lime.
- Black Beans: A fantastic vegetarian option, often seasoned with cumin and chili.
- Grilled Carne Asada: Tender, marinated grilled steak, sliced thin.
- Crispy Fried Fish: Perfect for fish tacos, often paired with a tangy slaw.
- Blackened Portobello Mushrooms: A savory, hearty plant-based alternative.
- Pulled Pork: Slow-cooked pork seasoned with Mexican spices.
- Shrimp: Grilled or sautéed shrimp with a squeeze of lime.
Must-Have Taco Toppings:
The right toppings can elevate your taco experience from good to absolutely unforgettable. Offer a variety to cater to all tastes:
- Creamy Guacamole or Sliced Avocado: For a rich, buttery texture.
- Fresh Salsa: Pico de gallo, salsa verde, or a fiery habanero salsa.
- Sour Cream or Greek Yogurt: To add a cool, tangy counterpoint.
- Shredded Cheese: Cheddar, Monterey Jack, or a Mexican blend.
- Nacho Cheese Sauce: For an indulgent, gooey option.
- Diced Tomatoes: Freshness and a pop of color.
- Chopped Onion (Red or White): For a sharp, savory bite.
- Crisp Romaine Lettuce or Cabbage Slaw: Adds crunch and freshness.
- Pickled Jalapeños or Onions: For a tangy, spicy kick.
- A Fresh Squeeze of Lime or Lemon: Brightens all the flavors.
- Hot Sauce: For those who love an extra kick!
With homemade crispy taco shells and an array of delicious fillings and toppings, your taco night will be a memorable feast that everyone will love creating and devouring!
Frequently Asked Questions About Air Fryer Taco Shells
Homemade taco shells are fantastic, but don’t stop there! If you have extra tortillas, you can easily transform them into crispy homemade tortilla chips in the air fryer – perfect for dipping in fresh salsa or guacamole. You can also lay them flat in the air fryer for crunchy tostada bases, topping them with a layer of refried beans, cheese, and diced tomatoes. Tortillas are also excellent for making quick air fryer quesadillas, or even delicious chicken taquitos.
To maintain their crispiness, allow your homemade taco shells to cool completely to room temperature before storing them. Place them in an airtight container or a tightly sealed storage bag. You can keep them on your kitchen counter for 2-3 days. It is generally not recommended to freeze cooked taco shells because the oil can seep into the shells, and upon thawing, the tortillas tend to become mealy, lose their texture, and often fall apart. For best results, always make them fresh or just a day or two in advance.
Absolutely! Seasoning your taco shells is a fantastic way to add an extra punch of flavor. Before air frying, after you’ve oiled them, you can sprinkle a pinch of onion soup mix, buffalo wing seasoning, or a bit from a packet of taco seasoning. For a classic flavor profile, a touch of coarse kosher salt and freshly ground black pepper is always a winner. If you like a little heat, consider using red pepper flakes, chipotle chili powder, smoked paprika, or even rubbing a favorite hot sauce on the outside of the tortillas before they go into the air fryer. The possibilities are endless to match your preferred taste!
Yes, you can! Flour tortillas will also crisp up beautifully in the air fryer, though they might have a slightly different texture and flavor profile than traditional corn taco shells. The cooking time might need to be adjusted; flour tortillas may crisp up a bit faster or require a minute or two less than corn tortillas. Just keep a close watch during the last couple of minutes to ensure they don’t overcook or burn.
Both basket-style and oven-style air fryers work wonderfully for making taco shells. Basket-style air fryers are great for single batches and often cook slightly faster due to their concentrated heat. Oven-style air fryers, especially those with multiple racks, are excellent for making larger quantities at once, as you can drape tortillas over the racks. The key is to ensure good air circulation around each tortilla, so avoid overcrowding regardless of your air fryer type. A model like the Cosori 5.8 qt. air fryer works perfectly for this recipe.
Sometimes, the powerful fan in an air fryer can cause lighter tortillas to shift or even fly around, especially if they are not weighted down or properly shaped. To prevent this, ensure your tortillas are draped securely over taco molds or aluminum foil tents. If you’re still having trouble, you can place a small, heat-safe trivet or a piece of parchment paper (cut to fit the bottom of your basket, avoiding covering air vents) over the tortillas to gently weigh them down without hindering airflow too much. Always check after a couple of minutes to make sure they are holding their shape.
MORE AIR FRYER DINNER RECIPES YOU’LL LOVE:
- Air Fryer Chicken Wings
- Air Fryer Garlic Steak Bites
- Air Fryer Pork Chops
- Air Fryer Lobster Tails
- Air Fryer Beef Tenderloin
We Would Love to Hear From YOU!
Let Us Know What You Think!
Be sure to leave a review of this recipe and give it a star rating. It lets us know how we are doing and lets others know they should try it!
Tag Us In Your Photos! Are you on Facebook? If so, join our Easy Air Fryer Recipes Group (with hundreds of thousands of Air Fryer Foodie Fans!) and share your photos! We love to see your creations.
Are you on Instagram? Follow along and TAG US @airfryingfoodie.
Have a Question or General Feedback?
Jump down to the COMMENT section and let us know! We would love to help and also love feedback on all of our posts.
Air Fryer Taco Shells
Equipment
- 1 Air Fryer
- Taco Molds (optional)
- Pastry Brush (or cooking spray)
Ingredients
- 4 corn tortillas
- 1 tablespoon olive oil, or avocado oil/cooking spray
Instructions
- Using a pastry brush, gently spread a thin layer of canola or olive oil on both sides of each corn tortilla. The oil helps achieve that beautiful golden-brown color and ensures maximum crispiness. Be sure not to overdo it; a light coating is all you need to prevent sogginess. For an even lighter option, use cooking spray.
- For classic taco shell shapes, drape each oiled tortilla over a taco mold. If you don’t have a specific taco mold, don’t worry! You can easily create small “tents” using aluminum foil. Simply crumple pieces of foil into long, sturdy shapes and drape the tortillas over them to create the desired ‘U’ shape. Arrange the shaped tortillas in a single layer in your air fryer basket, ensuring they don’t overlap for even cooking. For air fryers with racks, you can also drape the tortillas directly over the racks, allowing them to hang down and cook into a shell shape.
- Preheat your air fryer to 400 degrees F (200 degrees C). Once hot, place the basket with the shaped tortillas into the air fryer and cook for 4-6 minutes. Keep a close eye on them, especially after the two-minute mark, as air fryer models vary and the fan might shift lighter tortillas. You’re looking for a beautiful golden-brown color and a firm, crispy texture. The precise timing will depend on your air fryer’s wattage and the thickness of your tortillas.
- Once crispy, carefully remove the hot taco shells from the air fryer. They’ll be ready to fill immediately with your choice of savory meats, fresh vegetables, cheeses, and sauces. Enjoy the ultimate homemade taco experience!
Notes
Nutrition
Nutrition information is automatically calculated, so should only be used as an approximation.
