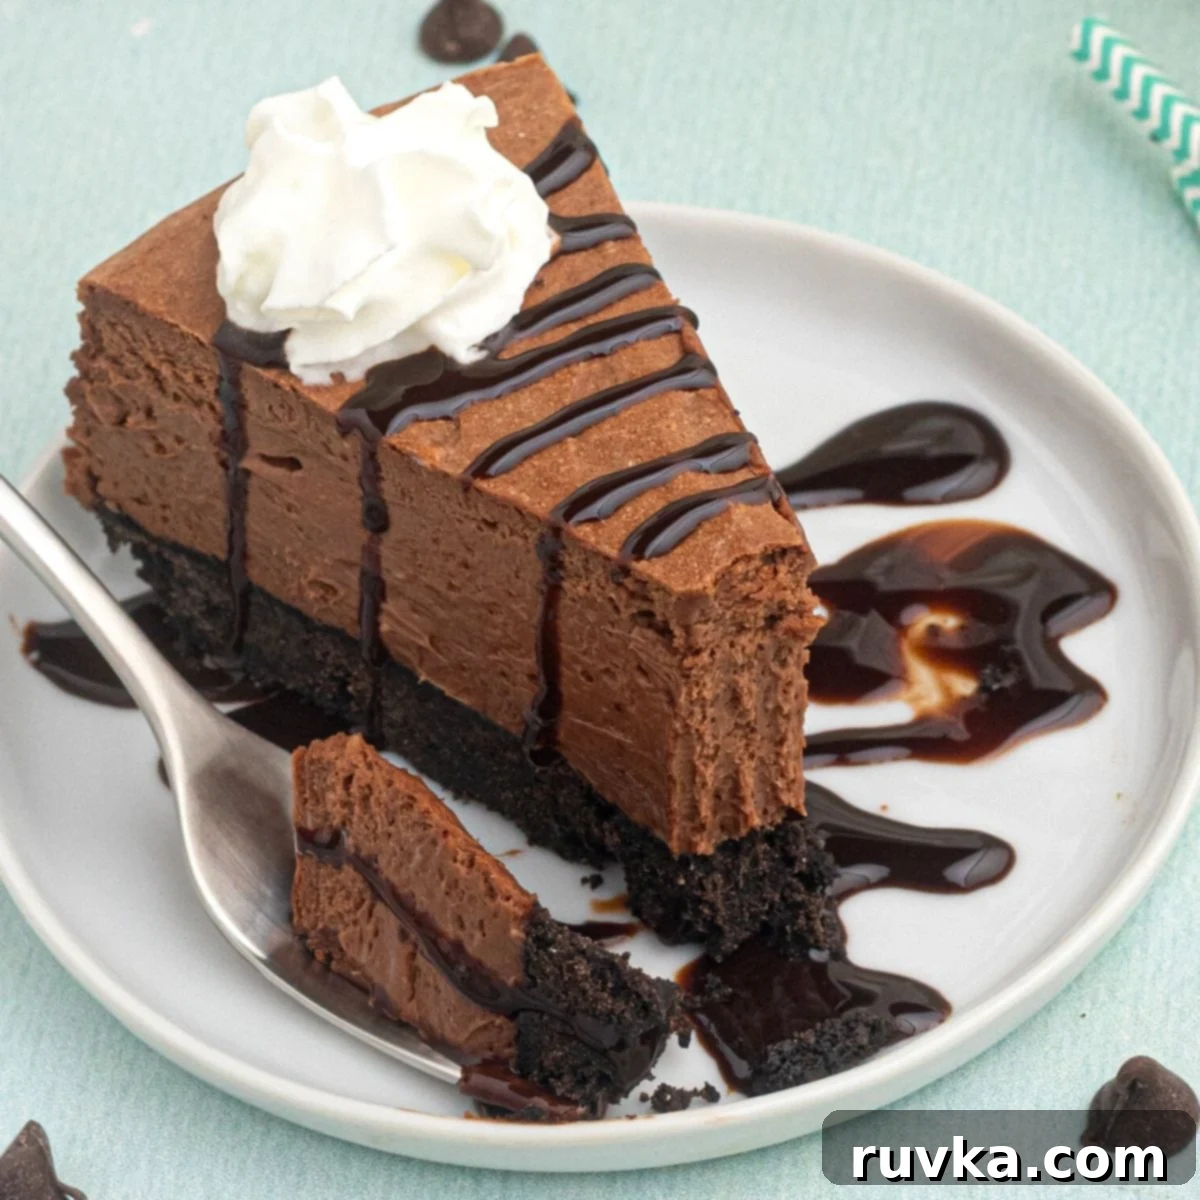
Indulge in Perfection: The Ultimate Air Fryer Chocolate Cheesecake with Oreo Crust
When you crave a dessert that’s rich, decadent, and undeniably chocolatey, look no further than this incredible Air Fryer Chocolate Cheesecake. It’s a culinary masterpiece that combines the creamy, smooth texture of classic cheesecake with the intense flavor of chocolate, all nestled upon a perfectly crunchy Oreo cookie crust. This recipe isn’t just about taste; it’s about convenience, allowing you to whip up a gourmet dessert in a fraction of the traditional baking time, thanks to the magic of your air fryer. Prepare to impress your family and friends with a treat that truly delivers on every sweet promise.
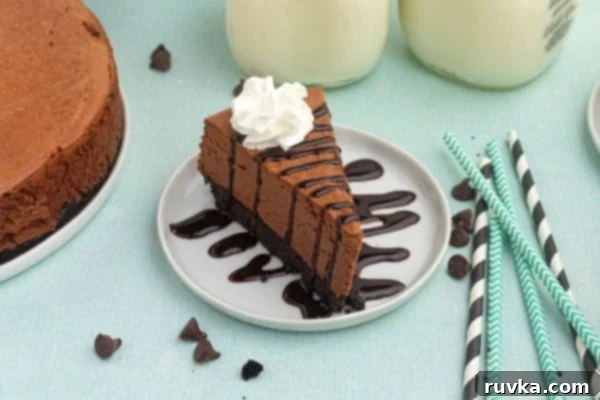
Why Bake a Chocolate Cheesecake in the Air Fryer?
Baking desserts, especially rich chocolate creations, has always been a passion of mine. The advent of the air fryer has revolutionized how quickly and effortlessly I can bring these delectable treats to life. This phenomenal chocolate cheesecake is no exception. Cooking it in the air fryer significantly cuts down on the typical baking time, making it a perfect last-minute dessert option or a quicker way to satisfy that sudden sweet craving.
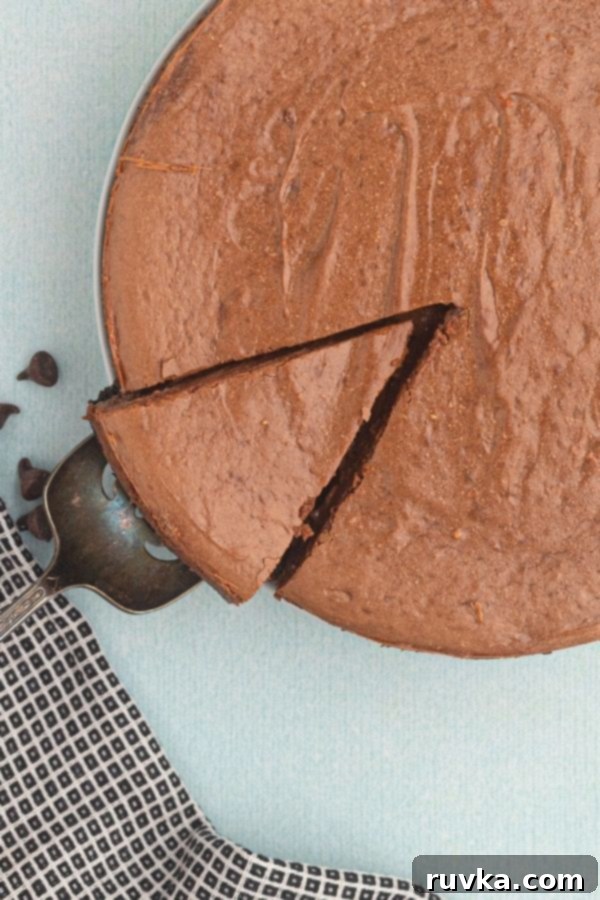
One of the most remarkable aspects of preparing cheesecake in an air fryer is how flawlessly it turns out. The result is consistently smooth, exquisitely creamy, and unbelievably rich, without any compromise on flavor or texture. Unlike traditional oven baking, which can sometimes lead to sinking centers or unsightly cracks on top, the air fryer maintains an even temperature, ensuring your chocolate cheesecake emerges picture-perfect every single time. It’s a game-changer for homemade cheesecake, delivering professional-quality results with minimal fuss.
Beyond this chocolate delight, the air fryer opens up a world of dessert possibilities. If you’re eager to explore more delicious air fryer desserts, be sure to try these air fryer churros, air fryer cupcakes, air fryer marshmallow peeps, air fryer cinnamon sugar tortilla chips, or these delightful air fryer blueberry cheesecake wontons. Your air fryer is capable of so much more than just savory dishes!
Find this recipe along with over 35 others for the ULTIMATE list of Air Fryer Thanksgiving Recipes.
Crafting Your Dream: A Step-by-Step Guide to Air Fryer Chocolate Cheesecake
Creating this irresistible chocolate cheesecake is simpler than you might imagine, especially with the air fryer doing most of the hard work. Follow these detailed steps to achieve a flawless dessert every time.
Building the Perfect Oreo Cookie Crust
The foundation of any great cheesecake is its crust, and for this chocolate masterpiece, we’re using a generous Oreo cookie crust. To ensure a thick, sturdy base that can perfectly complement the rich chocolate filling, I recommend using approximately 30 Oreo cookies. This quantity ensures a substantial crust that won’t get lost beneath the creamy filling. Because of its thickness, you’ll also need a little more melted butter to bind it all together effectively.
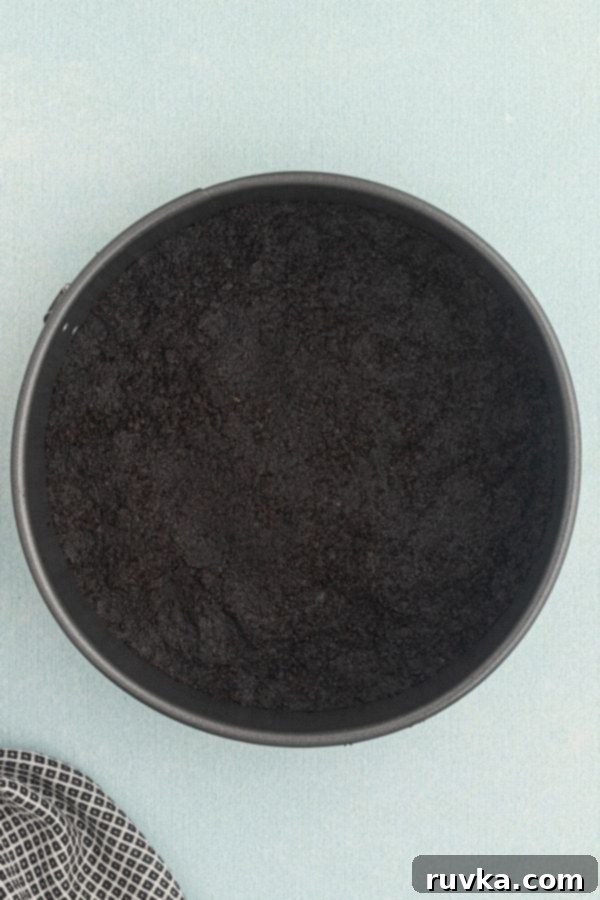
Once your Oreo cookies are finely crushed (a food processor works wonders here, or a Ziploc bag and a rolling pin for a bit of stress relief!), combine them thoroughly with the melted butter. This mixture should resemble wet sand. Then, press it firmly and evenly into the bottom of your prepared 8-inch Springform Pan. A crucial tip for easy removal and a clean presentation is to line the bottom of your pan with an 8-inch circle of parchment paper. Additionally, lightly butter the sides of the pan walls. This prevents any sticking and ensures a beautiful, intact cheesecake when it’s time to serve.
The Secret to a Silky Smooth Chocolate Filling
The key to achieving that signature smooth and creamy cheesecake texture lies in one critical step: ensuring your cream cheese is perfectly softened to room temperature. If it’s still cold from the refrigerator, you’ll end up with a lumpy filling, no matter how much you mix. A quick trick if you’re short on time is to gently soften it in the microwave for a few seconds, being careful not to melt it.
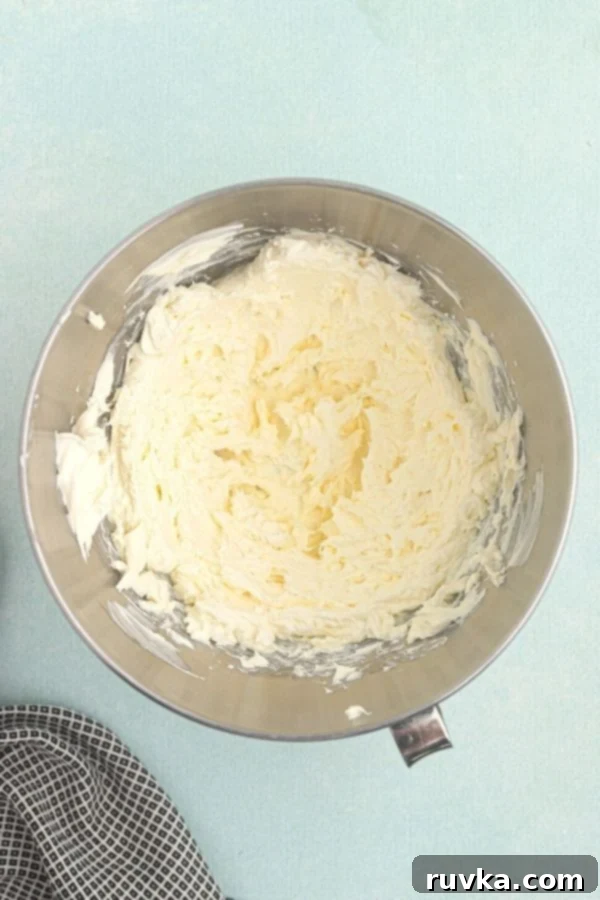
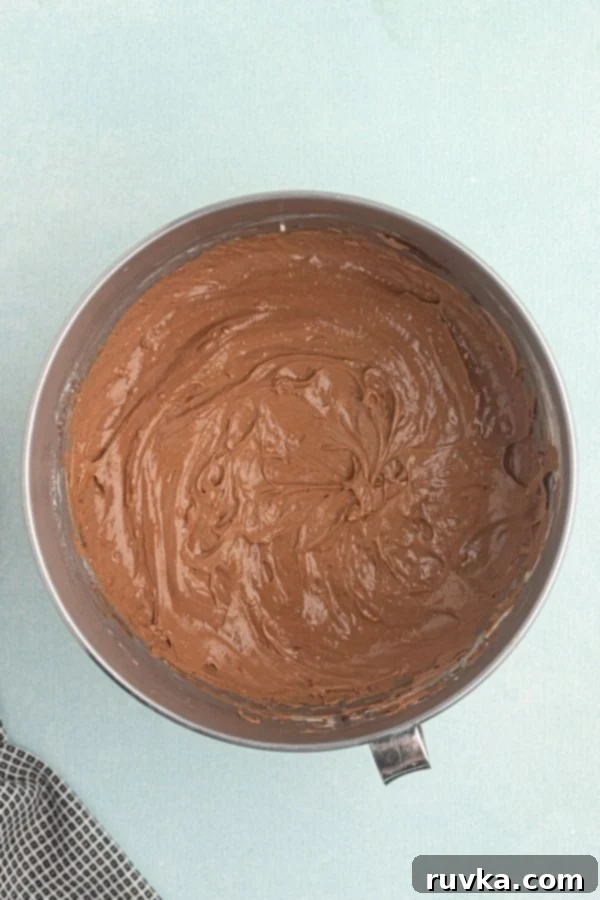
Once your cream cheese is wonderfully soft, whisk it thoroughly until it’s light, fluffy, and completely smooth. This creates the perfect base for your filling. Next, gradually incorporate the powdered sugar, corn starch, eggs, and a touch of vanilla extract. Continue mixing on a medium speed until all these ingredients are beautifully combined and the filling is uniform and free of any lumps. For the star of the show – the chocolate – carefully and quickly stir in your melted semi-sweet chocolate chips. Keep the mixer on medium speed just long enough to ensure the chocolate is evenly distributed, transforming your creamy base into a rich, velvety chocolate dream. Avoid overmixing once the chocolate is in, to maintain that desired light texture.
Air Frying and Chilling for Perfection
Once your luscious chocolate filling is ready, gently pour it over your prepared Oreo crust in the springform pan. Use a spatula or spoon to carefully spread the filling, ensuring an even layer across the entire pan. Preheat your air fryer according to the recipe instructions, then carefully place the cheesecake-filled pan into the air fryer basket. Positioning it centrally helps with even cooking.
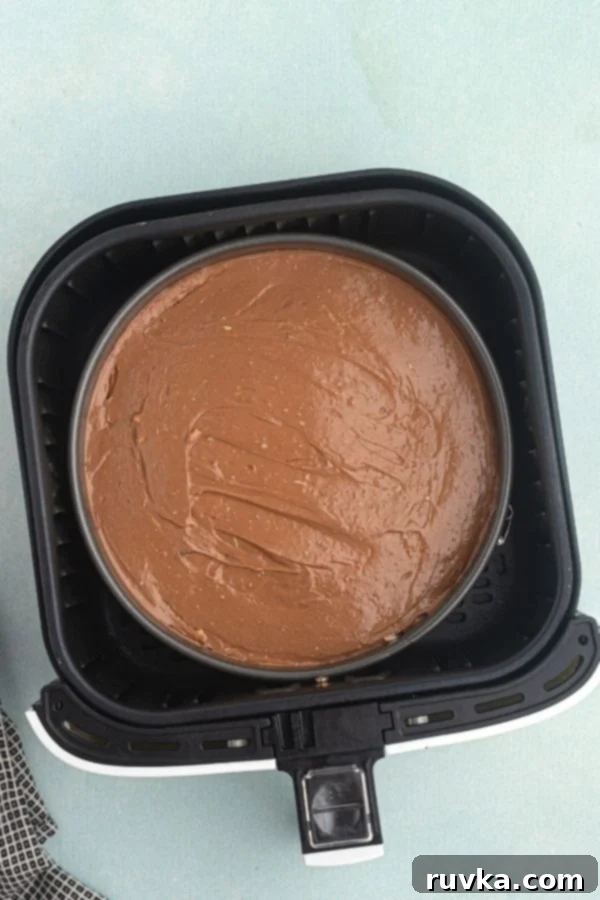
Cook your cheesecake at 300 degrees F for approximately 18 minutes. It’s important to remember that all air fryers vary slightly in wattage and efficiency, so you might need to adjust the cooking time by 1-3 minutes. The cheesecake is done when the edges are slightly set and firm, but the very center still has a slight wobble – this is perfectly normal! It will continue to set as it cools.
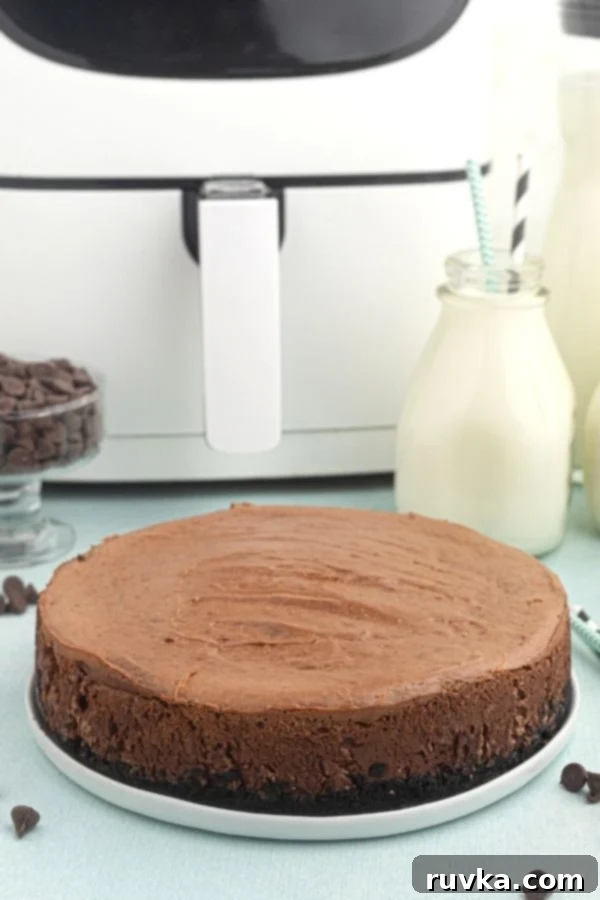
Once cooked, carefully remove the cheesecake from the air fryer basket. This is where patience is key: place it in the refrigerator to chill and set completely. This process can take several hours, and for the absolute best results and a truly firm, sliceable cheesecake, letting it chill overnight is highly recommended. A well-chilled cheesecake is not only easier to slice but also boasts a superior texture and enhanced flavor profile. Once fully chilled, you can carefully release it from the springform pan, garnish, and serve!
Serving Suggestions and Storage Tips
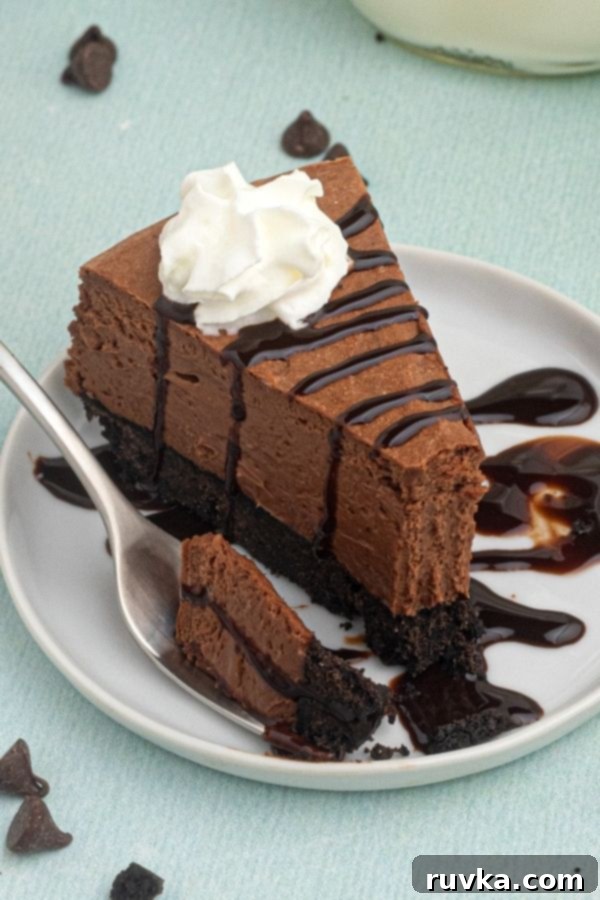
Once your Air Fryer Chocolate Cheesecake is perfectly chilled, it’s ready to be adorned and enjoyed! For a truly elegant presentation, consider drizzling extra melted chocolate or a rich caramel sauce over each slice. A dollop of freshly whipped cream, a sprinkle of chocolate shavings, or even a few fresh berries can add both visual appeal and a delightful contrast in texture and flavor. This chocolate cheesecake is also fantastic simply on its own, allowing its deep, rich flavors to shine through.
To store any leftovers, cover the cheesecake tightly with plastic wrap or aluminum foil and keep it in the refrigerator. It will stay fresh and delicious for 3-5 days. For longer storage, slices can be individually wrapped and frozen for up to one month. Thaw in the refrigerator overnight before serving for the best texture.
FAQs: Your Air Fryer Cheesecake Questions Answered
Can you make a cheesecake without a springform pan?
Absolutely, yes! While a springform pan is highly recommended for its ease of removal and the beautiful presentation it allows, you can certainly cook your cheesecake in other types of pans. A regular round cake pan, a pie dish, or even a deep-dish tart pan can work. The key is to line it exceptionally well with parchment paper, extending the paper up over the sides to create “handles” for lifting the cheesecake out once it’s cooled and set. Be aware that removal and presentation might be a bit more challenging, but the taste will still be amazing. Always remember to lightly butter or spray the pan for extra non-stick insurance!
Why do I need corn starch for my cheesecake filling?
Cornstarch plays a vital role in achieving the perfect cheesecake consistency. Along with the eggs, it acts as a thickening agent, providing structure to the creamy filling. This helps prevent the cheesecake from becoming too runny or having a custard-like texture. More importantly, cornstarch contributes to that smooth, dense, yet melt-in-your-mouth texture that makes a cheesecake so appealing. It also helps in preventing cracks on the surface during cooling by providing stability to the egg proteins, allowing the cheesecake to set more evenly.
Why is my cheesecake not creamy?
The creaminess of your cheesecake filling is heavily dependent on the initial texture of your cream cheese. If your cream cheese is not completely softened to room temperature before mixing, it will inevitably lead to a lumpy, chunky filling that lacks that desired silky-smooth consistency. Cold cream cheese simply won’t incorporate properly with the other ingredients, creating a grainy texture. Additionally, using chilled cream cheese can cause issues when you add melted chocolate, potentially making the chocolate seize up and creating uneven distribution. Always plan ahead and let your cream cheese sit out on the counter for at least an hour or two before you begin baking to ensure it’s perfectly pliable and ready for mixing.
MORE AIR FRYER RECIPES TO EXPLORE:
- Oreo Cheesecake
- Classic Cheesecake
- Decadent Brownies
- Juicy Hamburgers
- Tender BBQ Ribs
8
Air Fryer Chocolate Cheesecake
Becky
10 minutes
18 minutes
28 minutes
Rate
Equipment
-
Air Fryer
-
8 Inch Springform Pan
Ingredients
Cheesecake Oreo Crust
-
30
cookies
crushed (approx. 1 package of Oreos) -
1/2
cup
unsalted butter, melted
Cheesecake Filling
-
2
cups
semi-sweet chocolate chips, melted -
24
ounces
cream cheese, (3-8 ounce packages, softened to room temperature) -
1/2
cup
powdered sugar -
2
teaspoon
cornstarch -
2
large
eggs -
1
teaspoon
vanilla extract
Prevent your screen from going dark
Instructions
-
Prepare your 8-inch springform pan by lining the bottom with a circle of parchment paper. Then, lightly butter the inside walls of the pan to ensure the cheesecake can be easily removed after cooking and chilling.
-
Crush the Oreo cookies finely in a food processor until they resemble fine crumbs. Alternatively, place them in a sturdy large bag and crush them thoroughly with a rolling pin.
-
Transfer the crushed Oreo crumbs into a large bowl. Pour in the melted unsalted butter and stir well until the crumbs are thoroughly moistened and combined.
-
Press the cookie and butter mixture firmly and evenly into the bottom of the prepared springform pan. Use the back of a spoon or your fingers to compact it well. Set the pan aside.
-
In a microwave-safe bowl, melt the semi-sweet chocolate chips. Microwave in 30-second intervals, stirring well after each, until the chocolate is completely smooth and melted. Set aside to cool slightly while you prepare the filling.
-
In a large mixing bowl or the bowl of a stand mixer, beat the room temperature cream cheese until it is incredibly smooth and creamy, with no lumps.
-
Add in the powdered sugar, cornstarch, large eggs, and vanilla extract. Beat on medium speed until all ingredients are just combined and the filling is smooth. Quickly fold in the slightly cooled melted chocolate until it’s evenly distributed throughout the filling, making sure not to overmix.
-
Pour the chocolate cheesecake filling over the pressed Oreo crust in the springform pan. Gently spread the filling evenly with a spatula or spoon. Preheat your air fryer to 300 degrees Fahrenheit (150°C). Carefully place the springform pan into the air fryer basket. Cook for 18 minutes.
-
Once cooked, the cheesecake will still be slightly soft in the center; this is normal. Remove the pan from the air fryer basket and let it cool on a wire rack at room temperature for about 30 minutes. Then, transfer it to the refrigerator to chill and set completely for at least 6-8 hours, or preferably overnight, for the best texture and flavor. If you’re in a hurry, you can chill it in the freezer for about an hour.
Notes
The cheesecake will feel a little soft when it’s finished cooking in the air fryer. Don’t worry, this is expected! It will firm up considerably as it cools and chills in the refrigerator. Always ensure you line the bottom of your springform pan with parchment paper and lightly butter the sides of the pan walls. The very first time I made an air fryer cheesecake, I forgot to butter the sides, and it stuck a little bit. If you happen to forget, simply slide a thin knife carefully between the cheesecake and the pan edge and gently work your way around until it loosens. This small step makes a big difference for a clean release!
Remember that chilling is crucial for a cheesecake to fully set and for its flavors to develop depth. Don’t rush this step; the longer it chills, the better the final result will be. For optimal taste and a perfectly sliceable consistency, an overnight chill in the refrigerator is truly ideal. If you’re pressed for time, a good hour in the freezer can help accelerate the setting process, allowing you to enjoy your decadent treat sooner.
Nutrition
Calories:
613
kcal
,
Carbohydrates:
62
g
,
Protein:
7
g
,
Fat:
38
g
,
Saturated Fat:
20
g
,
Trans Fat:
1
g
,
Cholesterol:
80
mg
,
Sodium:
221
mg
,
Potassium:
369
mg
,
Fiber:
5
g
,
Sugar:
41
g
,
Vitamin A:
450
IU
,
Calcium:
48
mg
,
Iron:
7
mg
Nutrition information is automatically calculated, so should only be used as an approximation.
Loved this recipe? Share your thoughts below!
