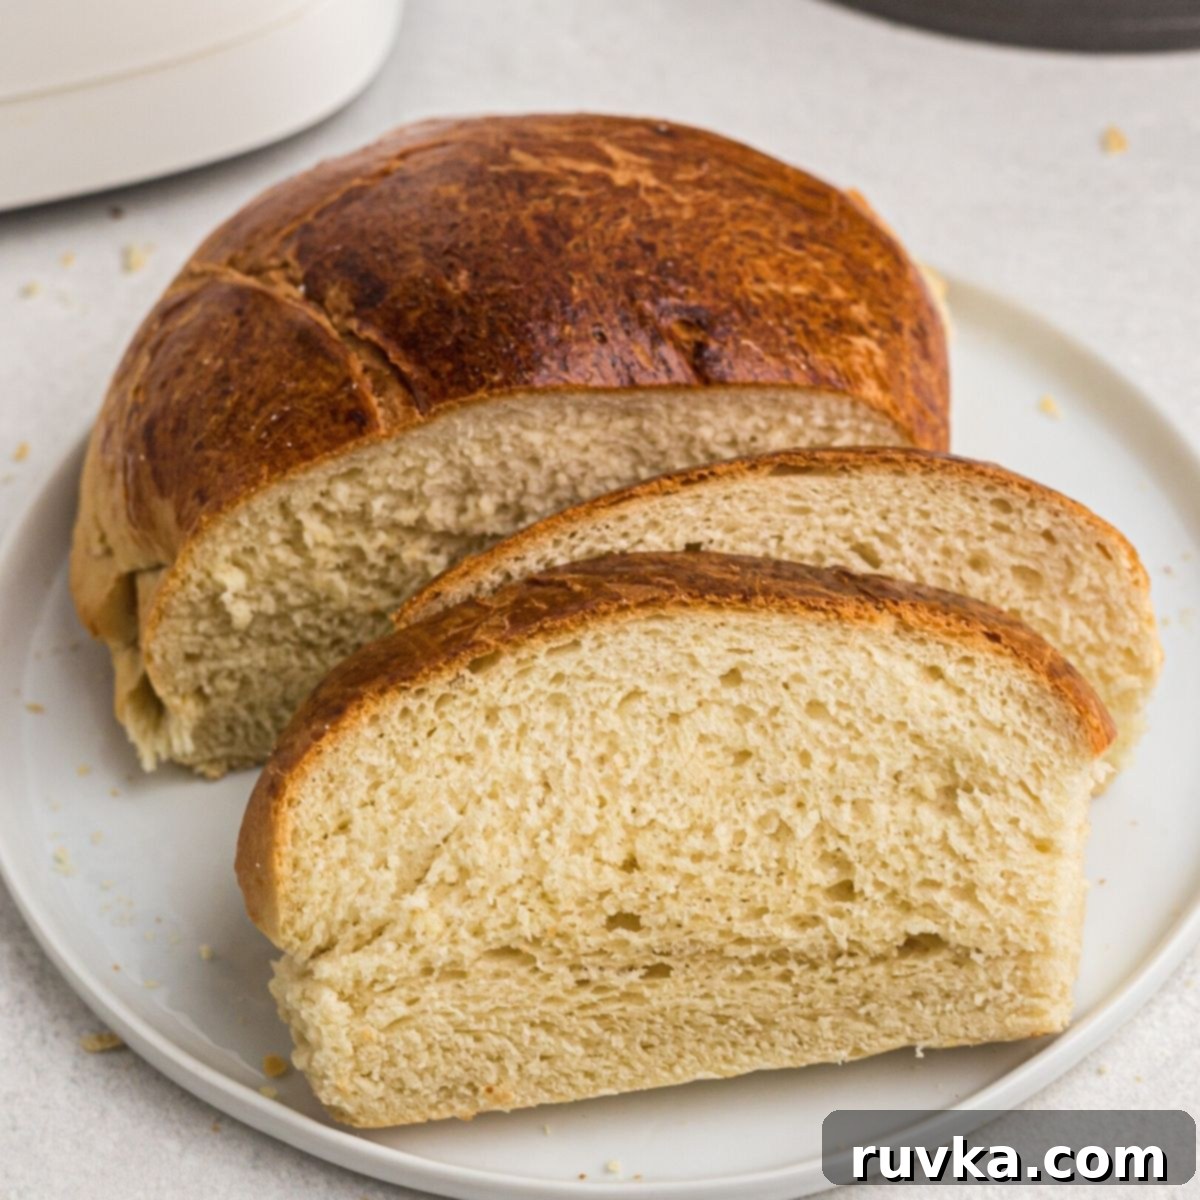
Achieve Perfect Homemade Bread with Your Air Fryer: Soft, Golden Loaves Made Easy
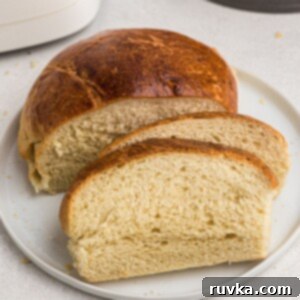
Imagine the warm, inviting aroma of freshly baked bread filling your kitchen, its crust golden and tender, and the inside incredibly soft and fluffy. Now, picture achieving all of this with minimal effort and in a fraction of the time, right in your air fryer! This **air fryer bread recipe** is a true game-changer, simplifying homemade bread-making for even the busiest home cooks. Crafted from basic pantry staples, it requires very little hands-on time, making it accessible to everyone. Once your dough is perfectly mixed and shaped, your trusty air fryer handles the rest, transforming simple ingredients into a beautiful loaf that’s ideal for toast, sandwiches, or simply enjoyed warm with a pat of butter. It’s truly simple, remarkably fast, and consistently turns out soft, fluffy, and golden brown.
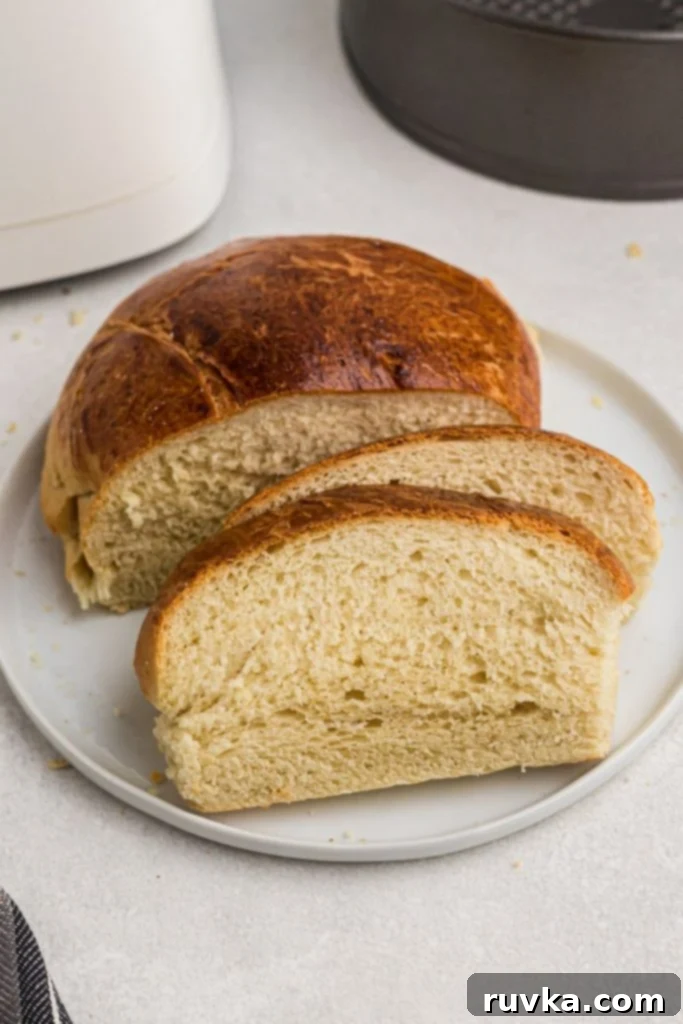
“This was so simple and easy to make. It tastes so good. Thank you for sharing this awesome recipe. I will never be without bread again.”
-Betty
This air fryer bread recipe has quickly become a household favorite due to its undeniable ease and incredibly delicious results. There’s truly nothing quite like the experience of pulling a warm, homemade loaf from your appliance, especially when it’s done much faster than traditional oven baking. The consistent circulation of hot air in an air fryer ensures an evenly cooked interior and a delightfully crispy crust, something often harder to achieve in a conventional oven without careful monitoring. My children, in particular, adore the special touch that fresh bread brings to their favorite meals, whether it’s for Air Fryer Eggs in a Basket, or a perfectly golden Air Fryer Grilled Cheese Sandwich. It’s a wonderful way to elevate everyday meals and create lasting memories in the kitchen.
If you’re looking to expand your air fryer baking repertoire beyond this fantastic loaf, be sure to explore other delightful bread creations. From savory options to quick-breads, the air fryer proves its versatility time and again. Consider trying Air Fryer Irish Soda Bread for a taste of tradition, classic Air Fryer Yorkshire Pudding as a savory side, flavorful Air Fryer Ranch Breadsticks for a zesty twist, Easy Air Fryer Garlic Knots for an irresistible appetizer, or even the unique and low-carb Cloud Bread recipe. Each offers a distinct flavor and texture, showcasing the endless possibilities of air fryer baking and inviting you to experiment with new culinary adventures.
Table of Contents
- Why Bake Bread in an Air Fryer? The Benefits Unveiled
- Essential Ingredients for Your Perfect Air Fryer Bread
- Recipe Variations to Try: Customizing Your Loaf
- How To Cook Bread in Air Fryer: A Step-by-Step Guide
- Pro Tips for Perfect Air Fryer Bread Every Time
- Troubleshooting Common Bread Baking Issues
- Easy Air Fryer Bread FAQs: Your Questions Answered
- More Air Fryer Bread Recipes to Explore
- Air Fryer Bread Full Recipe Card
Why Bake Bread in an Air Fryer? The Benefits Unveiled
You might be wondering why you should consider baking bread in an air fryer when a traditional oven has always done the job. The answer lies in several compelling advantages that make the air fryer a surprisingly efficient and convenient tool for bread making. Firstly, air fryers circulate hot air rapidly and efficiently, leading to significantly faster cooking times compared to a conventional oven. This means you can enjoy fresh, homemade bread in a fraction of the time, perfect for busy weeknights or impromptu cravings.
Secondly, this consistent and powerful circulation of hot air often results in a more evenly cooked interior and, crucially, a perfectly golden and tender crust without the need for additional fuss. The compact size of most air fryers also means they preheat much faster and use less energy than a large oven, making them an energy-efficient choice for smaller households or when you simply don’t want to heat your entire kitchen. For those seeking fresh bread without the commitment of a lengthy baking process or the high energy consumption, the air fryer is an unbeatable choice. It consistently delivers beautifully baked bread with a tender crumb and a delightful exterior, making homemade bread a realistic and enjoyable weekday treat.
Essential Ingredients for Your Perfect Air Fryer Bread
Beyond your air fryer, a suitable springform pan (or any small, oven-safe dish that comfortably fits your appliance), and a sturdy mixing bowl, you’ll need a handful of everyday ingredients. Each component plays a vital role in creating the soft, golden loaf you’re after, contributing to its texture, flavor, and rise:
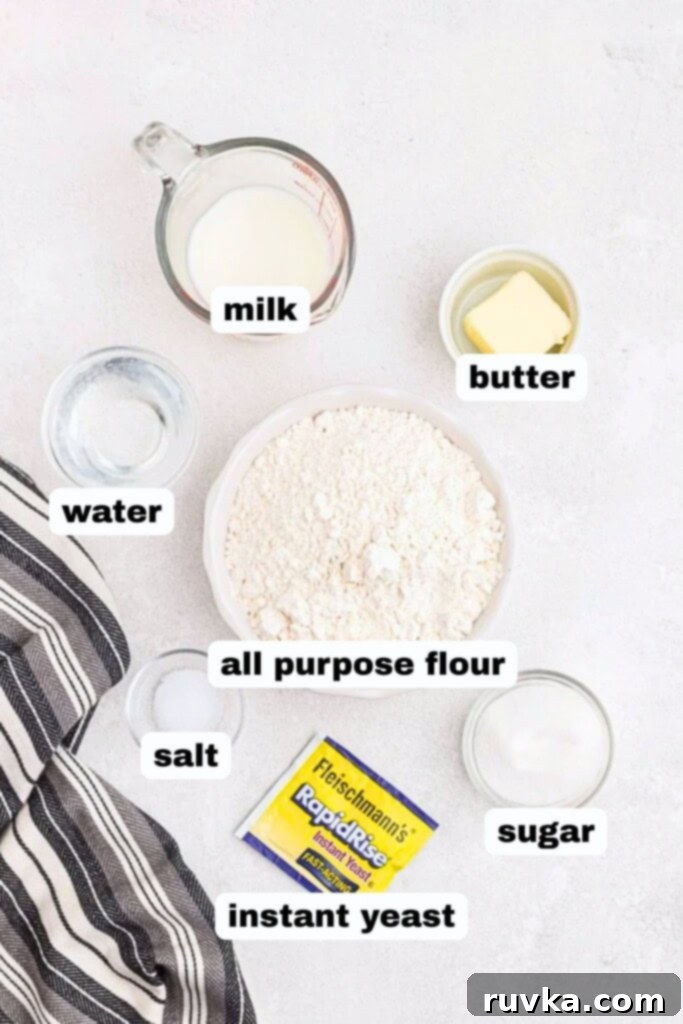
- All-Purpose Flour: This is the foundation of our bread, providing the ideal structure and yielding that wonderfully soft and fluffy texture that’s characteristic of classic white bread. While you can experiment with other flours, all-purpose flour offers reliable and consistent results, making it perfect for beginners and seasoned bakers alike.
- Instant Yeast: The secret to a quick and efficient rise! Instant yeast doesn’t require proofing beforehand, allowing you to mix it directly with dry ingredients, which streamlines the entire process and significantly reduces the overall waiting time, getting you to fresh bread faster.
- Granulated Sugar: A small but crucial amount of sugar serves a dual purpose here. It acts as essential food for the yeast, helping it activate and produce carbon dioxide, which is what makes the bread rise beautifully. It also contributes a subtle sweetness that balances the savory notes and enhances the overall flavor of the bread.
- Salt: Absolutely essential for both flavor and function, salt enhances all the other ingredients and plays a key role in regulating the yeast’s activity, preventing it from rising too quickly and creating a better, more consistent crumb structure. Don’t skip it!
- Milk: Using milk instead of just water adds richness, tenderness, and a finer, softer crumb to the bread. It contributes to a wonderfully moist interior and a more nuanced, inviting flavor profile that sets homemade bread apart.
- Unsalted Butter: Softened unsalted butter enriches the dough, providing crucial moisture, improving the texture, and adding a delightful, indulgent buttery flavor that permeates every slice. It also assists in achieving that desirable golden-brown and slightly crispy crust.
- Whisked Egg (for egg wash): Brushed generously onto the top of the dough just before baking, a whisked egg creates a beautiful, glossy, and deeply golden crust. This not only makes the bread look appealing but also helps to seal in moisture, contributing to an even softer interior.
A complete, detailed list of ingredients with exact measurements is provided in the comprehensive recipe card at the bottom of this article, ensuring you have everything you need for success.
Recipe Variations to Try: Customizing Your Loaf
One of the true joys of baking at home is the ability to customize your creations to suit your taste or occasion. This air fryer bread recipe is a fantastic canvas for various flavors and textures. Don’t be afraid to get creative and make it your own!
- Hearty Whole Wheat Version: For a slightly denser, nuttier loaf with added fiber and a more robust flavor, consider swapping half of the all-purpose flour for whole wheat flour. You might find you need to add an extra tablespoon or two of liquid (milk or water) as whole wheat flour absorbs more moisture.
- Savory Cheesy Bread: Elevate your loaf by mixing in ½ cup of shredded cheddar, Parmesan, or a blend of your favorite cheeses (like Gruyère or mozzarella) into the dough during the kneading stage. This cheesy version is absolutely perfect for serving alongside soups, stews, or a hearty chili.
- Aromatic Garlic Herb Bread: Infuse your bread with incredible Mediterranean-inspired flavors by adding 1 teaspoon of dried Italian herbs (such as oregano, basil, and thyme) and 1 finely minced clove of fresh garlic directly into the dough when you add the other dry ingredients. A sprinkle of flaky sea salt on top before baking would also be a delicious addition.
- Sweet Cinnamon Raisin Bread: For a delightful breakfast or snack bread that pairs wonderfully with coffee or tea, add an additional ¼ cup of granulated sugar (in addition to the original 2 tablespoons), 1 teaspoon of ground cinnamon, and ½ cup of plump raisins to the dough. This is truly wonderful toasted with a bit of cream cheese or butter.
- Everything Bagel Spice Topping: For a bread reminiscent of your favorite bagel, omit the egg wash initially. Instead, brush the top of the risen dough with melted butter or milk, then generously sprinkle with everything bagel seasoning. The crunchy, savory topping adds incredible flavor and texture.
- Herb and Olive Oil Infusion: For a rustic, fragrant loaf, replace the butter with 2 tablespoons of good quality olive oil. You can also mix in 1-2 tablespoons of fresh, chopped rosemary or thyme into the dough.
How To Cook Bread in Air Fryer: A Step-by-Step Guide
Making delicious homemade bread in your air fryer is surprisingly straightforward and yields impressive results. Follow these detailed steps for a perfect loaf every time, paying attention to each stage for optimal success:
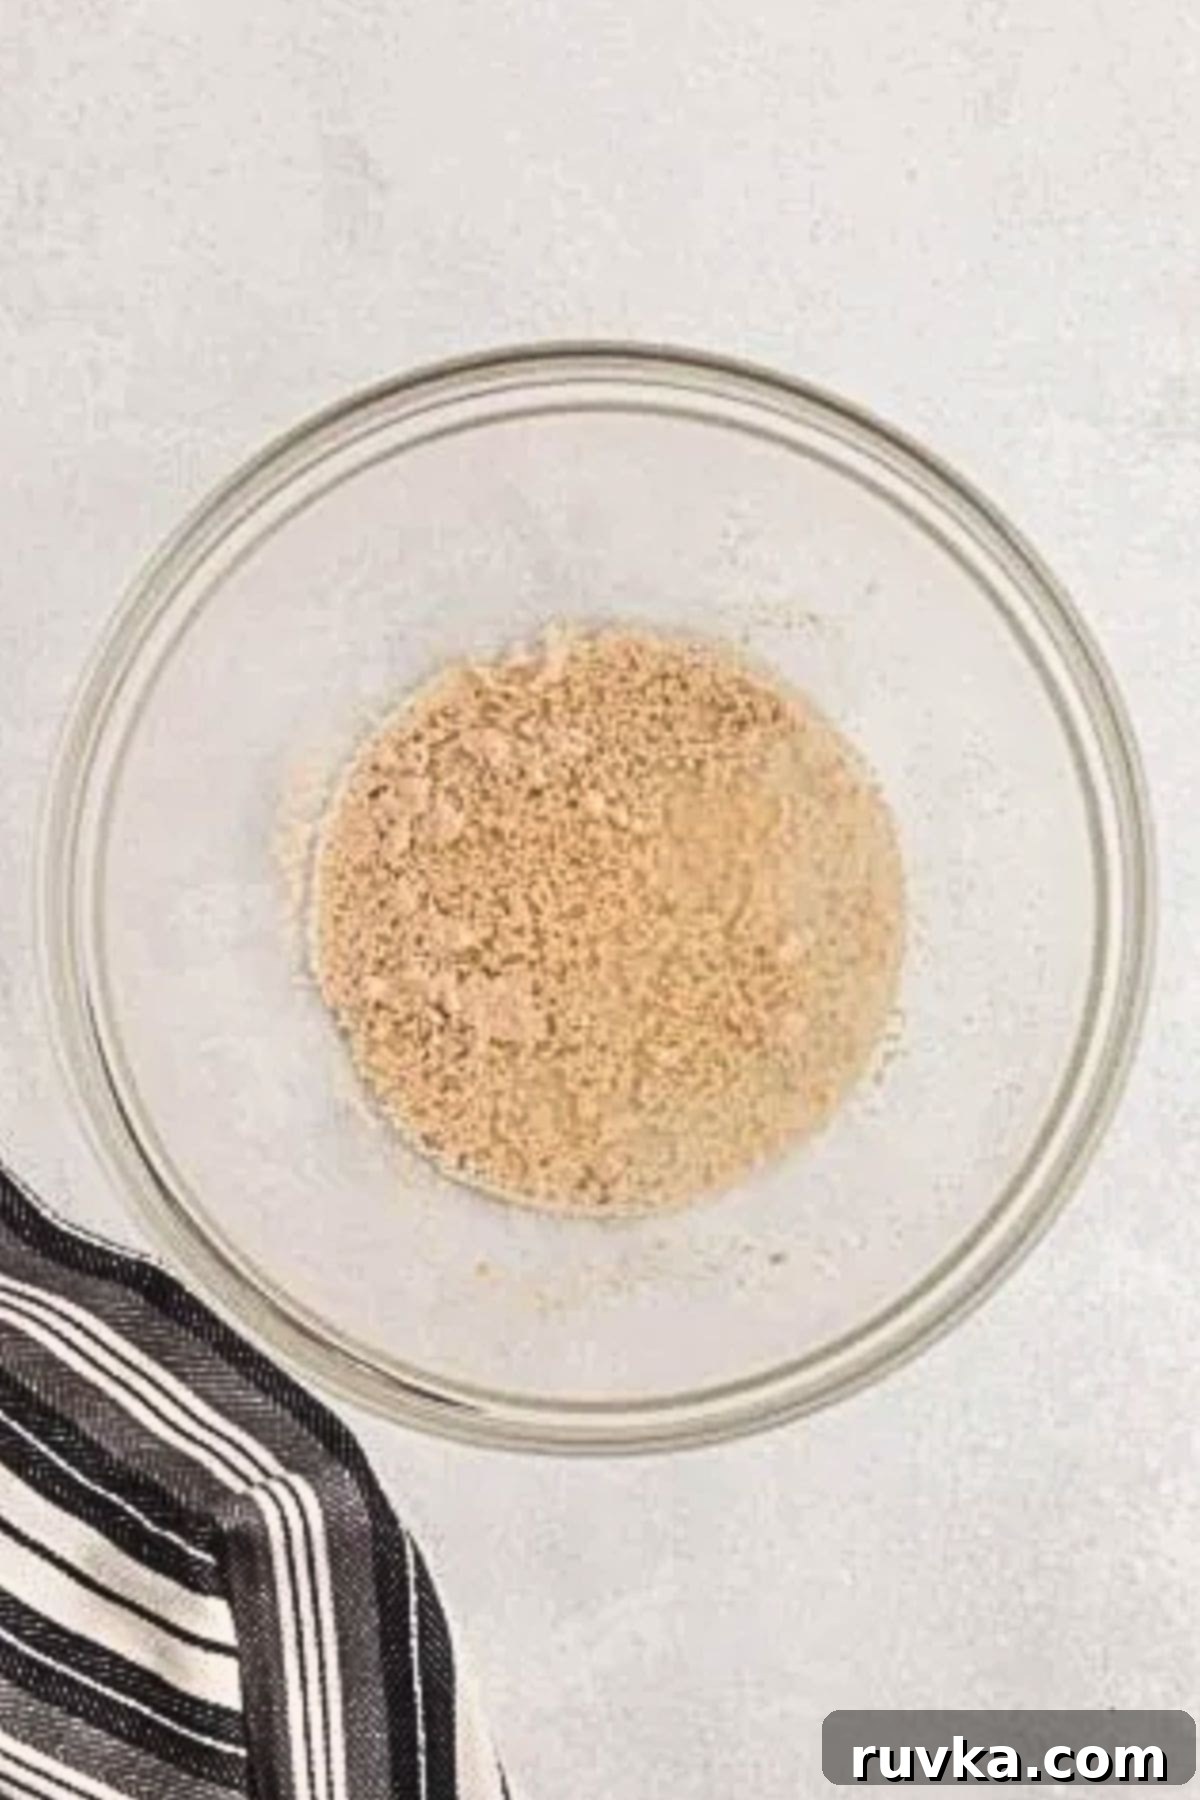
- Activate the Yeast: In a medium-sized mixing bowl, combine the specified amount of warm water (ideally between 105-115°F or 40-46°C – it should feel comfortably warm to the touch, not hot) and the instant yeast. Stir gently with a spoon to ensure the yeast is well distributed. Let this mixture sit undisturbed for 3 to 5 minutes. You’ll know the yeast is active and ready when a foamy, bubbly layer forms on the surface, indicating the yeast is alive and beginning to produce gas. If no foam appears, your yeast might be old or the water temperature was incorrect, and you should start over.
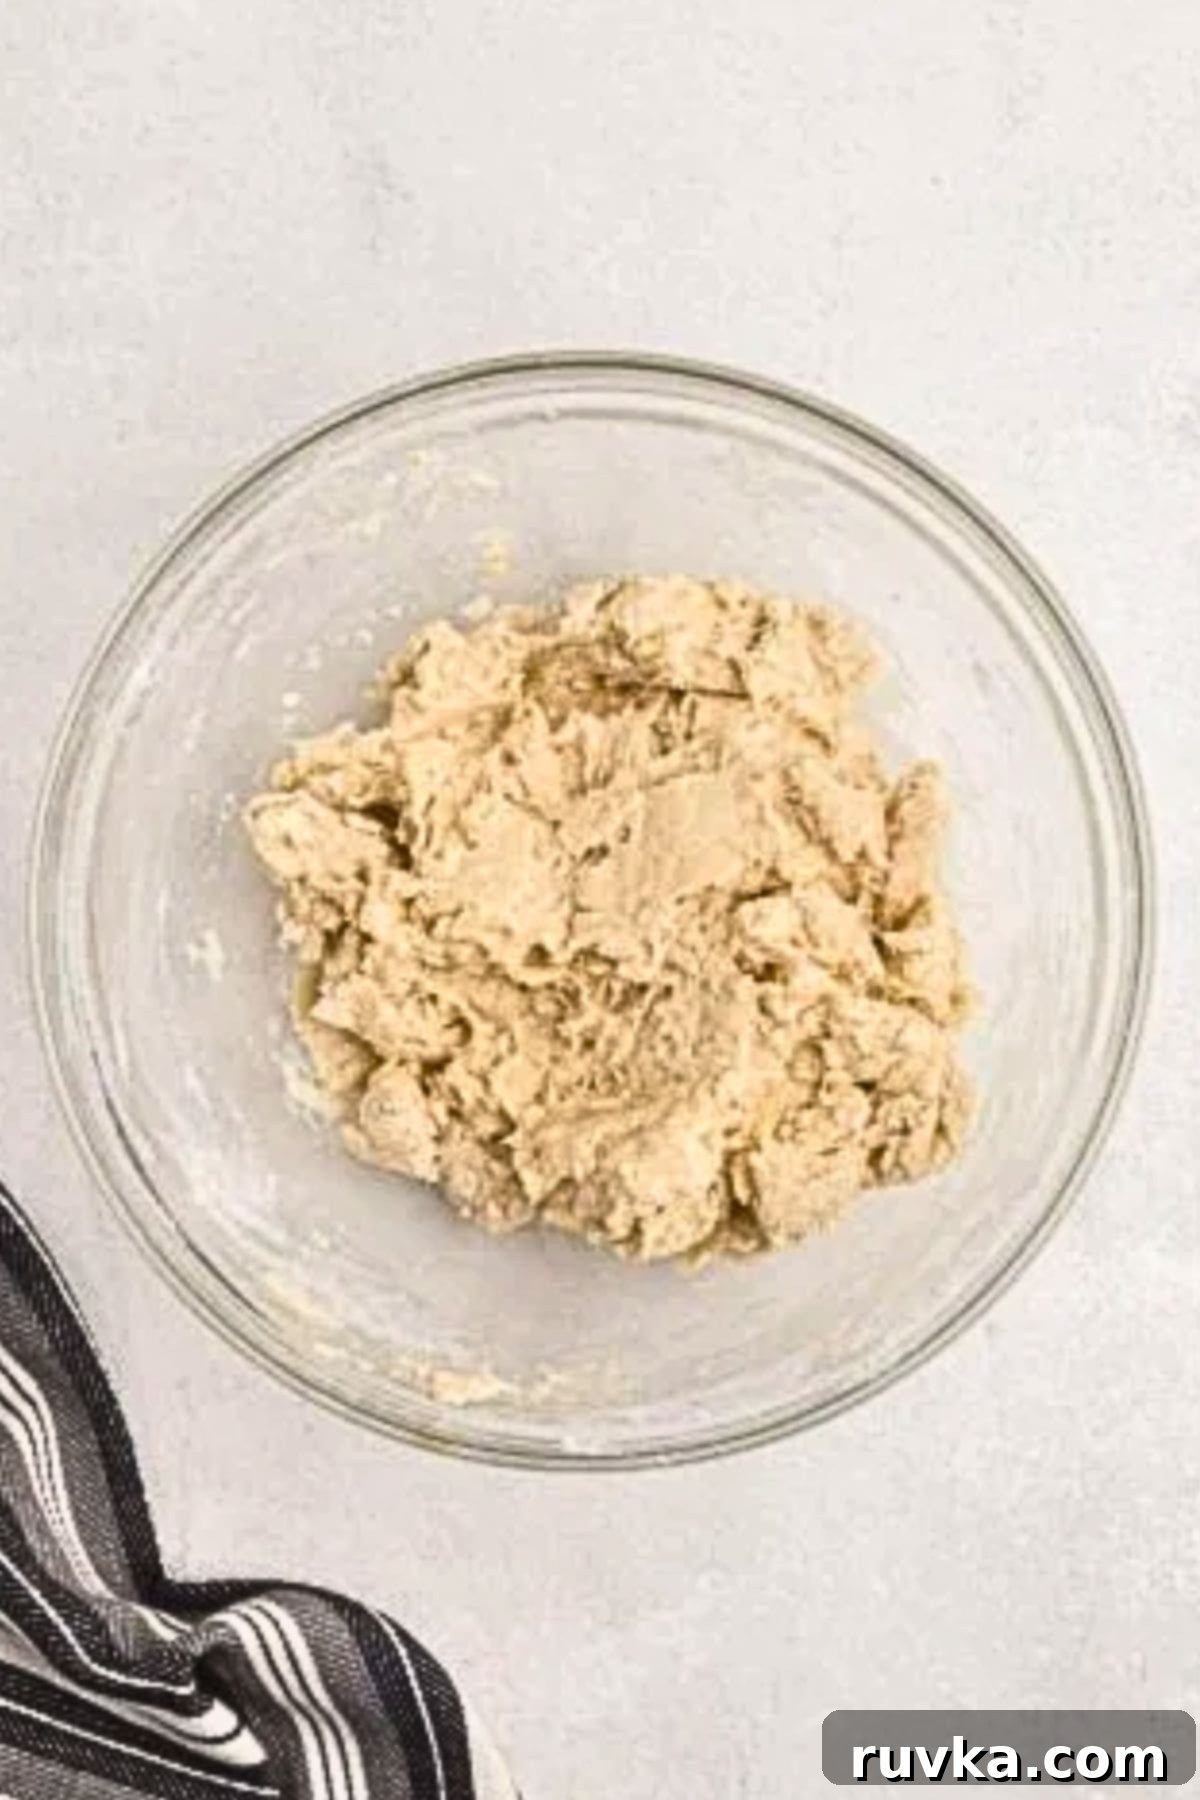
- Combine Ingredients & Knead the Dough: To the now-activated yeast mixture, add the all-purpose flour, granulated sugar, salt, milk, and softened unsalted butter. Begin to stir everything together using a sturdy spoon or spatula. Continue mixing until a shaggy, somewhat crumbly dough forms and all the dry ingredients are mostly incorporated. Transfer this dough to a lightly floured surface. Now, it’s time to knead! Knead the dough vigorously by hand for 5 to 7 minutes. Alternatively, if you have a stand mixer, use the dough hook attachment and knead on medium speed for 3-5 minutes until the dough becomes smooth, elastic, and passes the “windowpane test” – where you can stretch a small piece thin enough to see light through it without tearing. This indicates good gluten development.
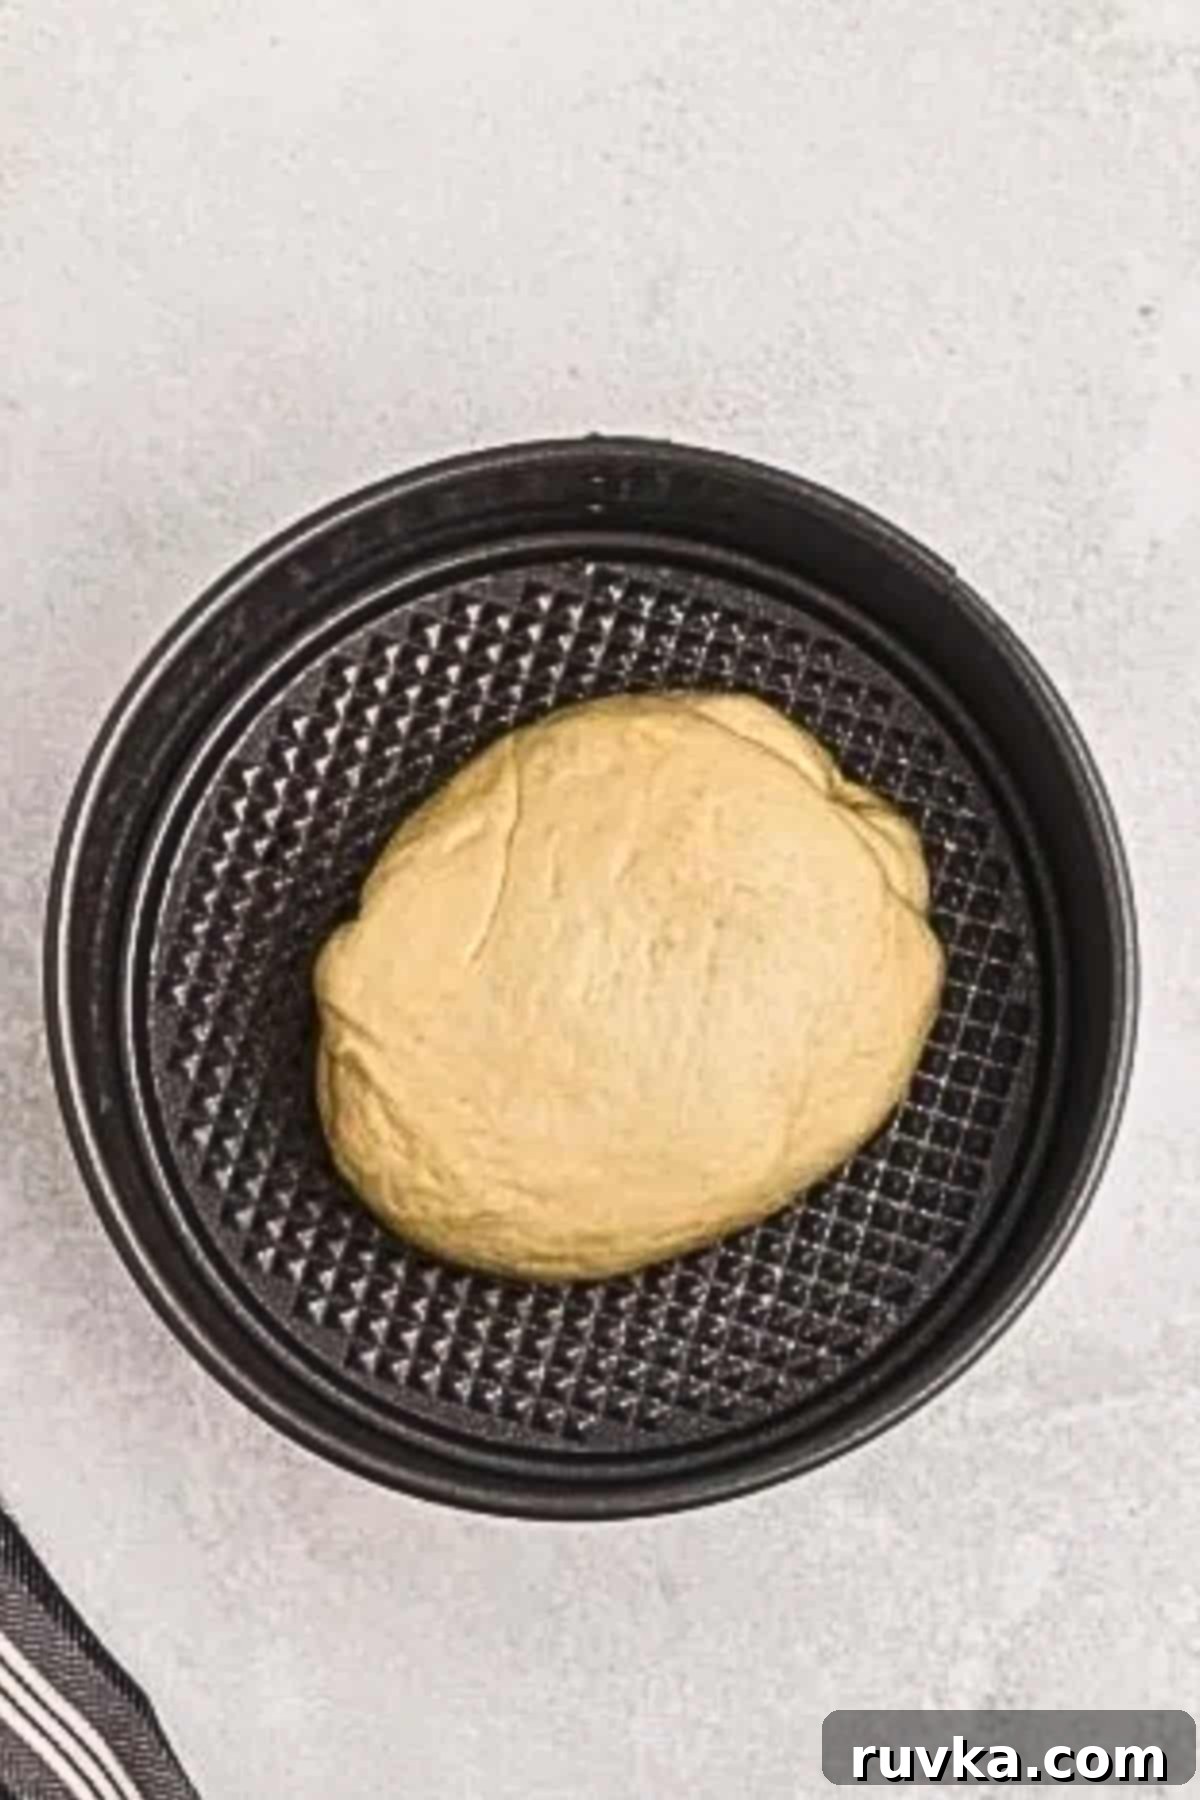
- First Rise & Shaping: Lightly oil a clean bowl (a little vegetable oil or cooking spray works well) and place the thoroughly kneaded dough inside, turning it once or twice to ensure it’s lightly coated on all sides. This prevents it from sticking as it rises. Cover the bowl with a clean kitchen towel or plastic wrap to create a warm, humid environment. Let the dough rise in a warm, draft-free spot until it has doubled in size. This crucial step typically takes about 30 to 45 minutes, though timing can vary based on your room temperature and yeast activity. Once risen, gently “punch down” the dough to release the accumulated gases, then carefully shape it into a smooth, tight ball. Line a small springform pan (or your chosen air fryer-safe dish) with parchment paper, allowing some overhang to easily lift the bread out later. Place the shaped dough into the prepared pan.
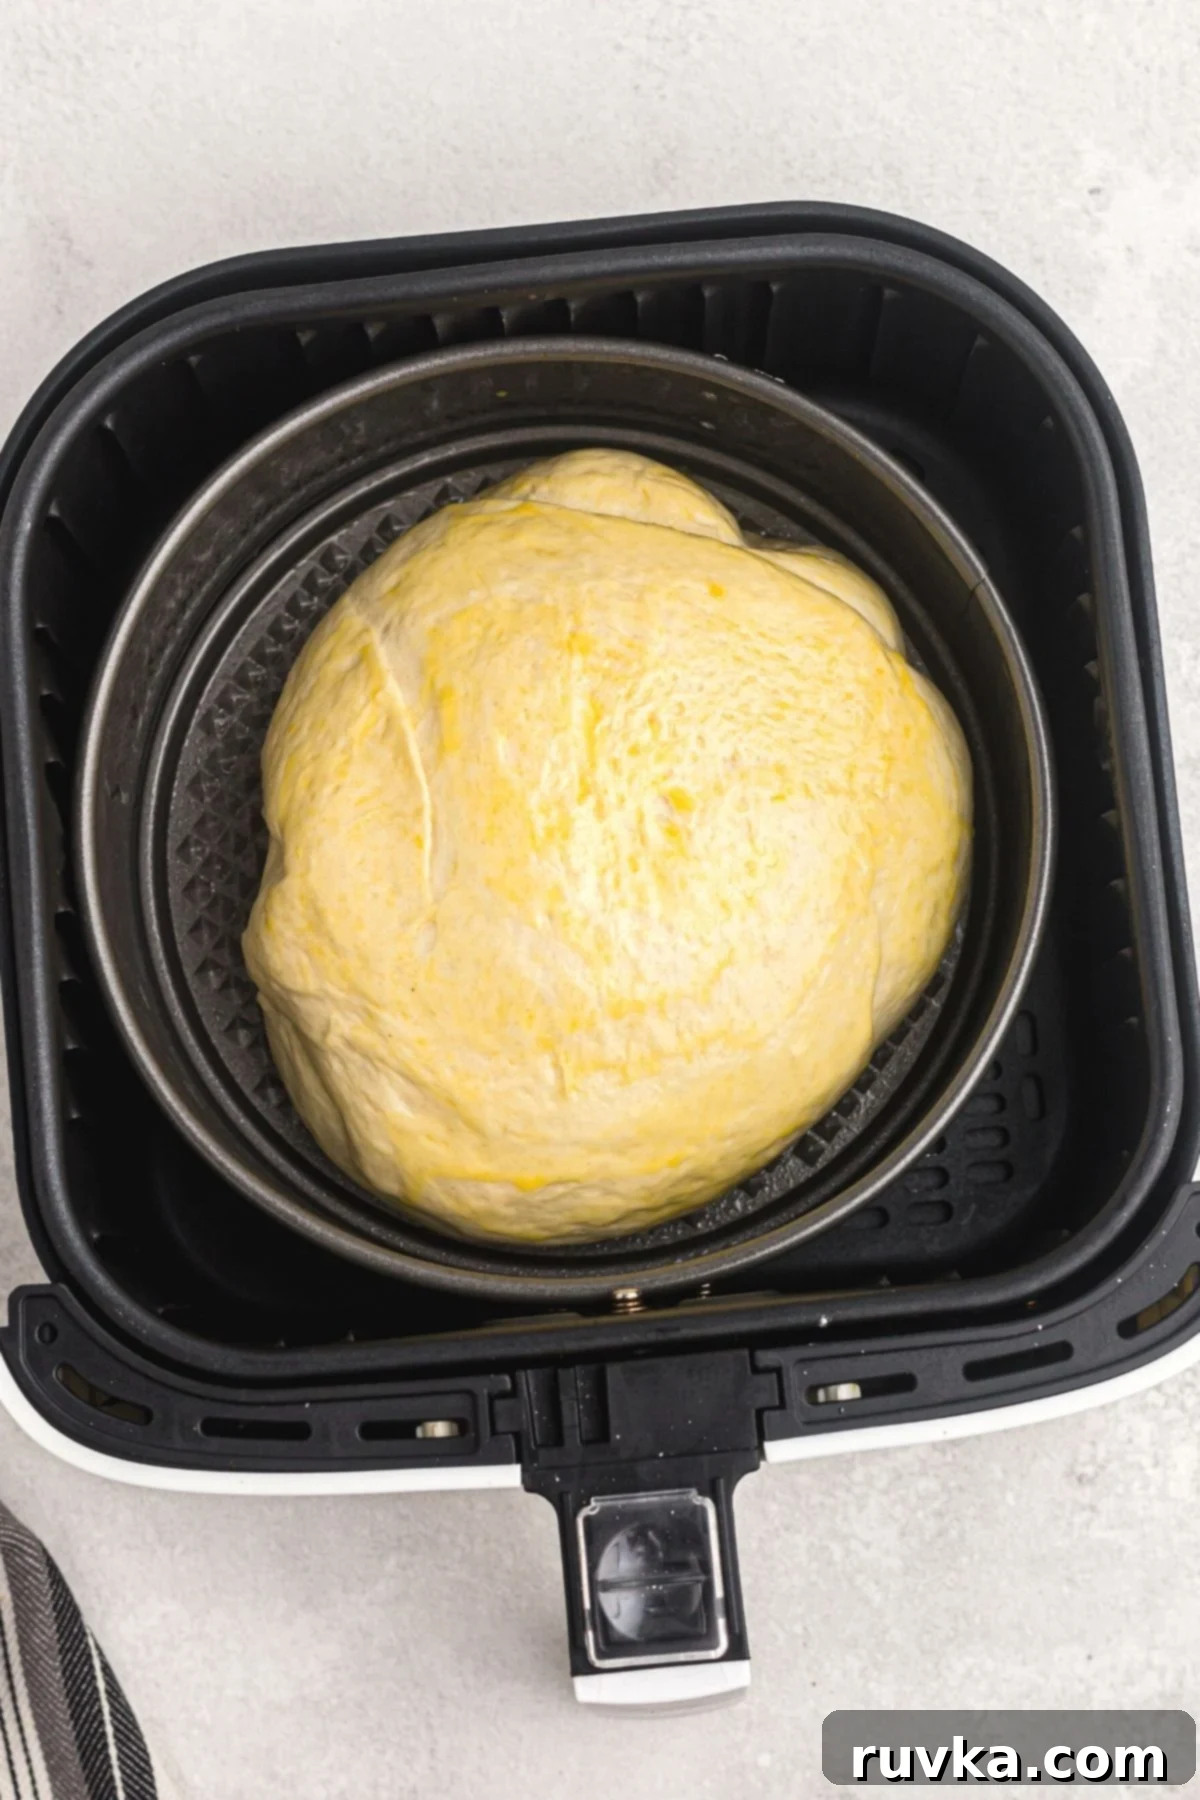
- Second Rise & Air Fry: Cover the pan containing the shaped dough and let it rise for a second, shorter period of 15 to 20 minutes. During this time, the dough will noticeably puff up again. While it’s undergoing its second rise, preheat your air fryer to 320°F (160°C). Just before baking, gently brush the top of the risen dough with the whisked egg wash, ensuring an even coating for a beautiful golden finish. Carefully place the pan directly into the preheated air fryer basket. Air fry for 8 to 10 minutes, or until the top is a deep, appealing golden brown and a toothpick inserted into the center comes out clean. For ultimate precision, an instant-read thermometer should register an internal temperature of 200-210°F (93-99°C). If the top browns too quickly, loosely tent it with foil.
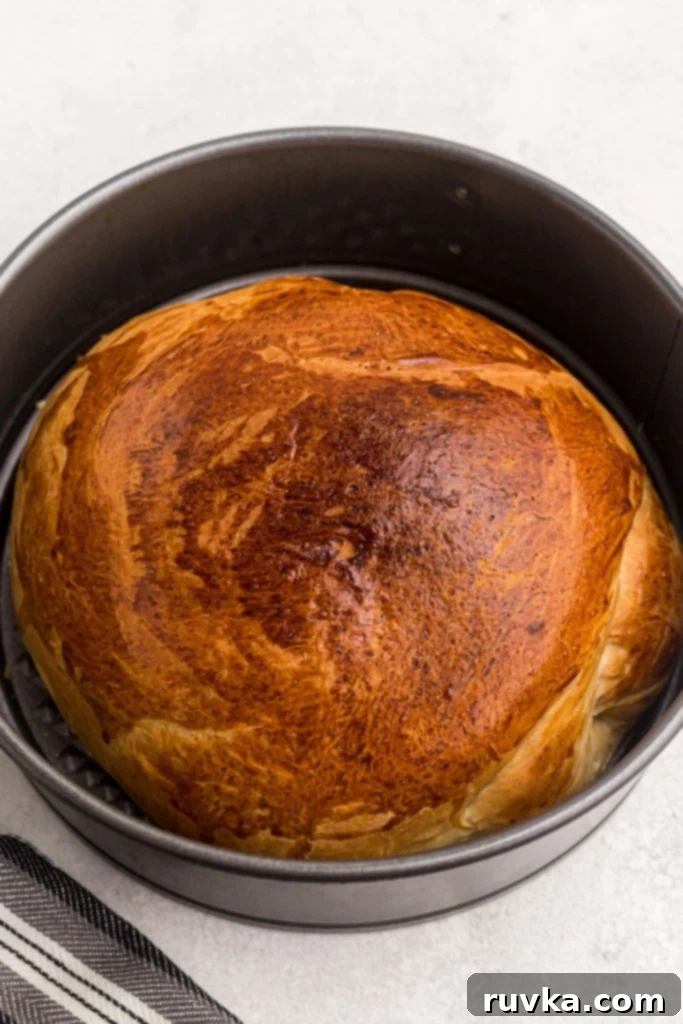
Once baked to perfection, allow the bread to cool slightly in the pan for about 5 minutes. This crucial resting period allows the crust to set and makes it easier to handle. Then, carefully remove it from the pan (using the parchment paper overhang as handles if possible) and transfer it to a wire rack to cool completely. While tempting to slice into a warm loaf, letting it cool completely is essential for the best texture and to prevent a gummy interior. Serve this warm, fragrant **air fryer bread** with a plate of cozy Marry Me Chicken, a hearty bowl of Slow Cooker Chicken Chili, or simply with butter and jam for an ultimate comfort meal everyone will adore. Enjoy the satisfaction of baking your own incredible bread!
Pro Tips for Perfect Air Fryer Bread Every Time
Achieving consistently perfect homemade air fryer bread is easy once you master a few key techniques. Here are some invaluable pro tips to ensure your loaves turn out beautifully every single time:
- Always Check Your Yeast’s Vitality: This is arguably the most critical step. Always ensure your instant yeast is fresh and active. If, after combining it with warm water (105-115°F) for 3-5 minutes, it doesn’t get foamy and bubbly, it’s likely expired or inactive. An inactive yeast means your dough won’t rise, so it’s best to discard it and start with fresh yeast.
- Precision with Water Temperature: The ideal water temperature for activating yeast is a narrow window: between 105-115°F (40-46°C). Too cold, and the yeast won’t activate; too hot, and you’ll kill the yeast, preventing any rise. A reliable kitchen thermometer is your best friend here to ensure accuracy. It should feel comfortably warm to your hand, like bathwater.
- Avoid Over-Flouring: While a lightly floured surface is necessary for kneading, resist the urge to add too much flour to your dough. Excess flour can result in a dry, dense, and tough bread with a crumbly texture. Add flour gradually, just enough to prevent sticking, keeping the dough pliable but not overly sticky.
- Find a Warm, Draft-Free Rising Spot: Yeast thrives in warmth! For optimal rising, find a cozy, draft-free spot for your dough. This could be a slightly warm oven (turned off, with just the light on), a sunny windowsill, near a heating vent, or even inside your air fryer (turned off) if your kitchen is chilly.
- Parchment Paper is Essential: Always line your air fryer pan with parchment paper. This serves multiple purposes: it prevents the dough from sticking to the pan, makes cleanup an absolute breeze, and allows for easy, mess-free removal of the baked loaf without damaging its delicate structure.
- Monitor Your Air Fryer Closely: Air fryers can vary significantly in their actual temperature and cooking performance. Keep a close eye on your bread, especially during the first bake, as cooking times can differ. If you notice the crust browning too quickly, you can loosely tent the bread with aluminum foil.
- Cool Completely Before Slicing: While it’s incredibly tempting to slice into a warm, fragrant loaf straight out of the air fryer, patience is key! Letting bread cool completely on a wire rack allows the internal structure to set properly and any remaining steam to escape, resulting in a much better texture and preventing a gummy, doughy crumb.
Troubleshooting Common Bread Baking Issues
Even experienced bakers encounter challenges from time to time, and baking in an air fryer can present its own unique quirks. Don’t worry if your first loaf isn’t perfect; here are some solutions to common issues you might face when making air fryer bread:
- The middle is doughy but the top is too browned: This is a common air fryer issue due to the direct, intense top-down heat. To prevent the crust from over-browning while the center finishes baking, loosely tent the bread with aluminum foil after about 5 minutes of cooking, or once the desired golden color is achieved. This shields the top from excessive heat, allowing the interior to fully cook.
- My dough didn’t rise properly or at all: The most frequent culprit here is inactive yeast. Double-check the expiration date on your yeast packet; old yeast simply won’t work. Also, ensure your water temperature was just right – warm (105-115°F), not hot enough to kill the yeast, and not cold enough to keep it dormant. If your kitchen environment is particularly cold, try finding a warmer spot for the dough to rise (like a turned-off oven with the light on).
- The dough is too sticky to handle and work with: If your dough feels excessively sticky after initial mixing and kneading, resist the urge to add large amounts of flour all at once. Instead, add a tablespoon of all-purpose flour at a time to your floured surface while you continue kneading. Incorporate just enough until the dough becomes manageable and less sticky, but be careful not to add too much, as this can result in a dry, dense loaf.
- The crust is too hard or too dark: Air fryers can vary significantly in their heating intensity. Your specific model might run a bit hotter than average. To achieve a softer, perfectly golden crust without burning, try reducing the air fryer temperature to 300°F (150°C) and extending the baking time slightly. The foil tenting method (see above) is also highly effective for preventing over-browning.
- My bread turned out dense and heavy: A dense loaf can be frustrating. This can be due to several factors: insufficient or inactive yeast, not enough kneading (which is crucial for developing gluten structure), or adding too much flour. Review your ingredient measurements, ensure your yeast is active, and confirm you’ve kneaded the dough until it’s smooth and elastic. Proper rising also contributes significantly to a light, airy texture.
Easy Air Fryer Bread FAQs: Your Questions Answered
Yes, you absolutely can! If using active dry yeast, you’ll need to “proof” it first. To do this, dissolve the active dry yeast in the warm water (105-115°F or 40-46°C) with a pinch of the granulated sugar specified in the recipe. Let it sit for 5-10 minutes until it becomes foamy on top. This step confirms the yeast is active. Then, proceed with adding it to your other ingredients as directed in the recipe. Keep in mind that active dry yeast generally requires a slightly longer rise time, typically about 60 to 90 minutes for the first rise, compared to the faster-acting instant yeast.
For most basket-style air fryers, a small 6-inch or 7-inch springform pan is ideal because its compact size typically fits well, and the removable side makes it incredibly easy to release the baked bread. You can also use any other small, oven-safe dish made of metal, ceramic, or silicone that comfortably fits inside your air fryer basket, leaving some space for air circulation. Always remember to line the pan with parchment paper for easy non-stick baking and trouble-free removal of your freshly baked loaf.
To keep your delicious air fryer bread fresh, allow it to cool completely after baking. Once cooled, store the loaf in an airtight container, a large resealable plastic bag, or wrapped tightly in plastic wrap at room temperature for up to 3 days. For longer storage, you can freeze individual slices or the entire loaf. Wrap it tightly in plastic wrap, then an additional layer of aluminum foil, and freeze for up to 2 months. Thaw frozen bread at room temperature or gently warm individual slices in the air fryer or toaster for a fresh-baked taste.
Yes, preheating your air fryer is highly recommended and crucial for baking bread successfully. Just like a traditional oven, preheating ensures that the air fryer reaches the precise baking temperature before the dough goes in. This initial blast of consistent heat is vital for the dough to rise correctly and rapidly (known as “oven spring”) and helps in achieving a uniform, beautifully golden crust right from the start. Skipping preheating can lead to uneven baking and a less desirable texture.
Absolutely! While a stand mixer with a dough hook makes the kneading process much easier and faster, you can achieve equally excellent results by kneading the dough by hand. Simply turn the shaggy dough out onto a lightly floured surface and knead for 5 to 7 minutes. The dough will transform from sticky and rough to smooth, elastic, and springy under your hands. Hand kneading is a wonderful way to connect with your bread and is a very satisfying process!
While you can technically double the ingredients, remember that most air fryers have limited capacity. You would need to bake the bread in two separate batches, likely using two smaller pans. Ensure each loaf has adequate space for air circulation within the air fryer basket to ensure even cooking and browning. If you have a larger air fryer model, you might be able to fit two smaller pans simultaneously, but always check for proper airflow.
More Air Fryer Bread Recipes to Explore
Loved making this simple, delightful loaf? The world of air fryer bread baking is vast and exciting, offering countless possibilities for delicious homemade treats! Here are some other fantastic air fryer bread recipes to broaden your horizons and keep your kitchen filled with irresistible aromas. Each recipe highlights the incredible versatility of your air fryer:
Side Dishes
Air Fryer Copycat Red Lobster Cheddar Bay Biscuits
Indulge in the famous restaurant favorite, recreated at home with incredible ease using your air fryer. These cheesy, garlicky biscuits are a perfect, quick companion to any meal, bringing a taste of comfort to your table.
Breakfast
Air Fryer Biscuits
Enjoy flaky, golden-brown biscuits in minutes, ideal for a quick breakfast with jam and butter, or as a warm, comforting side with savory dishes like gravy or soup. So much faster than traditional baking!
Breakfast
Air Fryer Two Ingredient Bagels
Unbelievably simple to make, these two-ingredient bagels prove that delicious homemade bread can be incredibly straightforward, requiring minimal ingredients and effort for a satisfying bite.
Side Dishes
Air Fryer Rolls
Soft, warm, and perfectly golden, these air fryer rolls are a fantastic addition to any dinner table, ready significantly faster than traditional oven-baked rolls, making them a convenient choice.
Final Thoughts on Baking Bread in Your Air Fryer
Baking bread at home is one of life’s simple pleasures, filling your home with an unparalleled aroma and offering the satisfaction of creating something delicious from scratch. With this air fryer bread recipe, it’s never been easier or faster to enjoy homemade goodness. This guide empowers you to create delicious, soft, and beautifully golden loaves with minimal fuss, transforming everyday pantry ingredients into something truly special and comforting. Whether you’re a seasoned baker looking for a quicker method or entirely new to the world of bread making, your air fryer will quickly become your favorite tool for producing perfect homemade bread every time. So, go ahead, gather your ingredients, and savor the incredible satisfaction of making your own fresh, warm, and utterly delicious air fryer bread!
Air Fryer Bread
Rate
Equipment
-
Air Fryer (basket style recommended)
-
6-inch or 7-inch Springform Pan (or other oven-safe dish that fits)
-
Large Mixing Bowl
-
Parchment Paper
-
Wire Rack for cooling
-
Kitchen Thermometer (optional, but recommended for water temperature and bread doneness)
Ingredients
- 2 1/4 teaspoons instant yeast, 1 standard packet (or active dry, see FAQ)
- 1/4 cup warm water (105-115°F / 40-46°C)
- 2 cups all-purpose flour (plus extra for dusting)
- 2 tablespoons granulated sugar
- 1/2 teaspoon salt
- 1/2 cup milk (room temperature or slightly warm)
- 2 tablespoons unsalted butter, softened to room temperature
Egg Wash
- 1 large egg, whisked well
Instructions
-
1. Activate Yeast: In a medium bowl, combine the warm water (105-115°F) and instant yeast. Stir gently and let it sit undisturbed for 3 to 5 minutes until it becomes visibly foamy and bubbly on the surface. This indicates your yeast is active and ready.
-
2. Mix the Dough: Once the yeast has activated, add the all-purpose flour, granulated sugar, milk, softened butter, and salt to the bowl. Using a sturdy spoon or spatula, stir and gently fold the ingredients together until a shaggy, somewhat crumbly dough forms and all the dry ingredients are mostly incorporated with no visible dry streaks of flour.
-
3. Knead and First Rise: Turn the dough out onto a lightly floured surface. Knead the dough by hand for 5 to 7 minutes until it becomes smooth, elastic, and no longer excessively sticky. Alternatively, use a stand mixer with a dough hook on medium speed for 3-5 minutes. Lightly oil a clean bowl, place the dough in it, turning once to coat, then cover with a clean kitchen towel or plastic wrap. Let it rise in a warm, draft-free spot for 30 to 45 minutes, or until it has clearly doubled in size.
-
4. Shape and Second Rise: Gently “punch down” the risen dough to release the accumulated air. Reshape the dough into a smooth, tight ball. Line a small springform pan (or your air fryer-safe dish) with parchment paper, leaving some overhang to act as handles. Place the shaped dough inside the prepared pan. Cover again and let the dough rise for a second, shorter period of 15 to 20 minutes, or until it looks noticeably puffed up.
-
5. Air Fry: While the dough is on its second rise, preheat your air fryer to 320°F (160°C). Once risen, gently brush the top of the bread dough with the whisked egg wash, ensuring an even coat for a beautiful golden finish. Carefully place the pan into the preheated air fryer basket. Air fry for 8 to 10 minutes, or until the top is a deep golden brown and a toothpick inserted into the center comes out clean. The internal temperature should register 200-210°F (93-99°C). If the top browns too quickly, loosely tent it with aluminum foil halfway through.
-
6. Cool and Serve: Carefully remove the baked bread from the air fryer and let it cool in the pan for about 5 minutes. This helps the crust set. Then, transfer it to a wire rack to cool completely before slicing. This step is important for the best texture. Enjoy your fresh, homemade air fryer bread!
Notes
- My dough didn’t rise: This is usually due to inactive yeast. Ensure your yeast is fresh and the water temperature is ideal (105-115°F or 40-46°C). A cold environment can also hinder rising; find a warm, draft-free spot for your dough.
- The dough is too sticky to handle: If the dough is overly sticky after kneading, add a tablespoon of all-purpose flour at a time to your floured surface while kneading. Incorporate just enough until it becomes manageable, but avoid adding too much, which can lead to dense bread.
- The crust is too hard or too dark: Air fryers can vary in heat intensity. If the crust browns too quickly, try reducing the temperature to 300°F (150°C) and extending the baking time slightly. You can also loosely tent the bread with aluminum foil after the initial browning.
- The middle is doughy but the top is browned: This indicates the outside cooked faster than the inside. To remedy this, loosely tent the bread with aluminum foil after about 5 minutes of cooking (or once the top is golden) to allow the inside to finish baking without burning the crust.
- Dense Bread: If your bread is dense, it could be due to several factors: inactive yeast, insufficient kneading to develop gluten, or too much flour. Ensure you follow the steps for yeast activation and proper kneading, and be careful with flour measurements.
Nutrition
Nutrition information is automatically calculated, so should only be used as an approximation.
Like this? Leave a comment below!
