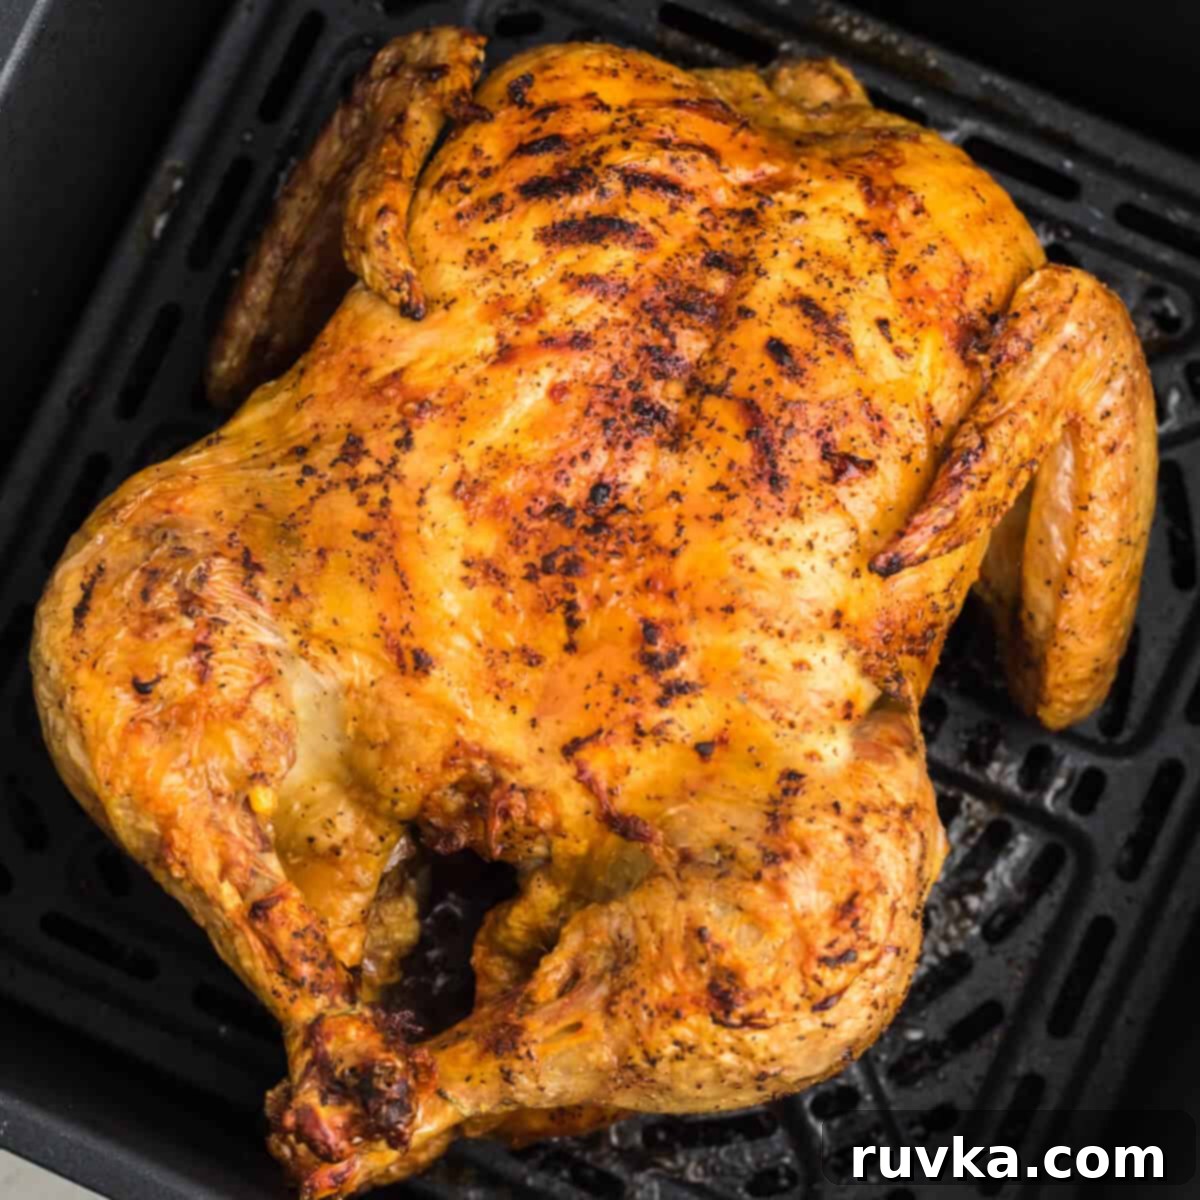
Reheat Rotisserie Chicken in Air Fryer: Achieve Perfect Crispy Skin and Juicy Meat
Rotisserie chicken is a beloved, convenient, and incredibly versatile meal option that graces many dinner tables. Whether you pick one up from your local grocery store for a quick weeknight dinner or roast your own at home, it’s a fantastic staple. But what happens when you have delicious leftovers? The challenge often lies in reheating it without losing that desirable crispy skin or making the meat dry and unappetizing. Fortunately, we’ve discovered the ultimate method: reheating leftover rotisserie chicken in the air fryer. This guide will walk you through our favorite tips and tricks, compare the air fryer method to other common reheating techniques, and ensure your leftover chicken is just as delicious as when it was first cooked.
Why the Air Fryer is the Best for Reheating Rotisserie Chicken
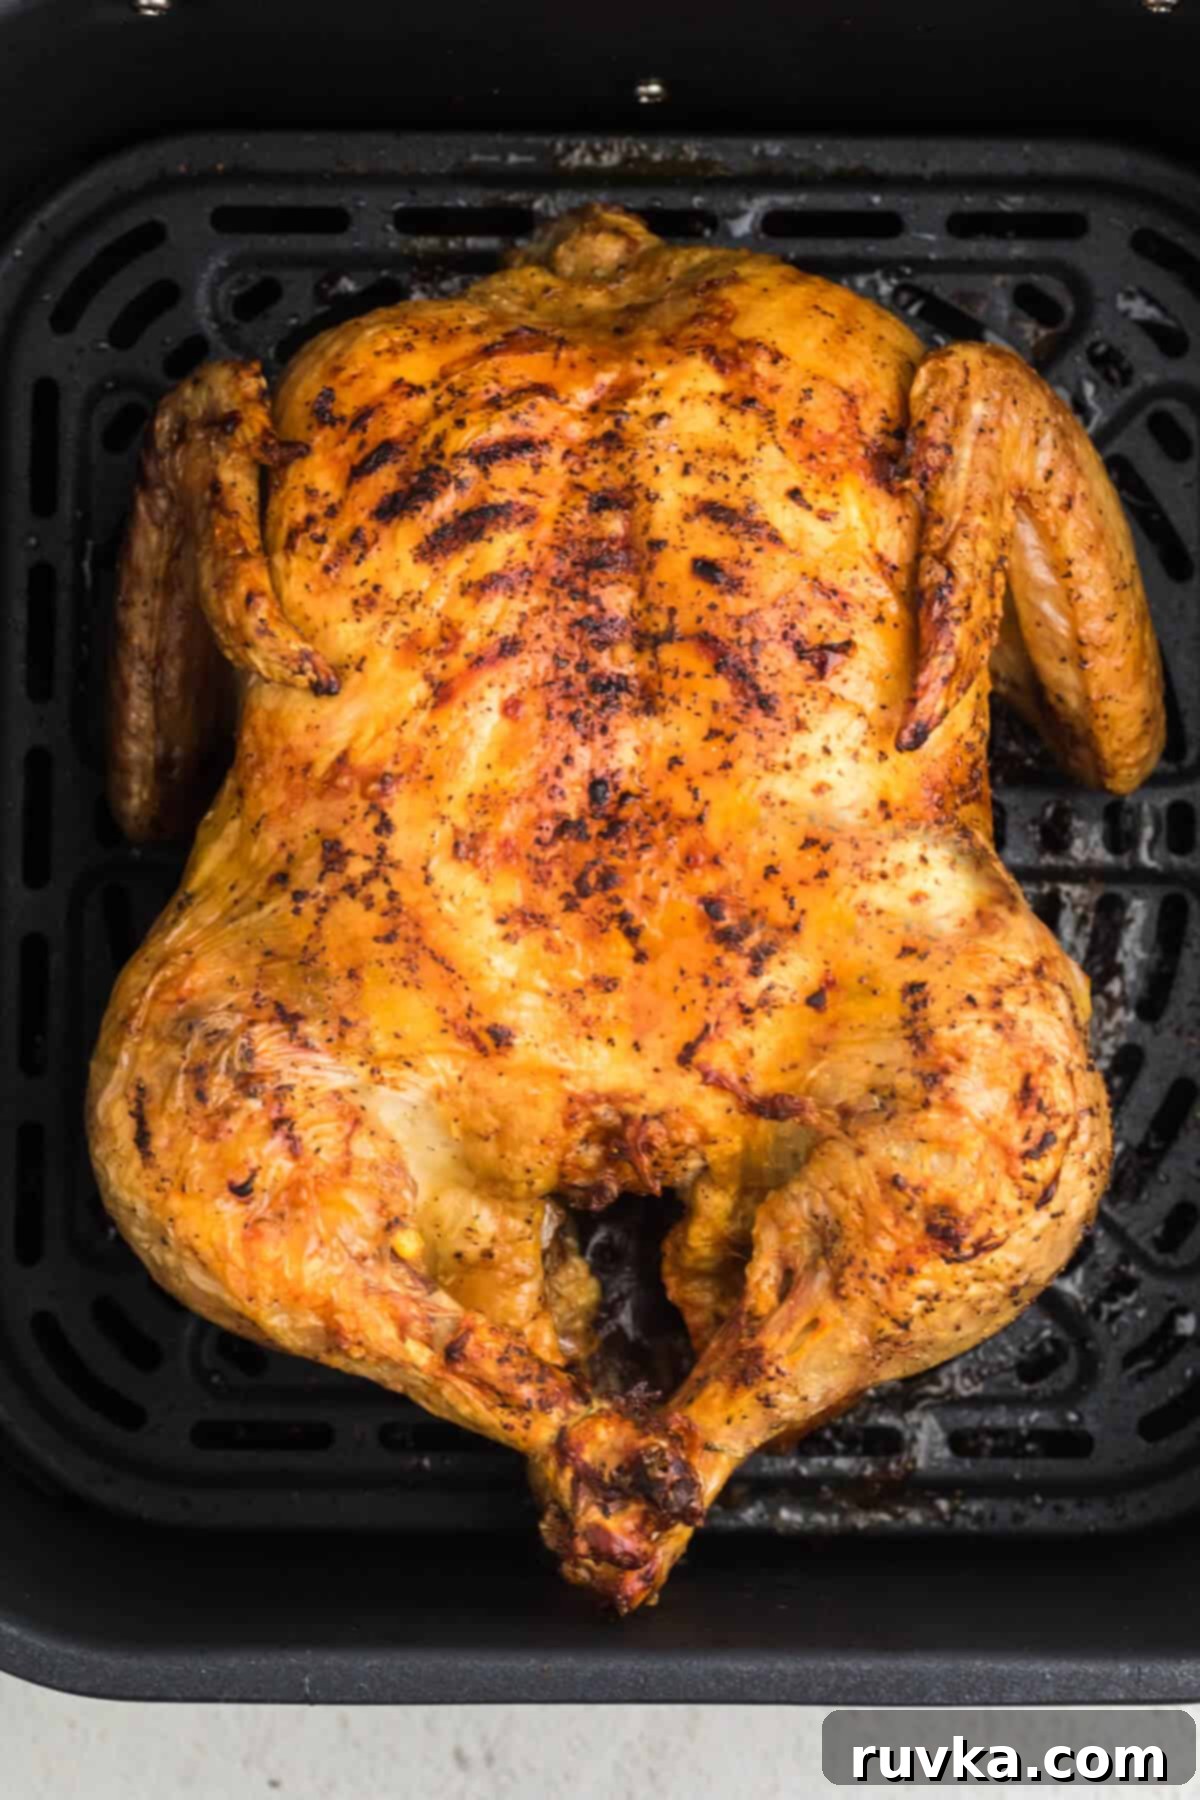
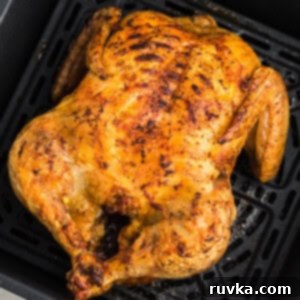
The air fryer truly works wonders for transforming cold, leftover rotisserie chicken into a piping hot, incredibly delicious meal. It stands out as the easiest and most efficient method to get those leftovers back on the table, fast. Unlike a microwave, which often leaves your chicken skin soggy and the meat unevenly heated, or a conventional oven, which can take a long time to preheat and might risk drying out your chicken, the air fryer reheats with remarkable precision.
How does it achieve this perfect balance? The secret lies in its rapid air circulation technology. By circulating superheated air around the chicken, the air fryer heats it quickly and evenly. This process not only restores the crispy exterior of the chicken but also locks in its natural moisture, ensuring every bite is juicy and flavorful. It’s like magic – you get that freshly roasted taste and texture without the fuss.
For anyone seeking a delicious meal quickly, reheating with an air fryer is a game-changer. It’s one of our favorite applications for this versatile appliance. If you appreciate how the air fryer revives chicken, you’ll also love our guides for reheating chicken wings, chicken tenders, and fried chicken. The ultimate reward is consistently juicy meat with a satisfyingly crispy skin every single time!
Table of Contents
- Why I Love This Method
- Ingredients You’ll Need
- Step-by-Step How-To Guide
- Expert Tips for Perfect Reheating
- Air Fryer vs. Other Reheating Methods
- Frequently Asked Questions
- More Air Fryer Recipes to Try
- Best Way to Reheat Rotisserie Chicken in the Air Fryer Recipe
Ingredients You’ll Need
You’ll be delighted by how few ingredients are required for this method. All you truly need is:
- Leftover Rotisserie chicken (store-bought or homemade)
- Optional: A light brushing of oil (like olive oil or avocado oil) or a spray of cooking oil for extra crispness and flavor.
- Optional: Your favorite seasonings or a pinch of salt and black pepper to refresh the flavor.
This simplicity is part of what makes air frying leftovers so appealing!
Step-by-Step How-To Guide: Reheating Rotisserie Chicken in Your Air Fryer
Follow these simple steps to bring your rotisserie chicken back to life, achieving that coveted crispy skin and tender, moist interior.
Step 1: Preheat the Air Fryer
Begin by preheating your air fryer to 350°F (175°C). Preheating is a crucial step that ensures the chicken heats evenly from the moment it enters the basket, preventing cold spots and promoting uniform crisping of the skin. Don’t skip this for the best results!
Step 2: Prepare the Chicken
Remove your leftover rotisserie chicken from the refrigerator and allow it to sit at room temperature for about 10-15 minutes. This brief resting period helps to reduce the “thermal shock” when the cold chicken hits the hot air fryer, contributing to more even reheating and preventing the exterior from cooking too quickly while the inside remains cold.
Step 3: Section the Chicken (Optional, but Recommended)
For optimal and more uniform heating, especially if you have a whole chicken, consider cutting it into smaller sections. Separating the legs, wings, and breasts allows hot air to circulate more freely around each piece, ensuring everything cooks through at a similar rate. If you only have a few pieces, this step might not be necessary.
Step 4: Season (Optional)
If your chicken has lost some of its original flavor or you simply want to enhance it, now is the time to add some extra seasoning. A light brushing of olive oil or a quick spray of cooking oil can also help achieve an even crispier skin. You can add a sprinkle of garlic powder, paprika, or your favorite all-purpose seasoning blend.
Step 5: Place in the Air Fryer Basket
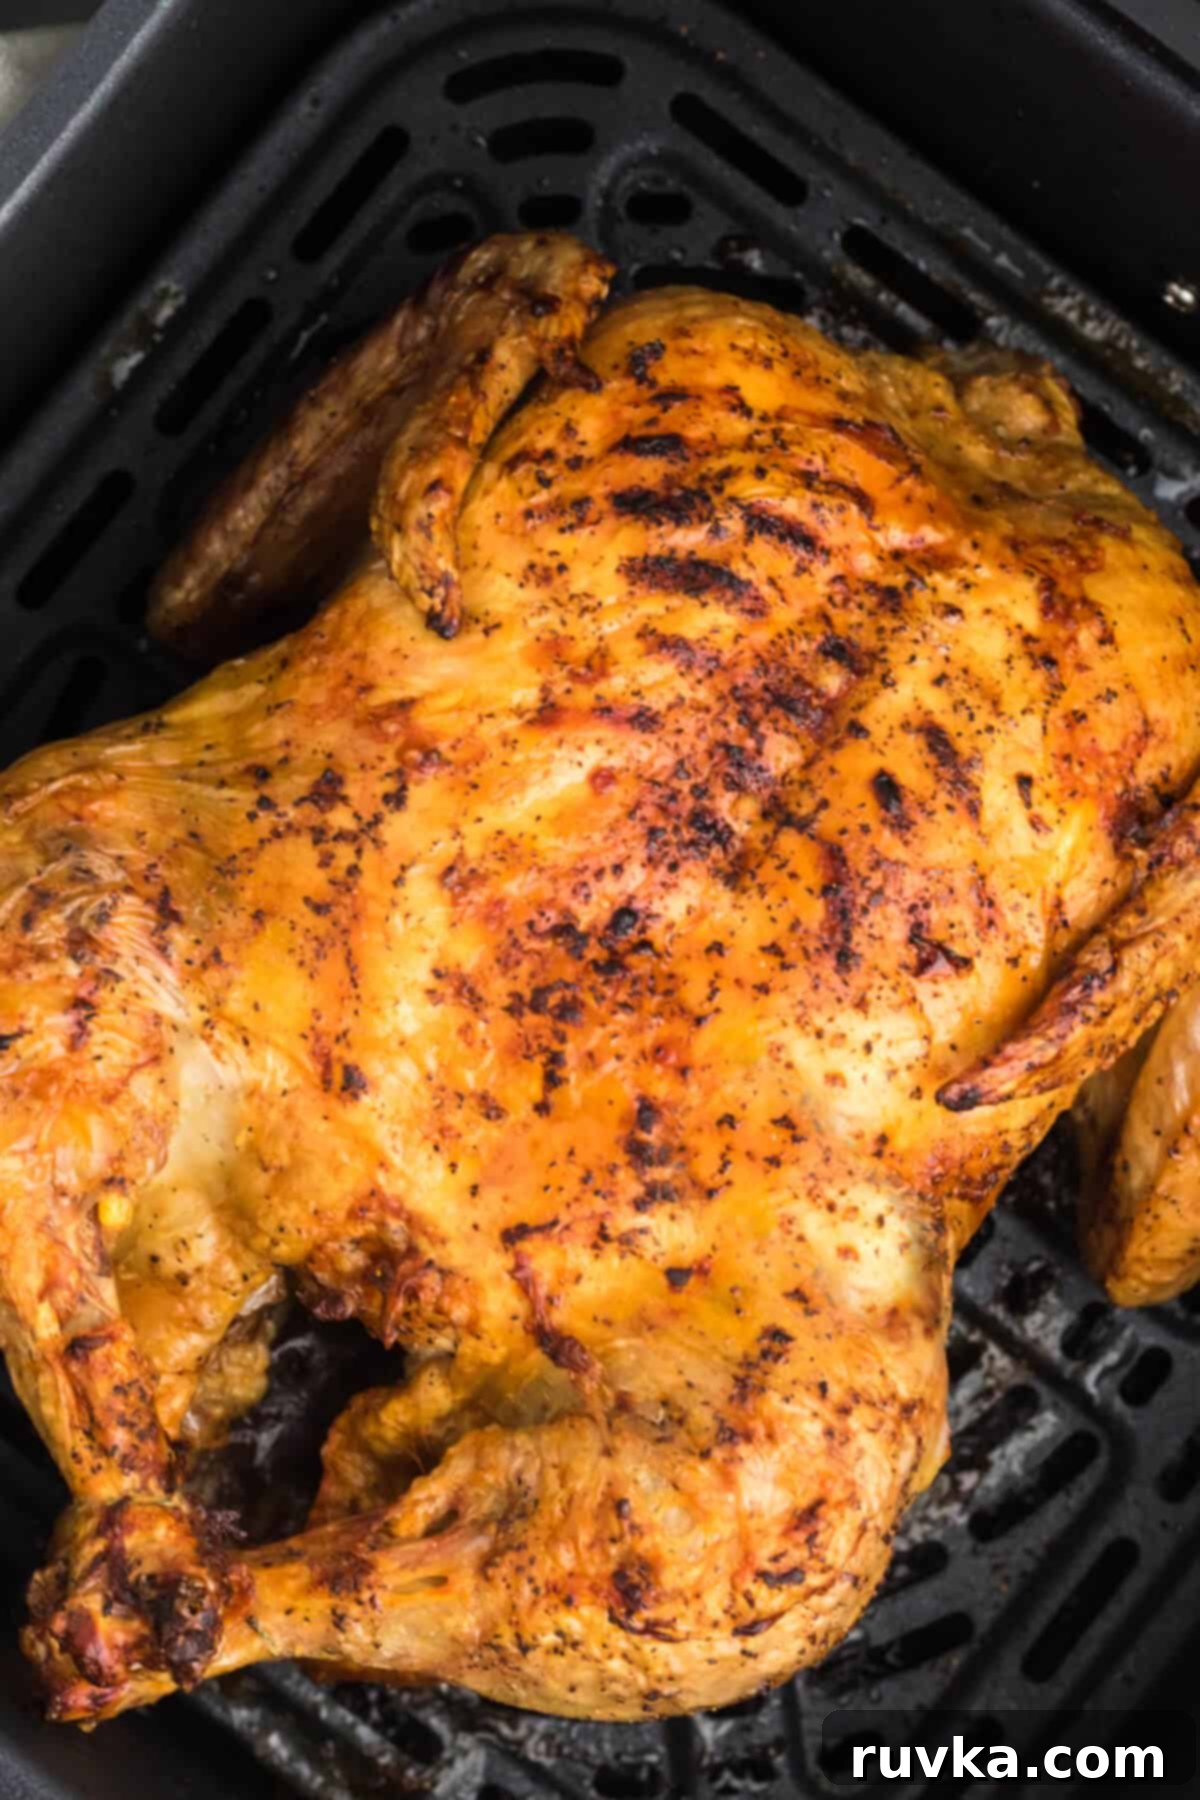
Carefully arrange the chicken pieces in a single layer in the air fryer basket. Whether you’re reheating a whole chicken (if your air fryer is large enough) or individual pieces, ensure they are not overcrowded. Overcrowding prevents hot air from circulating freely, leading to uneven cooking and less crispy results. If necessary, reheat in batches.
Step 6: Reheat the Chicken
Cook the chicken for an initial 3-5 minutes, then carefully flip the pieces over and continue cooking for another 3-4 minutes. The exact reheating time may vary slightly depending on your specific air fryer model, the size of the chicken pieces, and how cold they were to start. Larger pieces might require an additional minute or two per side. Always monitor closely to prevent overcooking.
Step 7: Check the Internal Temperature
Food safety is paramount. The chicken is thoroughly reheated and safe to eat when it reaches an internal temperature of 165°F (74°C). Use a reliable meat thermometer inserted into the thickest part of the chicken (avoiding bones) to ensure it’s heated through. This guarantees juicy results and peace of mind.
Step 8: Rest and Serve
Once the chicken reaches the desired temperature, remove it from the air fryer and let it rest for a few minutes on a cutting board or plate. This resting period is vital, as it allows the juices within the chicken to redistribute throughout the meat, making it even more tender and flavorful. Then, it’s ready to be served and enjoyed!
Expert Tips for Perfectly Reheated Rotisserie Chicken
Achieving perfectly reheated rotisserie chicken every time is easy with these insider tips:
- Avoid Overcrowding: This cannot be stressed enough. For truly crispy skin and even heating, ensure the chicken pieces are arranged in a single layer and are not touching each other. This allows the hot air to circulate efficiently, which is the cornerstone of air frying.
- Easy Cleanup: To make cleanup a breeze, consider lining your air fryer basket with parchment paper or aluminum foil. Make sure to cut holes in the liner to allow for proper airflow. This will catch any drips or crumbs, saving you scrubbing time.
- Don’t Overheat: While the goal is to heat the chicken through, be careful not to overcook it. Excessive reheating can quickly dry out the meat, making it tough and unappetizing. Keep an eye on it and rely on a meat thermometer.
- Always Use a Meat Thermometer: This is the single most important tool for ensuring your chicken is safely and perfectly reheated. Visual cues can be misleading, but a thermometer ensures the internal temperature reaches 165°F (74°C) without drying out the chicken.
- Let it Rest: Just like freshly cooked meat, reheated chicken benefits immensely from a brief rest. Allowing it to sit for 2-5 minutes after removing it from the air fryer helps the juices settle back into the meat, resulting in a more tender and moist texture.
- Storage Tips: To keep your rotisserie chicken fresh for reheating, store any leftovers in an airtight container in the refrigerator as soon as they have cooled down. For best quality and safety, consume the chicken within 3-4 days.
- Versatile for All Chicken: This air fryer reheating method isn’t just for store-bought rotisserie chicken. It works beautifully for any leftover roasted chicken, whether it’s a homemade whole chicken or individual pieces.
- Add a Touch of Moisture (Optional): If your chicken seems particularly dry, you can try adding a tablespoon of water or chicken broth to the bottom of the air fryer basket (under the cooking grate, not directly on the chicken) to create a little steam. A light brush of oil on the chicken pieces can also help keep them moist and crisp.
Comparison with Other Reheating Methods
When faced with leftover rotisserie chicken, you have several reheating options, each with its own set of advantages and disadvantages. Understanding these differences can help you make the best choice based on your priorities for speed, texture, and moisture. Let’s compare reheating in an air fryer with other common methods, including their typical reheating times:
1. Microwave:
- Pros: The microwave is undeniably the quickest method for reheating chicken. It’s incredibly convenient for those moments when you need a meal on the table in minutes.
- Cons: Microwaving is notorious for uneven heating, often leaving some parts scorching hot and others still cool. More significantly, it tends to create a rubbery skin and can easily dry out the meat, compromising the texture and flavor of your delicious rotisserie chicken.
- Typical Reheating Time: 1-3 minutes (for pieces).
2. Conventional Oven:
- Pros: Reheating in a conventional oven can provide relatively even heating, especially if the chicken is covered with foil to retain moisture. It’s also suitable for larger portions or a whole chicken if your air fryer isn’t big enough.
- Cons: This method takes significantly longer than an air fryer, often requiring 10-15 minutes for preheating and then 15-25 minutes of cooking time. There’s also a higher risk of drying out the chicken if it’s not properly covered or if it’s left in for too long without monitoring.
- Typical Reheating Time: 20-30 minutes (including preheat).
3. Stovetop (Skillet):
- Pros: Using a skillet on the stovetop can be effective for crisping up the skin of smaller, deboned pieces of chicken. It offers quick reheating for shredded chicken or individual slices, and you have direct control over the heat.
- Cons: This method requires more active attention, as you need to frequently turn the chicken to prevent burning and ensure even heating. It’s not practical for larger pieces or a whole chicken, and can easily dry out the meat if not done carefully.
- Typical Reheating Time: 5-10 minutes (for pieces).
4. Air Fryer:
- Pros: The air fryer offers a superior combination of speed, efficiency, and quality. It evenly warms the chicken while brilliantly maintaining its juiciness and restoring that desirable crispy skin. It’s also more energy-efficient for smaller portions compared to heating a full-sized oven.
- Cons: The primary limitation is the size of your air fryer basket. A larger model is needed to reheat a whole chicken or very large quantities, which might require reheating in batches for optimal results.
- Typical Reheating Time: 6-10 minutes (for pieces).
5. Sous Vide:
- Pros: For those with a sous vide setup, this method guarantees extremely even reheating without any risk of drying out the chicken. The chicken retains its original moisture and flavor exceptionally well, resulting in a restaurant-quality texture.
- Cons: It is by far the slowest method, requiring special equipment (a sous vide machine and vacuum-sealable bags) and significantly more time, often taking 45-60 minutes or more.
- Typical Reheating Time: 45-60+ minutes.
Each reheating method has its unique benefits and drawbacks. While the microwave offers speed at the cost of texture, and the oven provides even heating but with a longer wait, the air fryer strikes an excellent balance. It combines quick, even heating with the ability to preserve the chicken’s original taste and texture, including a wonderfully crispy skin, making it our top recommendation for reheating rotisserie chicken. The sous vide is excellent for precision and moisture but is a time-consuming and specialized option. Ultimately, the air fryer provides the most efficient and satisfying outcome for most home cooks.
Frequently Asked Questions About Reheating Rotisserie Chicken in the Air Fryer
Typically, it takes about 6-10 minutes to reheat rotisserie chicken in an air fryer set to 350°F (175°C). However, this can vary based on your air fryer model, the size and thickness of the chicken pieces, and how cold they were initially. Always check the internal temperature to ensure it reaches 165°F (74°C).
You can, provided your air fryer is large enough to comfortably fit the whole chicken without touching the heating element or sides. For more efficient and even reheating, especially in smaller air fryers, it’s often better to cut the chicken into sections (legs, wings, breasts) before placing them in the basket.
It’s generally not necessary to add a lot of oil or water. The air fryer’s convection cooking helps to maintain the chicken’s natural moisture. However, for extra crispiness and flavor, a very light brush of oil (like olive oil or a cooking spray) on the skin can be beneficial. If your chicken seems particularly dry, adding a tablespoon of water to the bottom of the air fryer basket (under the rack) can create a little steam to rehydrate it slightly without making the skin soggy.
Yes, it is perfectly safe to reheat chicken in an air fryer as long as it reaches an internal temperature of 165°F (74°C). Always use a meat thermometer to confirm the temperature, especially in the thickest part of the meat.
To prevent dryness, avoid overcooking. Preheat your air fryer, don’t overcrowd the basket, and always use a meat thermometer to ensure the chicken reaches 165°F (74°C) and no more. A quick spritz of oil or a light brush of butter can also help maintain moisture and enhance crispness.
It’s generally not recommended to reheat frozen chicken directly in the air fryer for the best results, as it can lead to uneven cooking and a dry exterior before the inside thaws. For optimal results and safety, always thaw frozen rotisserie chicken in the refrigerator first before reheating it in the air fryer.
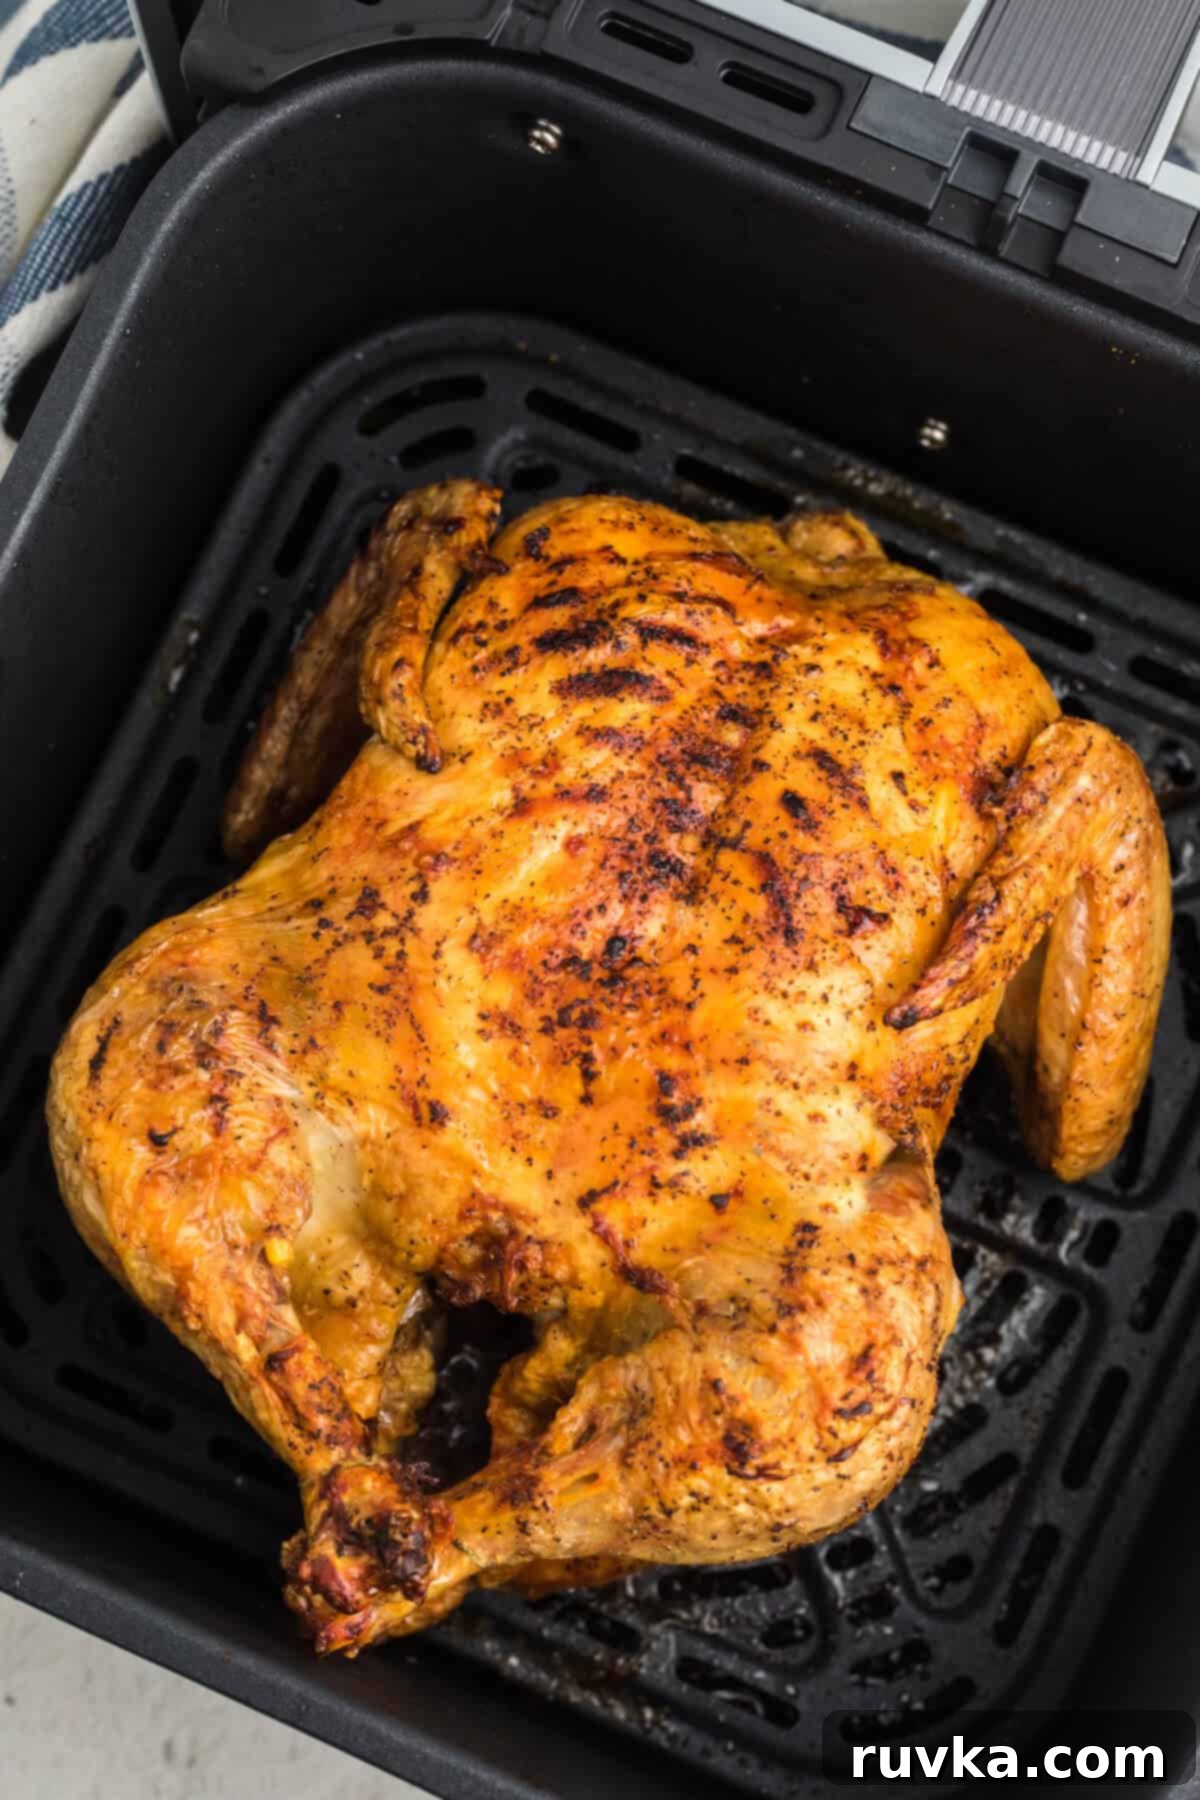
Reheating rotisserie chicken in an air fryer is a genuine game-changer for enjoying your delicious leftovers. This method not only effectively preserves the chicken’s moisture and flavor but also magically restores that irresistible crispy skin that makes rotisserie chicken so appealing. With the simple steps and helpful tips provided, you can consistently enjoy your leftover whole chicken or individual pieces as if they were freshly cooked. It makes meal prep easy, reduces food waste, and ensures your meals are both convenient and incredibly delicious. It’s a win-win for any home cook!
Ready to explore more air fryer possibilities? Here are a few of our other favorite meals and leftovers to reheat or cook in the air fryer, ensuring they turn out perfectly every time.
More Air Fryer Recipes & Reheating Guides
Dinner
Reheat Fish in Air Fryer
Beef
Reheat Steak in Air Fryer
Dinner
Reheat Burger in Air Fryer
Dinner
Reheat Ribs in Air Fryer
4
Best Way to Reheat Rotisserie Chicken in the Air Fryer
Jen
5 minutes
8 minutes
2 minutes
15 minutes
Rate
Equipment
-
1 Air Fryer
Ingredients
-
1 Rotisserie Chicken (leftover)
Prevent your screen from going dark
Instructions
-
Preheat the Air Fryer: Start by preheating your air fryer to 350°F (175°C). This ensures the chicken heats evenly and crisps properly from the start.
-
Prepare the Chicken: Remove the chicken from the refrigerator and let it sit at room temperature for about 10-15 minutes. This step helps in more even reheating.
-
Section the Chicken (Optional): For better heat distribution and faster cooking, consider cutting the chicken into smaller sections like legs, wings, and breasts.
-
Season (Optional): If desired, lightly brush the chicken with a little oil (e.g., olive oil spray) and add your favorite spices for enhanced flavor and crispiness.
-
Place in the Air Fryer: Arrange the chicken pieces in a single layer in the air fryer basket, ensuring they are not overcrowded. This allows for optimal hot air circulation.
-
Reheat: Cook the chicken for about 3-5 minutes. Then, flip the pieces and continue cooking for another 3-4 minutes. Adjust time based on piece size and air fryer model.
-
Check the Temperature: The chicken is ready when its internal temperature reaches 165°F (74°C). Use a meat thermometer to confirm for safety and doneness.
-
Rest and Serve: Let the chicken rest for a few minutes before serving. This allows the juices to redistribute, resulting in more tender and flavorful chicken.
Notes
Cleanup: For an easier cleanup, consider lining your air fryer basket with parchment paper or aluminum foil (ensure it has holes for airflow).
Don’t Overheat: Keep a close eye on the chicken to prevent it from drying out or burning. Overcooking will lead to tough meat.
Use a Meat Thermometer: This is the most reliable way to ensure your chicken is heated through to the safe internal temperature of 165°F (74°C).
Let it Rest: Allowing the chicken to rest for a few minutes after reheating is crucial for retaining its juiciness and flavor.
Storage Tips: Store any leftover chicken in an airtight container in the refrigerator and consume within 3-4 days for best quality and safety.
Chicken Type: This method works perfectly for both store-bought rotisserie chicken and your own homemade roasted chicken.
Nutrition
Calories:
276
kcal
,
Carbohydrates:
0.03
g
,
Protein:
41
g
,
Fat:
12
g
,
Saturated Fat:
3
g
,
Cholesterol:
144
mg
,
Sodium:
521
mg
,
Sugar:
0.03
g
Nutrition information is automatically calculated, so should only be used as an approximation.
Like this? Leave a comment below!
