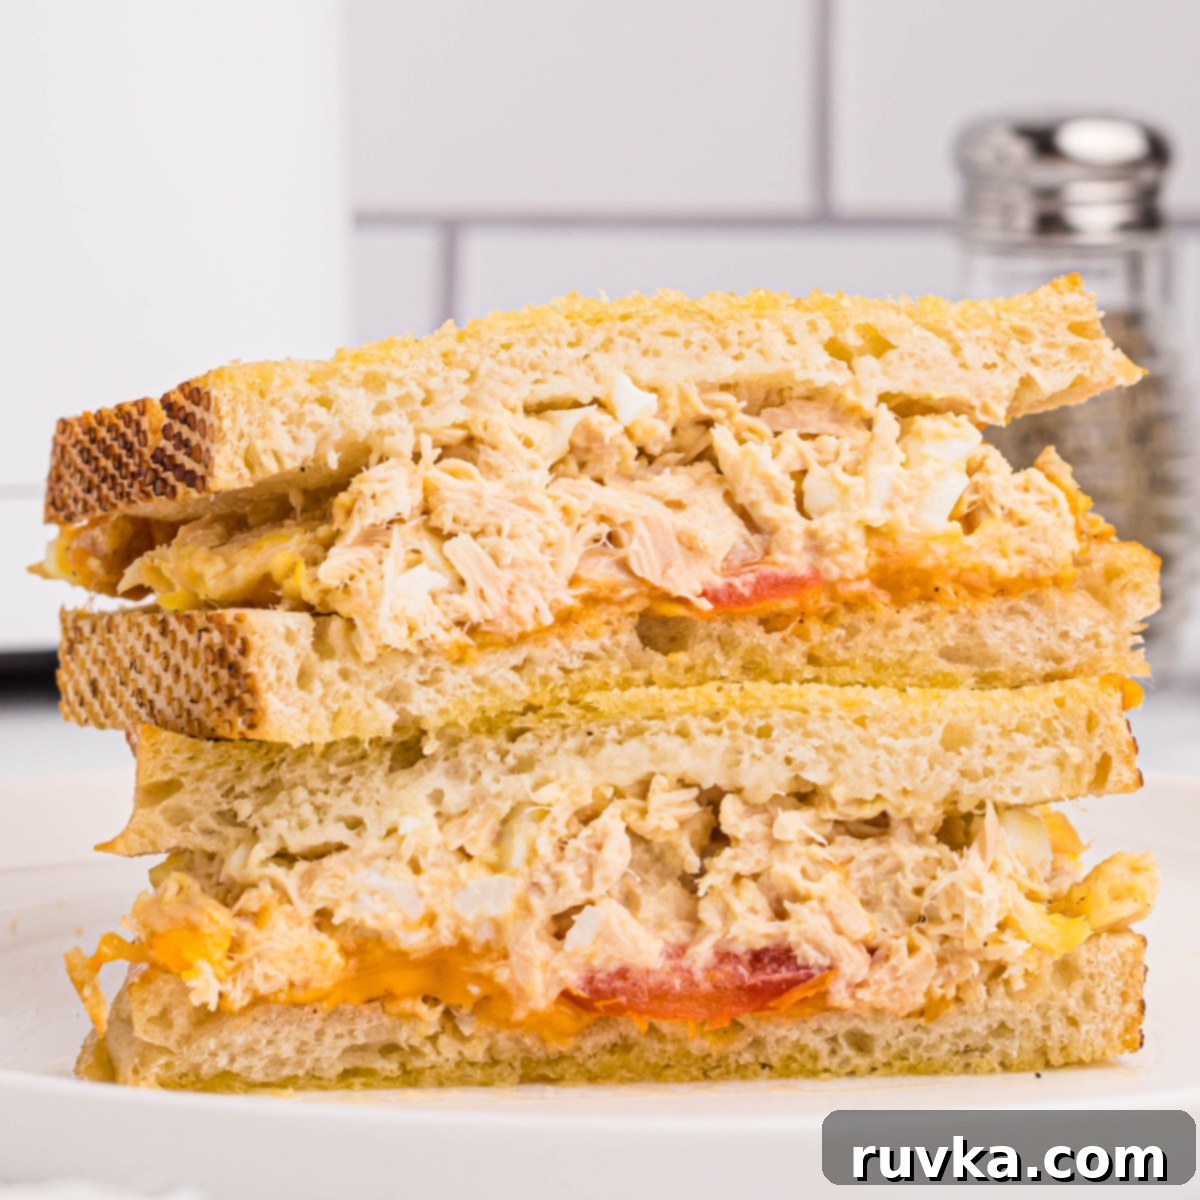
Easy Air Fryer Tuna Melt: Your Quick & Crispy Comfort Food Fix
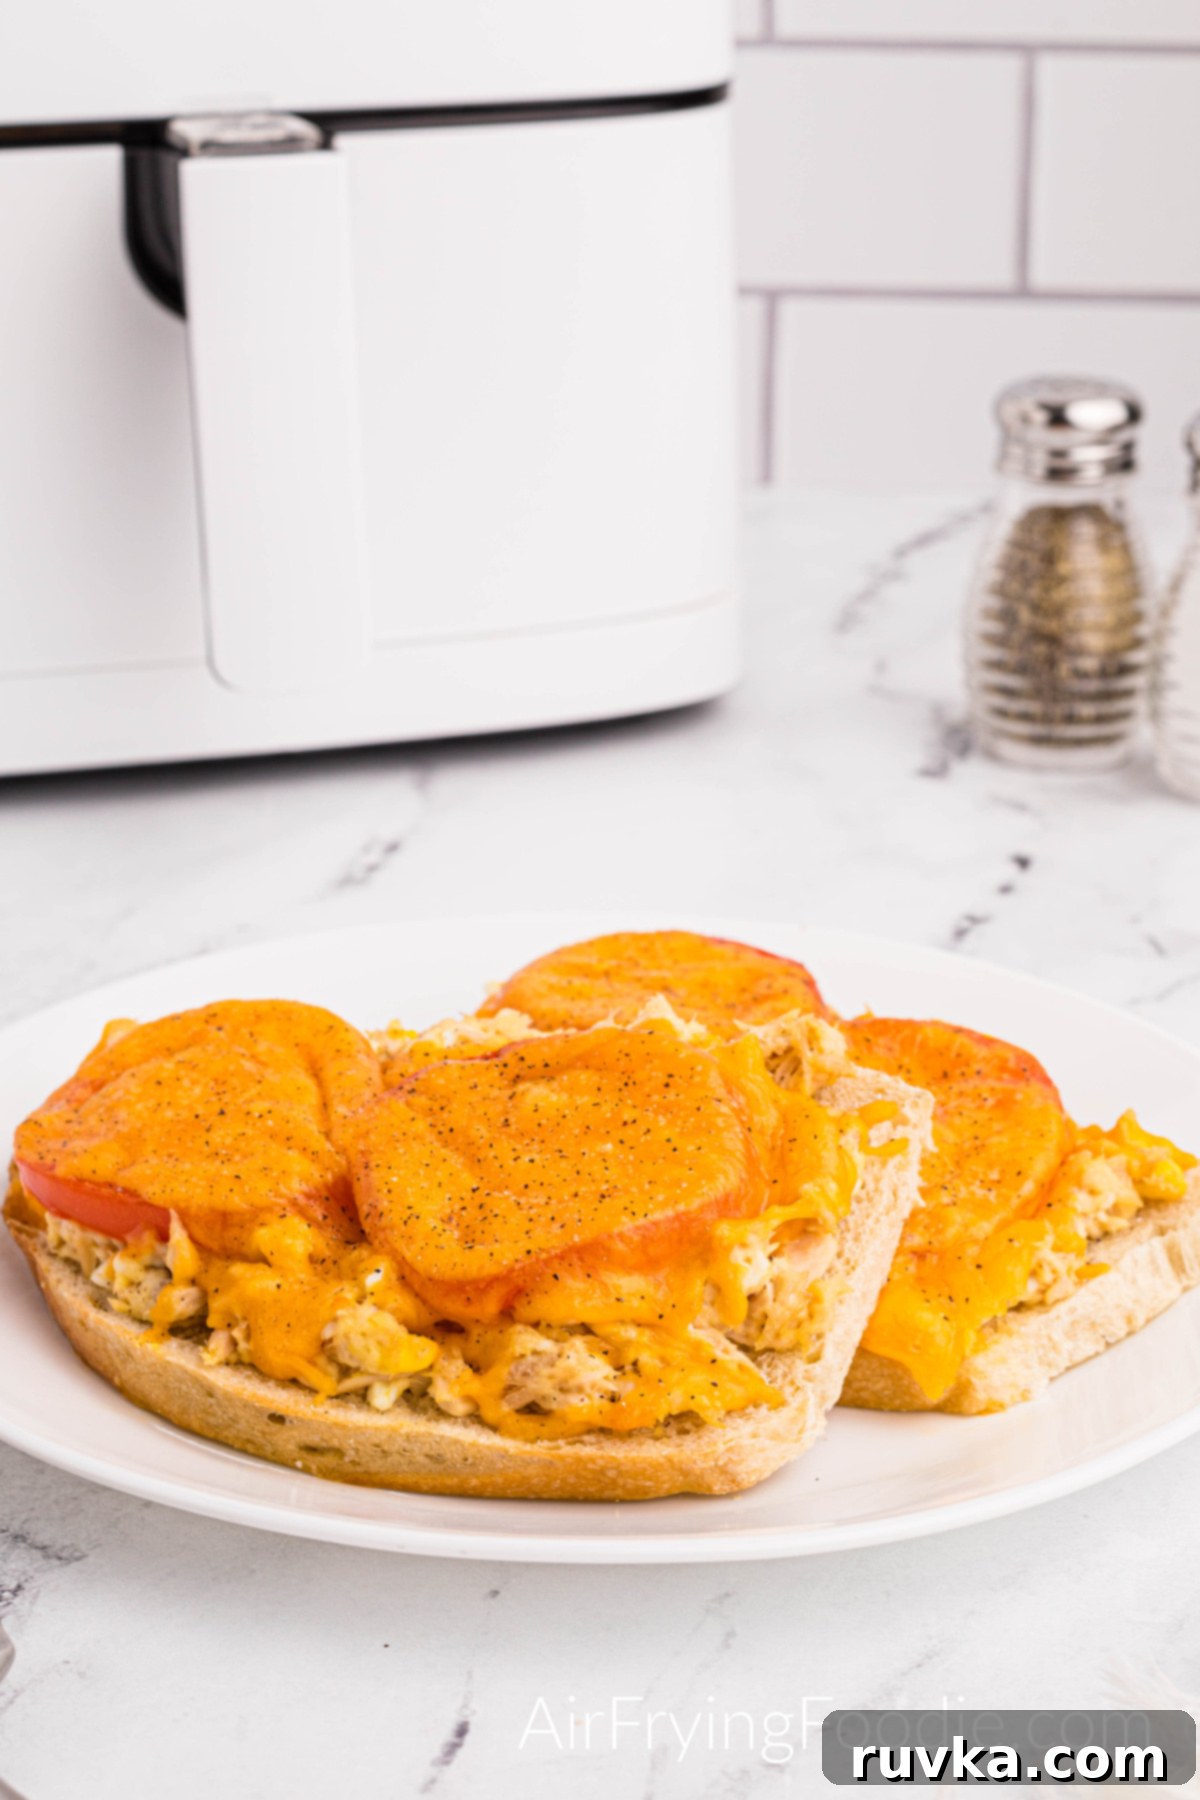
Get ready to fall in love with the **Air Fryer Tuna Melt**! This simple yet incredibly satisfying recipe perfectly blends the creamy richness of a classic tuna salad with savory, gooey melted cheese, all nestled between slices of beautifully toasted, golden-brown bread. While it might not be the traditional pan-fried tuna melt you grew up with, this air fryer version offers an unbeatable crispiness and speed that makes it a new, must-try family favorite. Say goodbye to soggy sandwiches and hello to air-fried perfection in minutes!
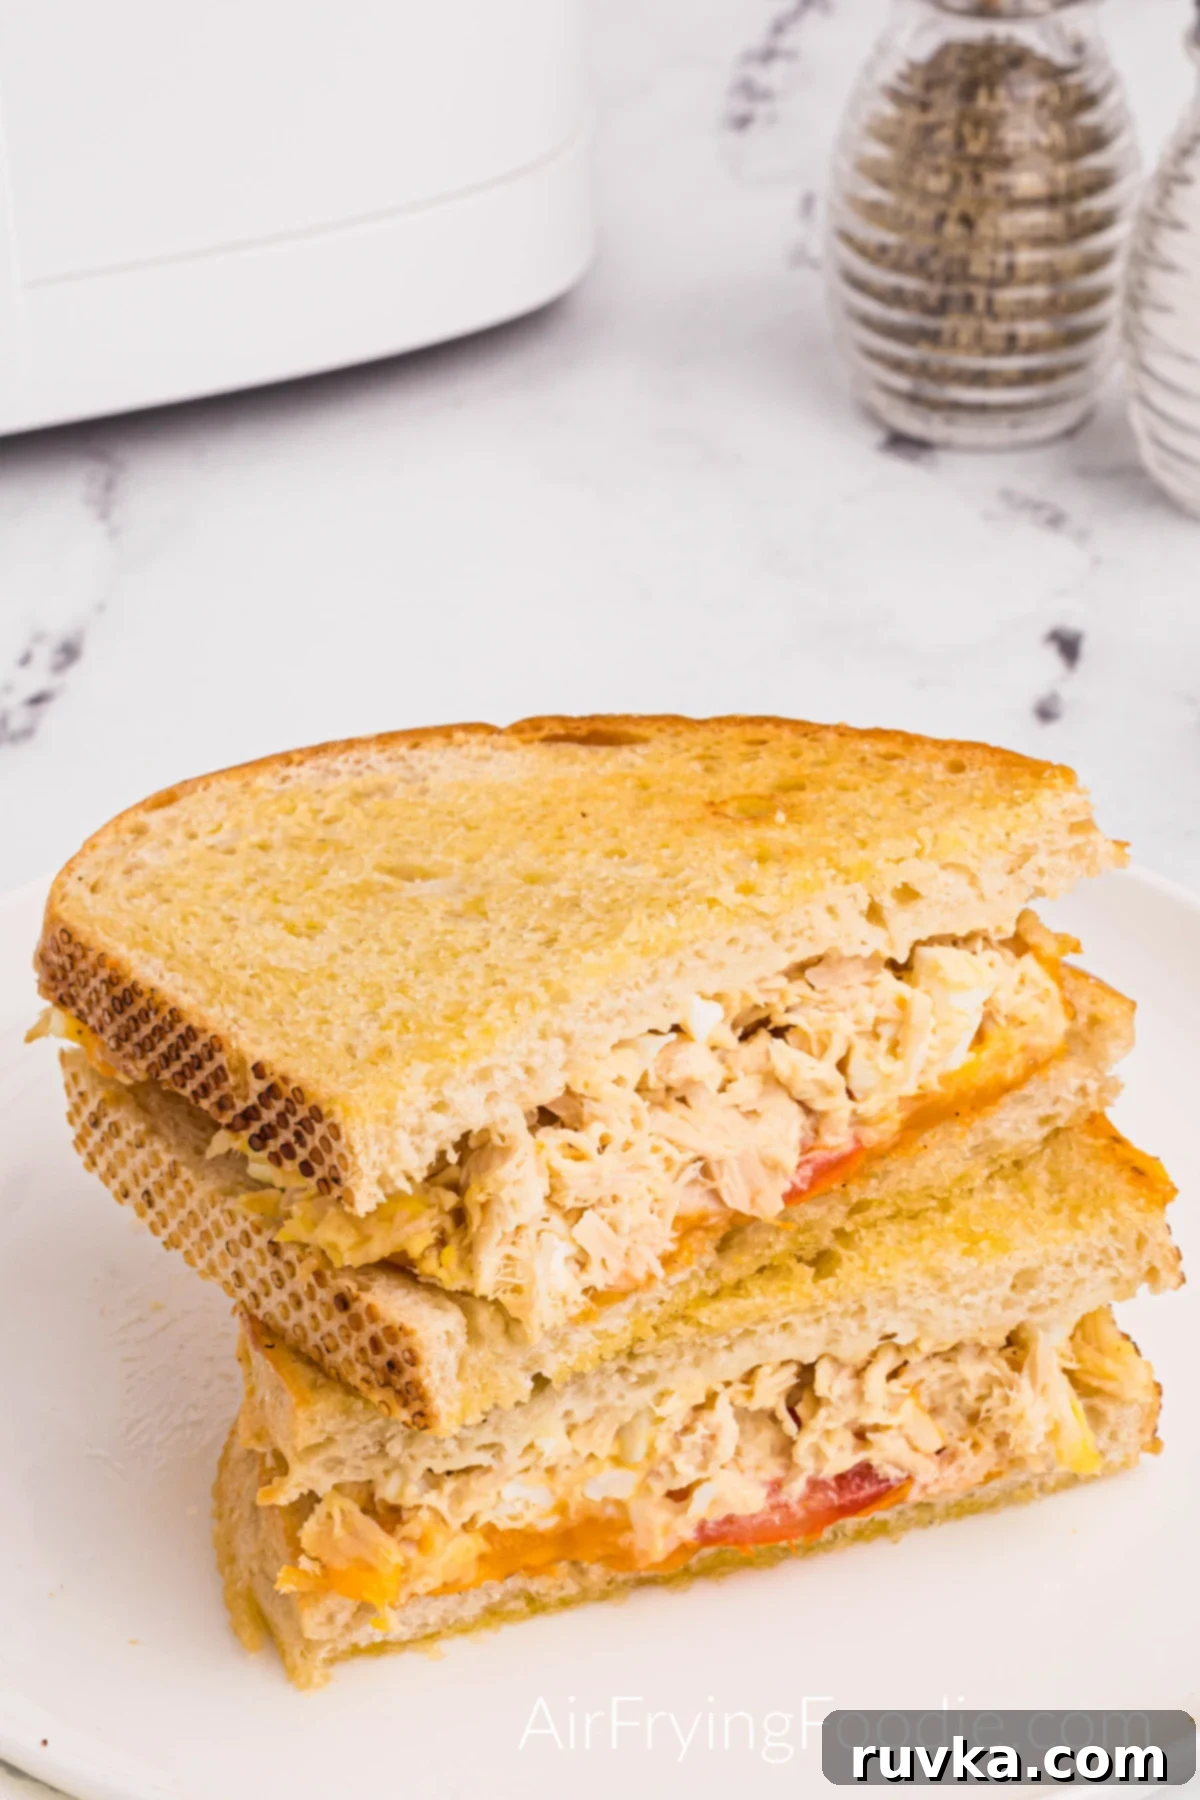
Why This Air Fryer Tuna Melt Will Become Your Go-To Recipe
If you’re constantly seeking **easy air fryer recipes** that deliver delicious, hearty results without a fuss, then this delightful tuna melt sandwich is an absolute must-try. It consistently ranks as a top favorite, thanks to its fantastic flavor and the sheer ease of preparation. The air fryer transforms ordinary ingredients into an extraordinary comfort meal, proving that satisfying dinners or lunches don’t require hours in the kitchen.
The beauty of using an air fryer for this **crispy tuna melt** lies in its ability to toast the bread to a perfect golden crisp while simultaneously melting the cheese into a gooey, irresistible layer. Forget unevenly cooked bread or cheese that refuses to melt; the air fryer provides consistent, circulating heat for ideal results every time. Just preheat your air fryer oven and follow our straightforward steps. You’ll be enjoying this ultimate comfort food sandwich with minimal meal prep, making it perfect for busy weeknights or a quick, satisfying midday meal.
Essential Ingredients for Your Air Fryer Tuna Melt
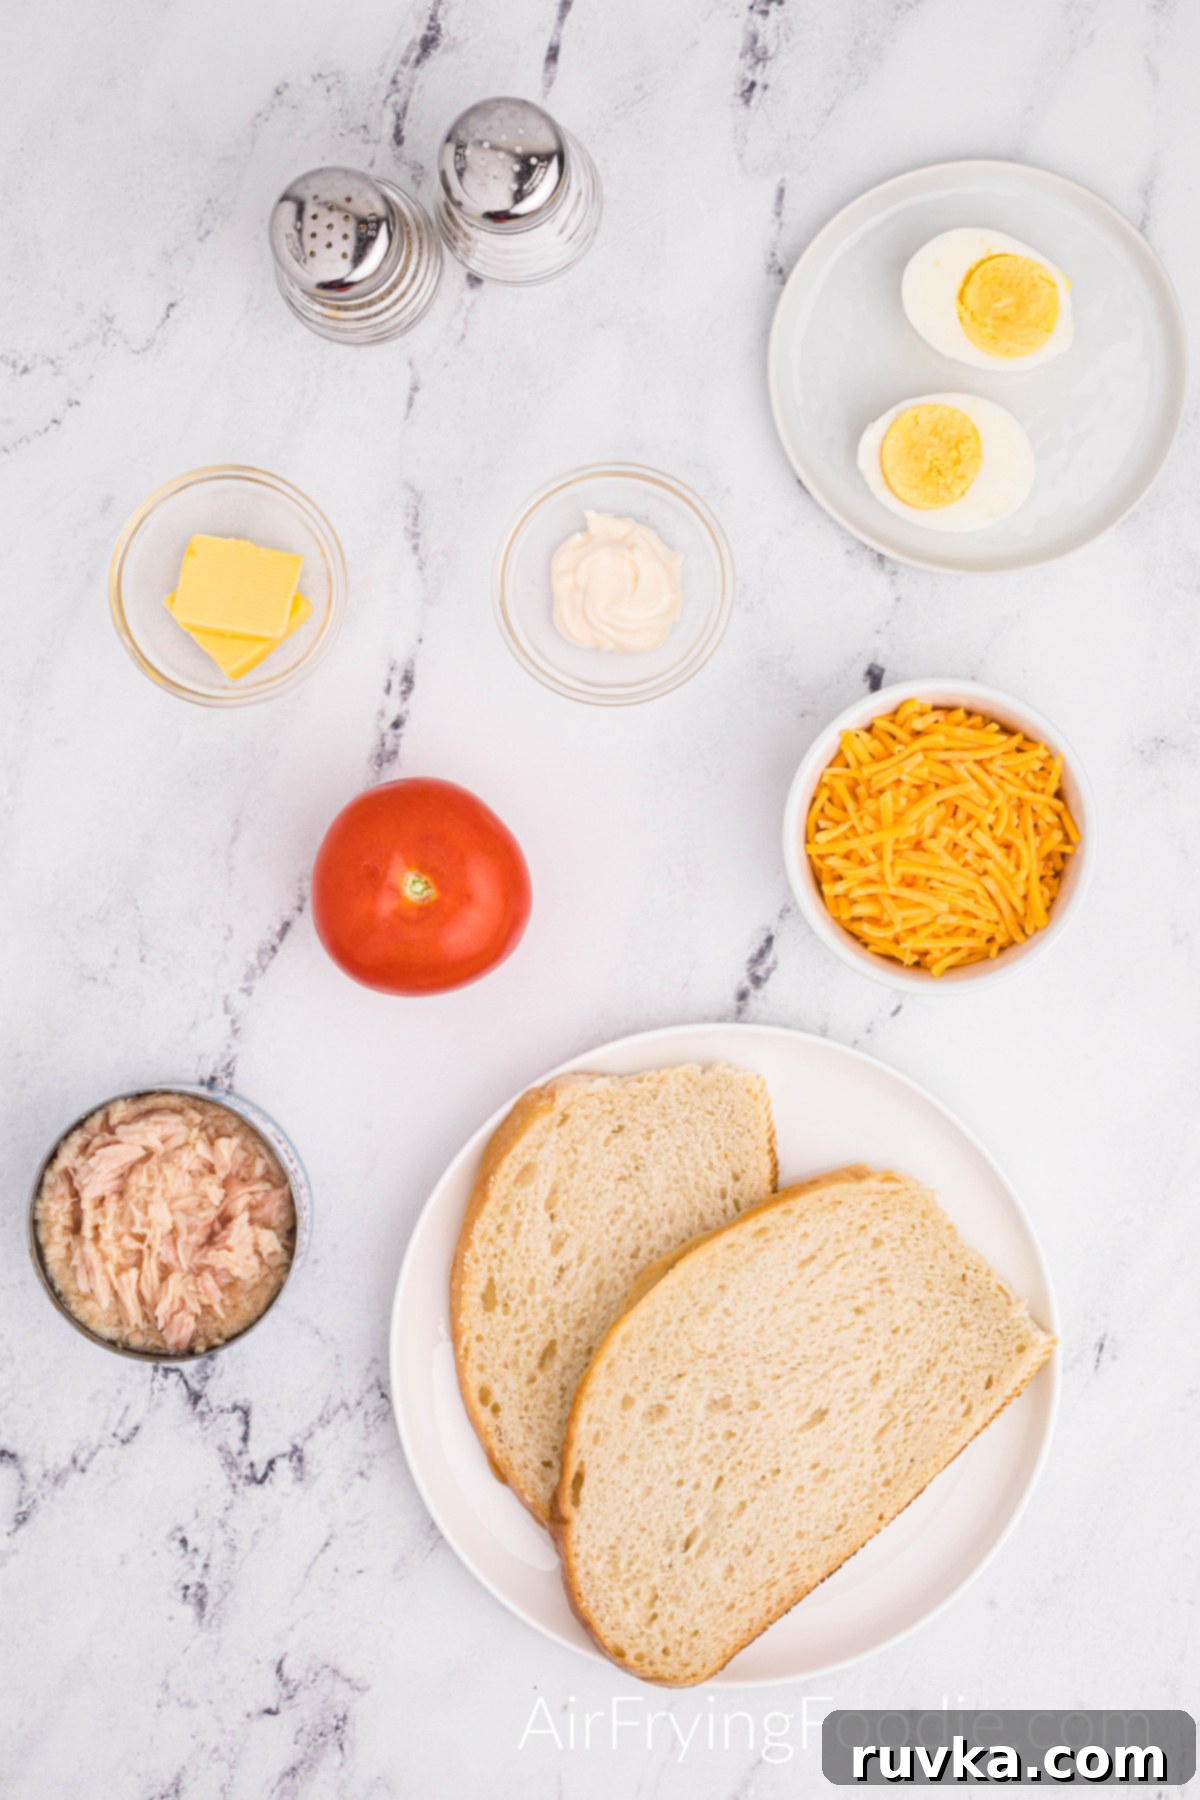
Crafting the perfect air fryer tuna melt begins with selecting the right ingredients. Each component plays a vital role in achieving that delicious balance of flavors and textures. Here’s a detailed look at what you’ll need and some tips for making your choices:
- Texas Toast (or Sourdough Bread): For an extra sturdy and gloriously crispy foundation, Texas toast is an excellent choice. Its thicker slices stand up beautifully to the hearty tuna filling and toast perfectly in the air fryer. Sourdough bread is another fantastic option, offering a pleasant tang that complements the tuna. If neither is available, traditional sandwich bread works too, though a thicker cut is always recommended to avoid sogginess and ensure a satisfying bite.
- Tuna: Canned albacore tuna is often preferred for its milder flavor and firmer, flakier texture, making it an ideal base for your tuna salad. Whether packed in water or oil, it’s crucial to drain it thoroughly to prevent any excess moisture from making your sandwich soggy. Light tuna in water is also a perfectly suitable and budget-friendly alternative.
- Mayonnaise: The creamy heart of any good tuna salad! Mayonnaise binds all the ingredients together, adding a rich, smooth texture and flavor. Feel free to opt for light mayonnaise if you’re watching calories, or a high-quality, full-fat version for maximum indulgence.
- Boiled Egg: A finely chopped hard-boiled egg is a classic addition to tuna salad, providing a wonderful textural contrast and an extra boost of protein and savory depth. It’s a small detail that elevates the overall flavor profile.
- Tomato: Fresh, thinly sliced tomato adds a burst of juicy freshness and a touch of acidity, cutting through the richness of the tuna and cheese. Ensure your slices are even and not too thick, so they warm gently without releasing too much moisture.
- Butter: A thin, even layer of butter on the outside of your bread is key to achieving that desirable golden-brown and crispy crust. It helps the bread toast beautifully in the circulating hot air of your air fryer. Both salted and unsalted butter work well.
- Cheese: While Monterrey Jack is a personal favorite for its smooth melt and mild, creamy flavor, the beauty of a tuna melt lies in its adaptability. Don’t hesitate to experiment with your preferred cheese slices or shredded cheese. Sharp cheddar offers a bolder, tangy flavor, provolone melts beautifully, and spicy pepper jack can add an exciting kick. Any good melting cheese will do!
- Salt and Pepper to Taste: Simple seasonings are all you need to enhance the natural deliciousness of the tuna and other components. Adjust the amounts to suit your palate.
How to Make an Irresistible Air Fryer Tuna Melt
Creating this delicious and perfectly crispy air fryer tuna melt is surprisingly simple and incredibly quick. Follow these easy steps to achieve a golden-brown sandwich with wonderfully melted cheese every single time:
-
Butter the Bread: Begin by spreading a light, even layer of softened butter on one side of each piece of bread. This buttered side is crucial as it will face down in the air fryer basket, ensuring your bread toasts to a beautiful golden crisp. Avoid using too much butter; just enough for a delicate, even coating will do the trick.

-
Prepare the Tomato: With a sharp knife, carefully cut your fresh tomato into thin, consistent slices. These vibrant slices will add a lovely burst of color and a fresh, juicy element to your tuna melt. Aim for slices that are not overly thick to ensure they soften nicely during cooking without making the bread soggy.

-
Arrange Bread in Air Fryer: Carefully place the buttered bread slices, ensuring the buttered side is facing down, directly into your air fryer basket. For optimal crisping and even cooking, leave a small amount of space between each slice if you are preparing more than one. This allows the hot air to circulate freely around the bread.

-
Mix the Tuna Salad: In a small mixing bowl, combine your well-drained canned tuna with the mayonnaise and the chopped hard-boiled egg. Stir everything together thoroughly until the mixture is creamy and all ingredients are evenly distributed. Season generously with a pinch of salt and pepper, adjusting to your personal taste. This forms the flavorful heart of your air fryer tuna melt.

-
Assemble the Melt: Now, it’s time to build your masterpiece! Generously spread the creamy tuna salad over each buttered slice of bread already in the air fryer basket. Next, artfully arrange one or two slices of fresh tomato on top of the tuna mixture. Finally, crown each sandwich with a generous sprinkle of your chosen shredded cheese or a cheese slice, and add a final dash of salt and pepper to taste.

-
Air Fry to Perfection: Place the air fryer basket back into your unit and cook the open-faced tuna melt at 370 degrees F (185 degrees C) for 3-5 minutes. During the final couple of minutes, keep a close watch. You’re aiming for beautifully golden-brown, crispy bread and perfectly melted, bubbly cheese. Remember that cooking times can vary slightly depending on your specific air fryer model, so adjust as necessary to achieve your desired level of crispiness and meltiness.

Pro Tips for the Best Air Fryer Tuna Melt:
- Don’t Overcrowd: To ensure each tuna melt gets maximum crispiness, avoid overcrowding your air fryer basket. Cook in batches if necessary, allowing ample space for hot air to circulate around each sandwich. This is key for even cooking and browning.
- Preheat for Consistency: While not always mandatory, preheating your air fryer for 3-5 minutes before adding the sandwiches can lead to more consistent cooking results and a better, crispier texture right from the start.
- Monitor Closely: Air fryers are powerful and cook quickly! Always keep a close eye on your tuna melt, especially during the last few minutes, to prevent any burning and ensure the cheese melts perfectly without overcooking.
- Use Parchment Paper Liners: For incredibly easy cleanup and to prevent any cheese or tuna from sticking to the basket, consider using perforated parchment paper liners specifically designed for air fryers. This is a game-changer for sticky foods!
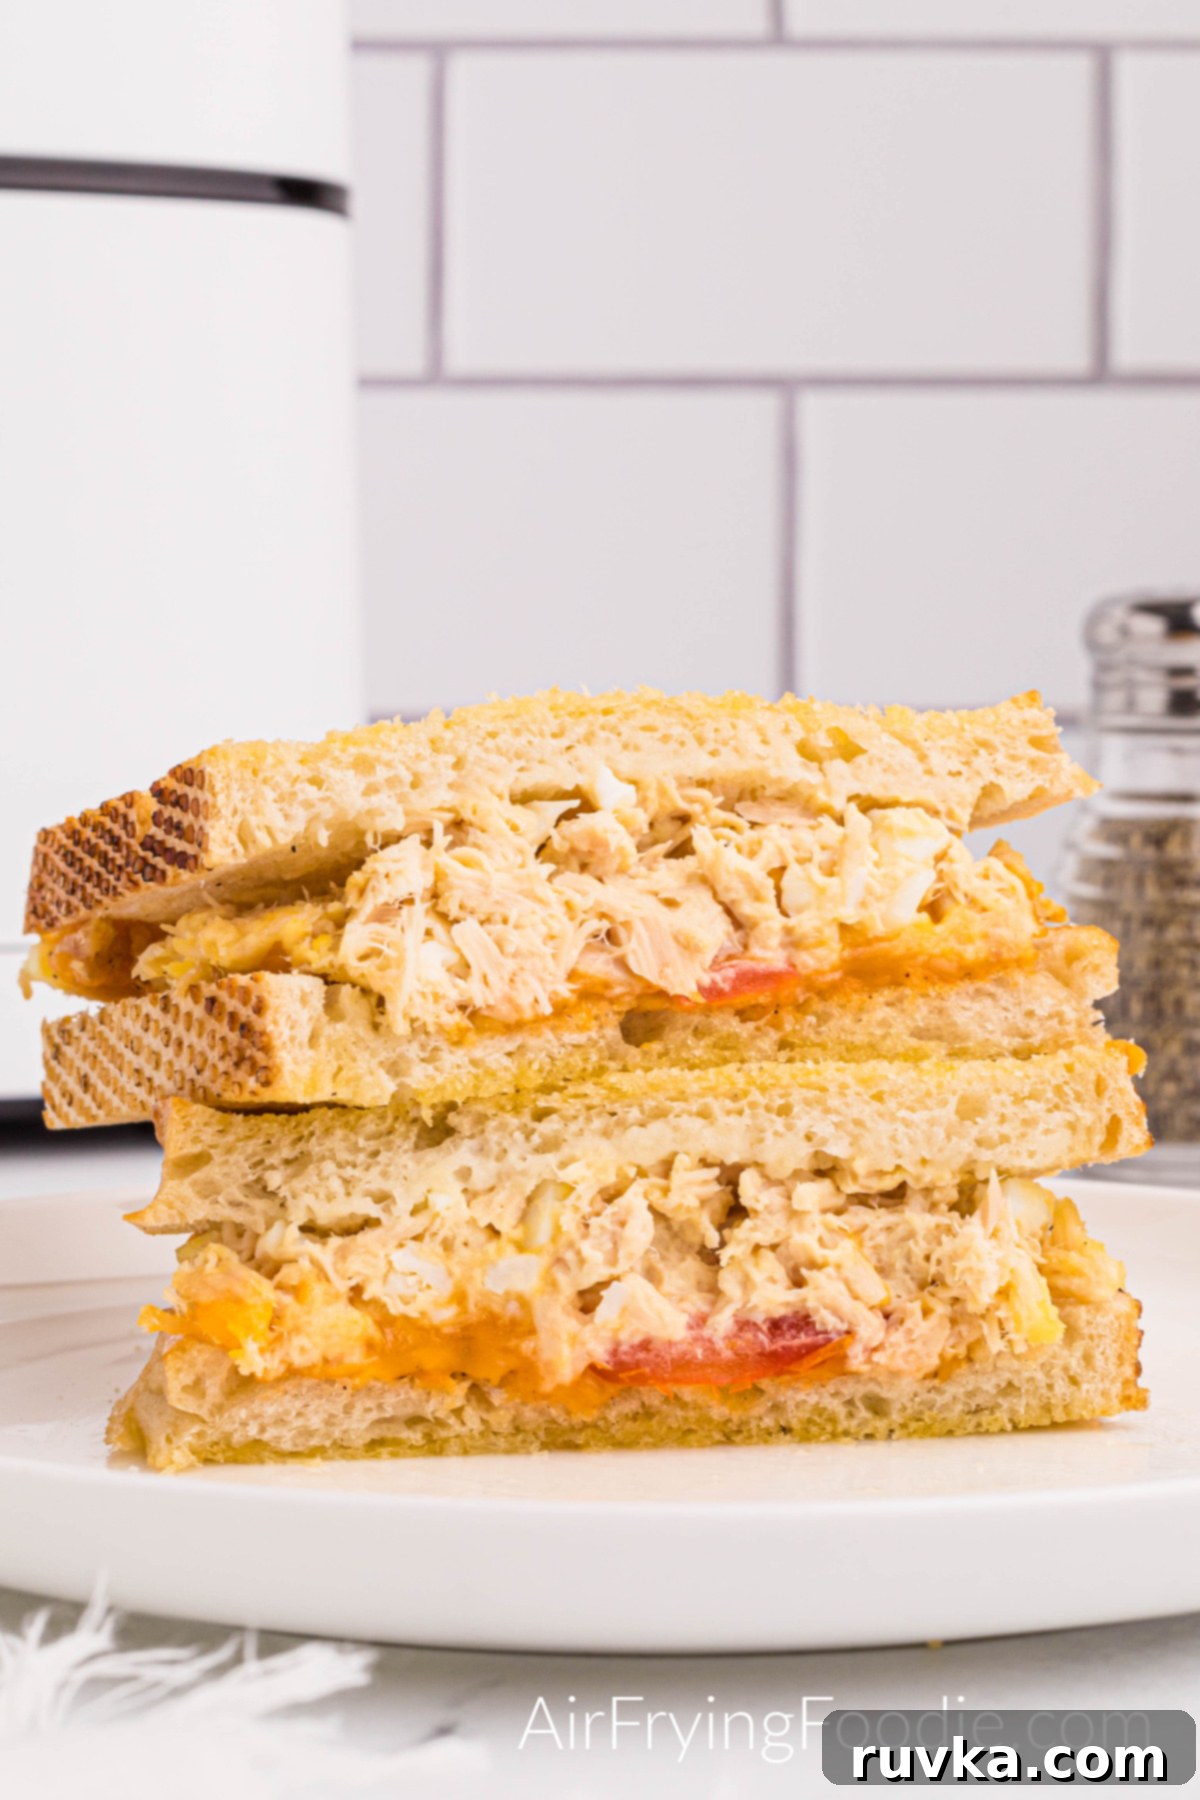
Delicious Variations to Customize Your Air Fryer Tuna Melt
One of the most exciting aspects of this **air fryer tuna melt** is its incredible versatility. You can easily customize it to perfectly match your personal taste preferences or whatever ingredients you have on hand. Don’t be afraid to get creative!
- Experiment with Different Cheeses: Why stick to just one? While Monterrey Jack is fantastic, try sharp cheddar cheese for a more robust, tangy flavor that pairs wonderfully with tuna. For a bit of heat, a spicy Pepper Jack is an excellent choice. Other great melting cheeses include creamy provolone, nutty Swiss, or even a blend of mozzarella and Parmesan for an Italian-inspired twist. Each cheese brings its own unique character to these delightful open-faced sandwiches.
- Explore Various Bread Options: Beyond the classic Texas toast or sourdough, there’s a whole world of bread to explore. Whole grain bread is a fantastic option if you’re looking for a healthier alternative, and its hearty texture holds up well to the filling. Rye bread offers a distinctive, savory flavor that complements tuna beautifully, while a rustic ciabatta or a soft brioche bun can create intriguing new textures and tastes.
- Elevate Your Tuna Salad Mix-ins: The tuna filling itself is ripe for customization! A spoonful of tangy dill pickle relish adds a classic, refreshing bite. Finely chopped red onion or fresh green onions (scallions) can introduce a vibrant, zesty kick and a pleasant crunch. For extra depth, mix in a dash of Dijon mustard, some briny capers, or even a squeeze of fresh lemon juice. Finely diced celery is always a welcome addition for texture.
- Add a Spicy Kick: If you crave a bit of heat, it’s simple to incorporate. Sprinkle a light dusting of cayenne powder or red pepper flakes over the cheese before air frying for an intense, fiery finish. Alternatively, you can mix finely diced jalapeños or a touch of hot sauce directly into your tuna salad for a more integrated warmth throughout the sandwich.
- Introduce Other Toppings: For an extra layer of flavor and texture, consider adding other ingredients. Slices of creamy avocado are a wonderful addition after cooking, providing a healthy fat and smooth contrast. A few fresh arugula leaves or spinach can add a peppery, green bite. Even a sprinkle of everything bagel seasoning before air frying can add a unique savory crunch!
Serving Your Air Fryer Tuna Melt
The best part about this incredibly easy and delicious **tuna melt recipe** is how quickly it goes from prep to plate. As one of the most efficient **air fryer recipes**, your tuna melt will typically be ready to serve in just 4-5 minutes after it enters the air fryer basket. Once you see that golden-brown bread and the beautifully melted, bubbly cheese, it’s time to enjoy!
While this sandwich is hearty enough to be a meal on its own, pairing it with complementary side dishes can create a complete and satisfying experience. Here are some fantastic ideas to serve alongside your crispy tuna melt:
- Classic Comfort: You can never go wrong with a handful of your favorite crunchy potato chips or a crisp dill pickle spear. These traditional accompaniments offer a satisfying textural contrast.
- Fresh & Healthy Options: For a lighter meal, consider a vibrant green salad tossed with a simple vinaigrette. A bowl of fresh, seasonal fruit adds a sweet and refreshing element, or a side of steamed vegetables like broccoli, green beans, or asparagus can balance the richness of the sandwich.
- Warm & Hearty Sides: A cup of warm tomato soup or a creamy bisque makes an excellent dipper for your tuna melt, creating a truly comforting and classic pairing. Sweet potato fries, onion rings (also great in the air fryer!), or a scoop of creamy coleslaw are also wonderful additions.
- Flavorful Dips: Beyond classic ketchup, try offering a small bowl of tangy Dijon mustard for dipping, or if you enjoy a little heat, a side of sriracha mayo or a dash of your favorite hot sauce.
Whether you choose to enjoy this delightful sandwich on its own or with a selection of tasty sides, you absolutely can’t go wrong with making this fun, fast, and incredibly easy dinner or lunch recipe!
Storing and Reheating Air Fryer Tuna Melts
While the absolute best way to experience this **air fryer tuna melt recipe** is undoubtedly fresh out of the air fryer – when the bread boasts its maximum crispiness and the cheese is perfectly melted and piping hot – we understand that sometimes leftovers are inevitable. It’s true that the signature crunchy texture of those golden-brown edges is at its peak immediately after cooking, and storing and reheating can, at times, diminish that delightful quality.
However, if you do find yourself with extra servings, here’s the best approach to store and reheat them:
- Proper Storage: First, allow any leftover tuna melt to cool completely to room temperature. This is important to prevent condensation buildup, which can make the bread soggy during storage. Once cooled, transfer the sandwich to an airtight container. Store it promptly in the refrigerator for up to 1-2 days. Keeping it sealed tightly helps maintain freshness and prevents the bread from drying out too much.
- Reheating for Best Crispiness (Air Fryer): To revive as much of that initial crispiness as possible, your best bet is to reheat your tuna melt in the air fryer. Place the cold sandwich back into the air fryer basket (you might want to use a fresh piece of parchment paper). Reheat at 350°F (175°C) for 3-5 minutes, or until it’s thoroughly warmed through and the cheese is re-melted and bubbly. Always keep a close eye on it to prevent over-browning or burning. This method helps bring back a good portion of the original crunch.
- Quick Reheating Method (Microwave): If time is of the essence and you’re not overly concerned about the crisp factor, a quick reheat in the microwave is an option. Place the sandwich on a microwave-safe plate and heat for 30-60 seconds, or until warmed through. Be aware that this simple cooking process will result in a softer sandwich, as the microwave primarily heats by steaming, which tends to soften bread rather than crisping it. It’s a convenient choice for warming, but you’ll sacrifice some texture.
For the ultimate experience, it’s always recommended to prepare just enough to enjoy fresh. But if you have leftovers, these methods will ensure you can still savor your delicious air-fried creation!

Frequently Asked Questions About Air Fryer Tuna Melts
Here are answers to some common questions you might have about making and enjoying your air fryer tuna melt, ensuring you get the best results every time:
Can I eat this as part of a low-carb diet?
Absolutely! While the classic tuna sandwich with Texas toast isn’t traditionally low-carb, it’s remarkably easy to adapt this recipe. The flavorful tuna mixture and the melty cheese are naturally low in carbohydrates, making them ideal components. To make this delicious meal suitable for a low-carb diet, simply swap out the conventional bread for a low-carb bread alternative. Alternatively, you can enjoy the delicious tuna melt filling served in crisp lettuce cups, hollowed-out bell pepper halves, or even on a bed of greens. This allows you to savor the savory flavors of a quick lunch or easy dinner while comfortably adhering to your dietary preferences.
What’s the best way to reheat tuna melt sandwiches for optimal results?
For the crispiest and most satisfying results, reheating your tuna melt in the air fryer is highly recommended. Place the sandwich back into the air fryer basket at 350°F (175°C) for approximately 2-4 minutes, or until the bread is nicely crisp and the cheese is beautifully re-melted and bubbly. This method helps to restore much of that desirable fresh-cooked texture. If you’re short on time and convenience is your priority, a quick reheat in the microwave for 30-60 seconds will warm it through, but it will result in a softer sandwich texture. Either way, it’s a simple cooking process to get your sandwich warm and ready to enjoy again.
What are the best side dishes to pair with air fryer tuna melts?
There are countless delightful options when it comes to choosing side dishes for your air fryer tuna melt! For a timeless and easy combination, simply grab a handful of your favorite potato chips, a crisp dill pickle spear, or a refreshing side salad. If you’re looking for something more substantial or to complement the rich flavors, consider serving it with a warm bowl of creamy tomato soup (perfect for dipping!), a tangy coleslaw, or even some air-fried roasted vegetables like broccoli or asparagus. A side of fresh fruit adds a wonderful, contrasting sweetness. Don’t forget, a small dish of Dijon mustard or a dollop of sriracha mayo on the side can also elevate the dipping experience! Ultimately, whether you enjoy the sandwich solo or with delightful accompaniments, you can’t go wrong with making this fun and easy recipe!
Can I use fresh tuna instead of canned tuna for this recipe?
Yes, absolutely! While canned tuna is celebrated for its convenience, using fresh cooked tuna can elevate your tuna melt to a gourmet level. Simply grill, pan-sear, or even bake a tuna steak until cooked through, then flake it with a fork. Mix this fresh tuna with the mayonnaise, chopped boiled egg, and your desired seasonings, just as you would with canned tuna. This will impart an even fresher, more delicate flavor to your air fryer tuna melt, though it will naturally add a bit more to your preparation time.
How do I prevent the cheese from flying off in the air fryer?
It’s a common concern with the powerful air circulation in air fryers, especially with lighter shredded cheeses! To mitigate this, ensure that your cheese is gently pressed down onto the tuna mixture so it adheres well. If using shredded cheese, a slightly larger handful can sometimes help it form a cohesive layer that’s less prone to flying. Another effective trick is to use cheese slices instead of shredded cheese, as they are heavier and generally stay put better. If your air fryer model allows, you could also carefully place a lightweight, oven-safe metal rack directly over the sandwiches to hold everything in place, but always double-check your appliance’s safety guidelines.
Can I make this a closed sandwich instead of open-faced?
While this recipe is designed for an open-faced melt to maximize crispiness and ensure even cooking of the cheese, you can certainly try making it a closed sandwich. The key is to assemble the sandwich with all the fillings and then butter *both* outer sides of the bread. You may need to air fry it for a few minutes longer, perhaps flipping it halfway through, to ensure both sides are golden and the interior is heated through. Just be mindful of the filling, as a very thick layer might not heat evenly in the center of a closed sandwich.
Explore More Easy Air Fryer Recipes You’ll Love
If you’re already enjoying the incredible convenience and consistently delicious results of cooking with your air fryer, then you know it’s a game-changer in the kitchen! This versatile appliance can effortlessly handle everything from quick snacks and appetizers to hearty main courses, all with remarkable speed and surprisingly minimal cleanup. Expand your culinary horizons and make the most of your air fryer with these other fantastic and easy recipes. They are perfect for adding variety to your meal rotation:
- Air Fryer Scallops: Achieve perfectly cooked, tender scallops with a beautiful golden sear in mere minutes, a truly elegant yet simple dish.
- Air Fryer Turkey Cheese Melt: Another excellent cheesy sandwich idea, ideal for transforming leftover turkey into a quick, comforting deli-style lunch or light dinner.
- Air Fryer Chicken Casserole: Discover how to make a comforting and hearty chicken casserole, surprisingly easy to prepare and bake to perfection in your air fryer.
- Air Fryer Armadillo Eggs: A fun and flavor-packed appetizer featuring spicy jalapeños, creamy cheese, and savory sausage, all cooked to a crispy, golden perfection in the air fryer.
- Air Fryer Copycat Chick Fil A Sandwich: Recreate the beloved flavors of your favorite fast-food chicken sandwich right in your own kitchen with the efficiency of your air fryer.
We Would Love to Hear From YOU!
Let Us Know What You Think!
Be sure to leave a review of this recipe and give it a star rating. Your feedback is invaluable, helping us understand how we’re doing and letting other enthusiastic cooks know they should definitely give this recipe a try!
Tag Us In Your Photos! Are you an active member of the Facebook community? If so, we invite you to join our vibrant Easy Air Fryer Recipes Group (boasting over a million Air Fryer Foodie Fans!) and share your wonderful culinary creations there! We absolutely love seeing your delicious dishes and how you bring our recipes to life.
Love Watching TikTok? Follow along with our exciting recipe demonstrations and quick tips on TikTok @airfryingfoodie. Get inspired by short-form videos and join our growing community!
Are you on Instagram? Make sure to follow us and don’t forget to TAG US in your posts @airfryingfoodie. We can’t wait to see your photos and share your passion for air frying!
Have a Question or General Feedback?
Don’t hesitate to scroll down to the COMMENT section below and let us know your thoughts! We are always eager to help with any questions you might have and truly appreciate all feedback on our posts, as it helps us to continually improve and share even better content with you.
Air Fryer Tuna Melt
Rate
Equipment
-
1 Air Fryer
Ingredients
-
2 slices Texas toast (or sourdough/preferred bread) -
5 ounces canned albacore tuna, well-drained -
2 tsp mayonnaise (or light mayonnaise) -
1 large boiled egg, finely chopped -
1 small tomato, thinly sliced -
1 tablespoon butter, softened -
1/2 cup shredded cheese (Monterrey Jack, Cheddar, or your favorite), or 2 slices -
Salt and freshly ground black pepper to taste
Prevent your screen from going dark
Instructions
-
Spread a light, even layer of softened butter on one side of each piece of bread. This buttered side will be placed face down in the air fryer basket to achieve a perfect golden crisp.
-
Carefully cut the tomato into thin, consistent slices. These will add a fresh, juicy element to your tuna melt without making it soggy.
-
Place the buttered bread slices, buttered side down, directly into the air fryer basket. Ensure there’s a little space between them for optimal air circulation.
-
In a small mixing bowl, combine the well-drained tuna, mayonnaise, and chopped boiled egg. Mix thoroughly until creamy and perfectly combined, then season with salt and pepper to your preference.
-
Generously cover each bread slice with the prepared tuna mixture. Next, layer one or two slices of fresh tomato on top of the tuna. Finally, crown each sandwich with shredded cheese and a final sprinkle of salt and pepper.
-
Air fry the open-faced tuna melt at 370 degrees F (185 degrees C) for 3-5 minutes. Cook until the bread is golden brown and crispy, and the cheese is beautifully melted and bubbly. Keep a close eye on it during the last minute or two!
Nutrition
Calories: 65kcal
,
Carbohydrates: 0.2g
,
Protein: 8g
,
Fat: 3g
,
Saturated Fat: 1g
,
Polyunsaturated Fat: 1g
,
Monounsaturated Fat: 1g
,
Trans Fat: 0.003g
,
Cholesterol: 60mg
,
Sodium: 106mg
,
Potassium: 79mg
,
Sugar: 0.2g
,
Vitamin A: 87IU
,
Calcium: 13mg
,
Iron: 1mg
Nutrition information is automatically calculated, so should only be used as an approximation.
Like this? Leave a comment below!
