Mastering Air Fryer Cleaning: A Comprehensive Guide for Optimal Performance
Air fryers have revolutionized home cooking, offering a healthier and often faster way to enjoy your favorite crispy foods. As one of the most beloved kitchen appliances, an air fryer quickly becomes indispensable. However, to keep it performing at its best and to ensure delicious, smoke-free meals, regular cleaning is essential. While the idea of cleaning kitchen gadgets might seem daunting, maintaining your air fryer is surprisingly straightforward once you know the right techniques. This comprehensive guide is designed to walk you through every step of cleaning your air fryer, making the process simple for both new owners and seasoned air frying enthusiasts alike.
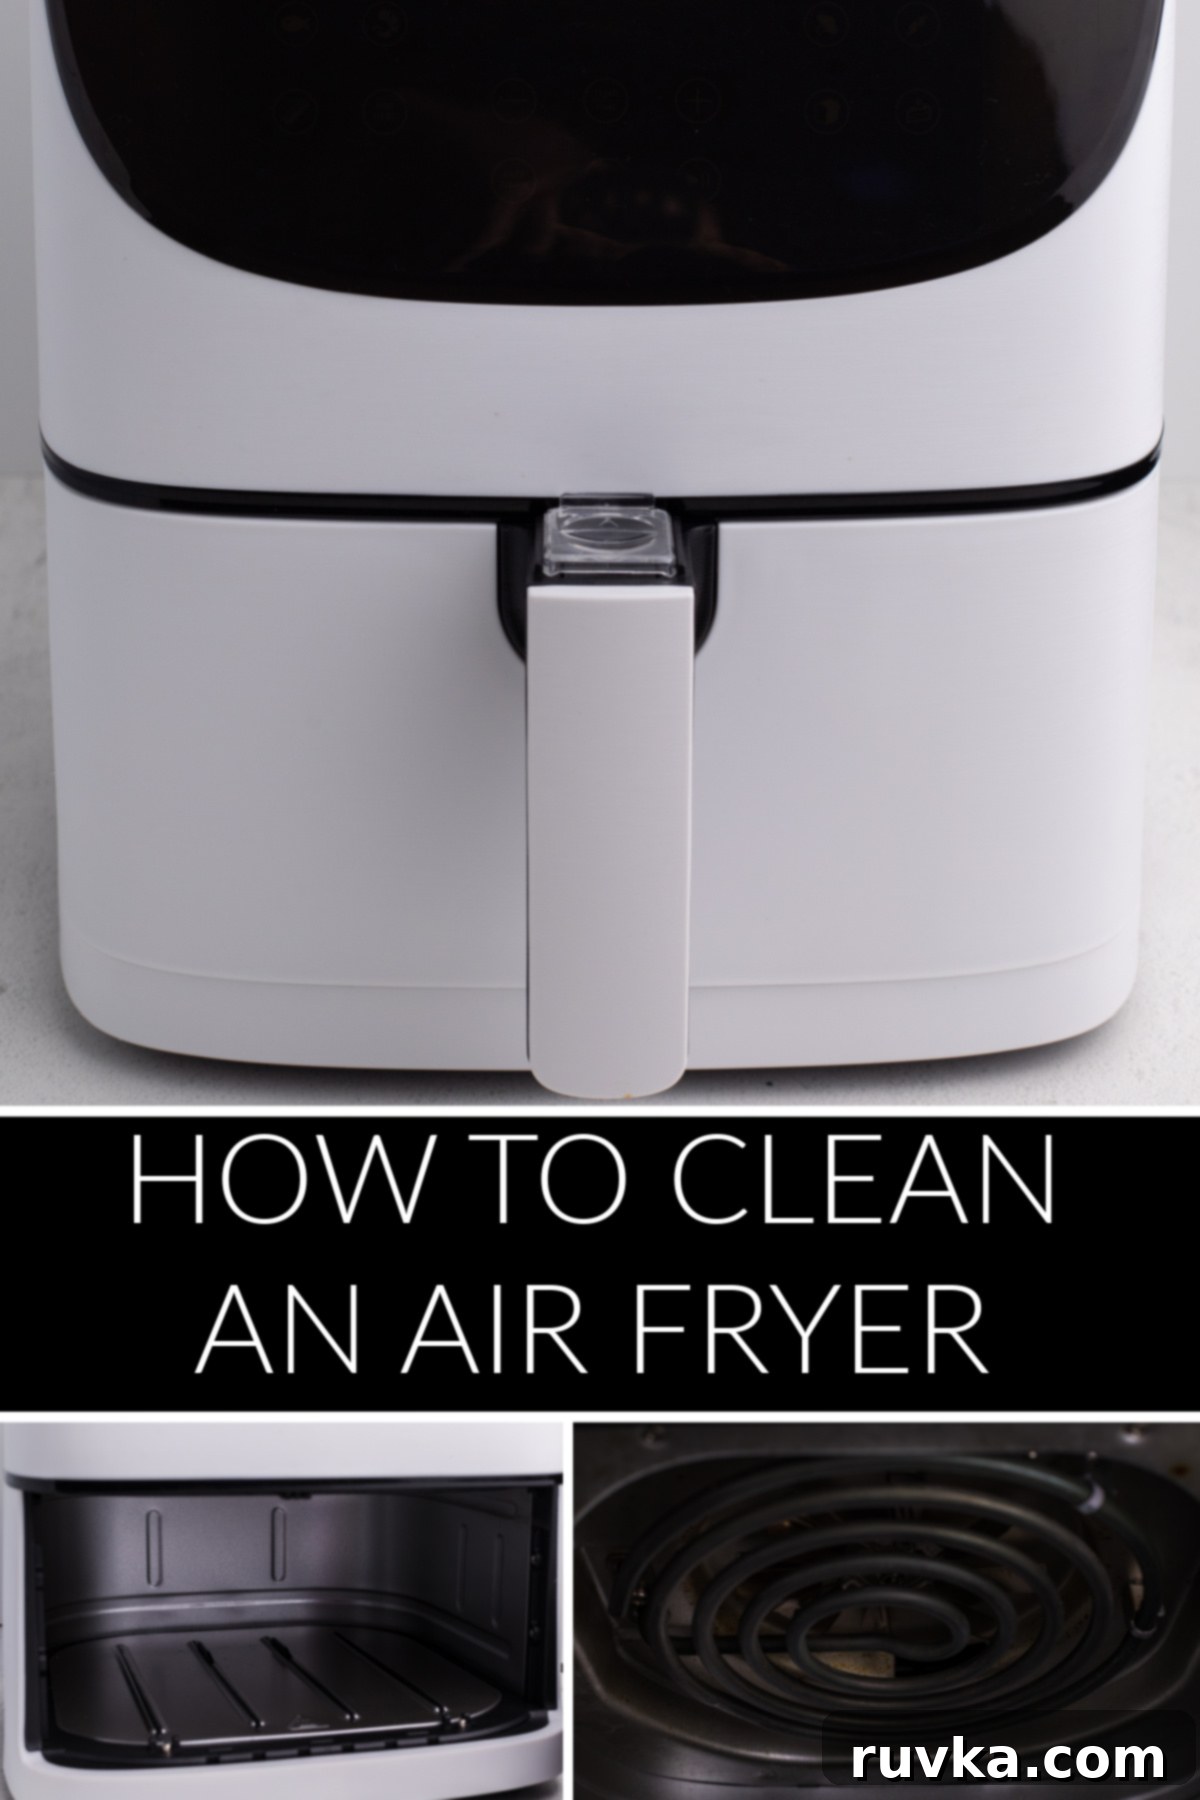
Keeping your air fryer spotless is very easy, and you’re about to discover a treasure trove of tips and tricks that will make your dirty appliance sparkle like new. Whether you’ve recently enjoyed a juicy Air Fryer Whole Chicken or crispy Air Fryer Chicken Wings, you know that certain foods can leave behind stubborn grease and grime. This isn’t just about cleaning the visible parts like the basket or racks; it’s also crucial to thoroughly clean around and even behind the heating element to maintain optimal performance and prevent unpleasant odors or smoke.
Why Regular Air Fryer Cleaning is Essential
A clean air fryer isn’t just about aesthetics; it directly impacts your cooking experience and the longevity of your appliance. Here’s why making cleaning a regular habit is so important:
- Improved Food Taste: Leftover food particles and grease can affect the taste of your next meal, imparting stale or burnt flavors. A clean air fryer ensures fresh, delicious results every time.
- Prevents Smoke and Odors: Accumulated grease and food bits can burn during cooking, leading to smoke and unpleasant smells. Regular cleaning eliminates these residues, keeping your kitchen fresh.
- Extends Appliance Lifespan: Grease buildup, especially around the heating element, can reduce your air fryer’s efficiency and potentially cause damage over time. Proper maintenance helps prolong its life.
- Ensures Food Safety and Hygiene: Like any cooking appliance, an air fryer can harbor bacteria if not cleaned regularly. A clean air fryer is a hygienic air fryer.
- Maintains Efficiency: When the heating element and fan are free of obstruction, your air fryer can circulate hot air more effectively, leading to perfectly cooked food in less time.
What Items Do I Need to Clean an Air Fryer?
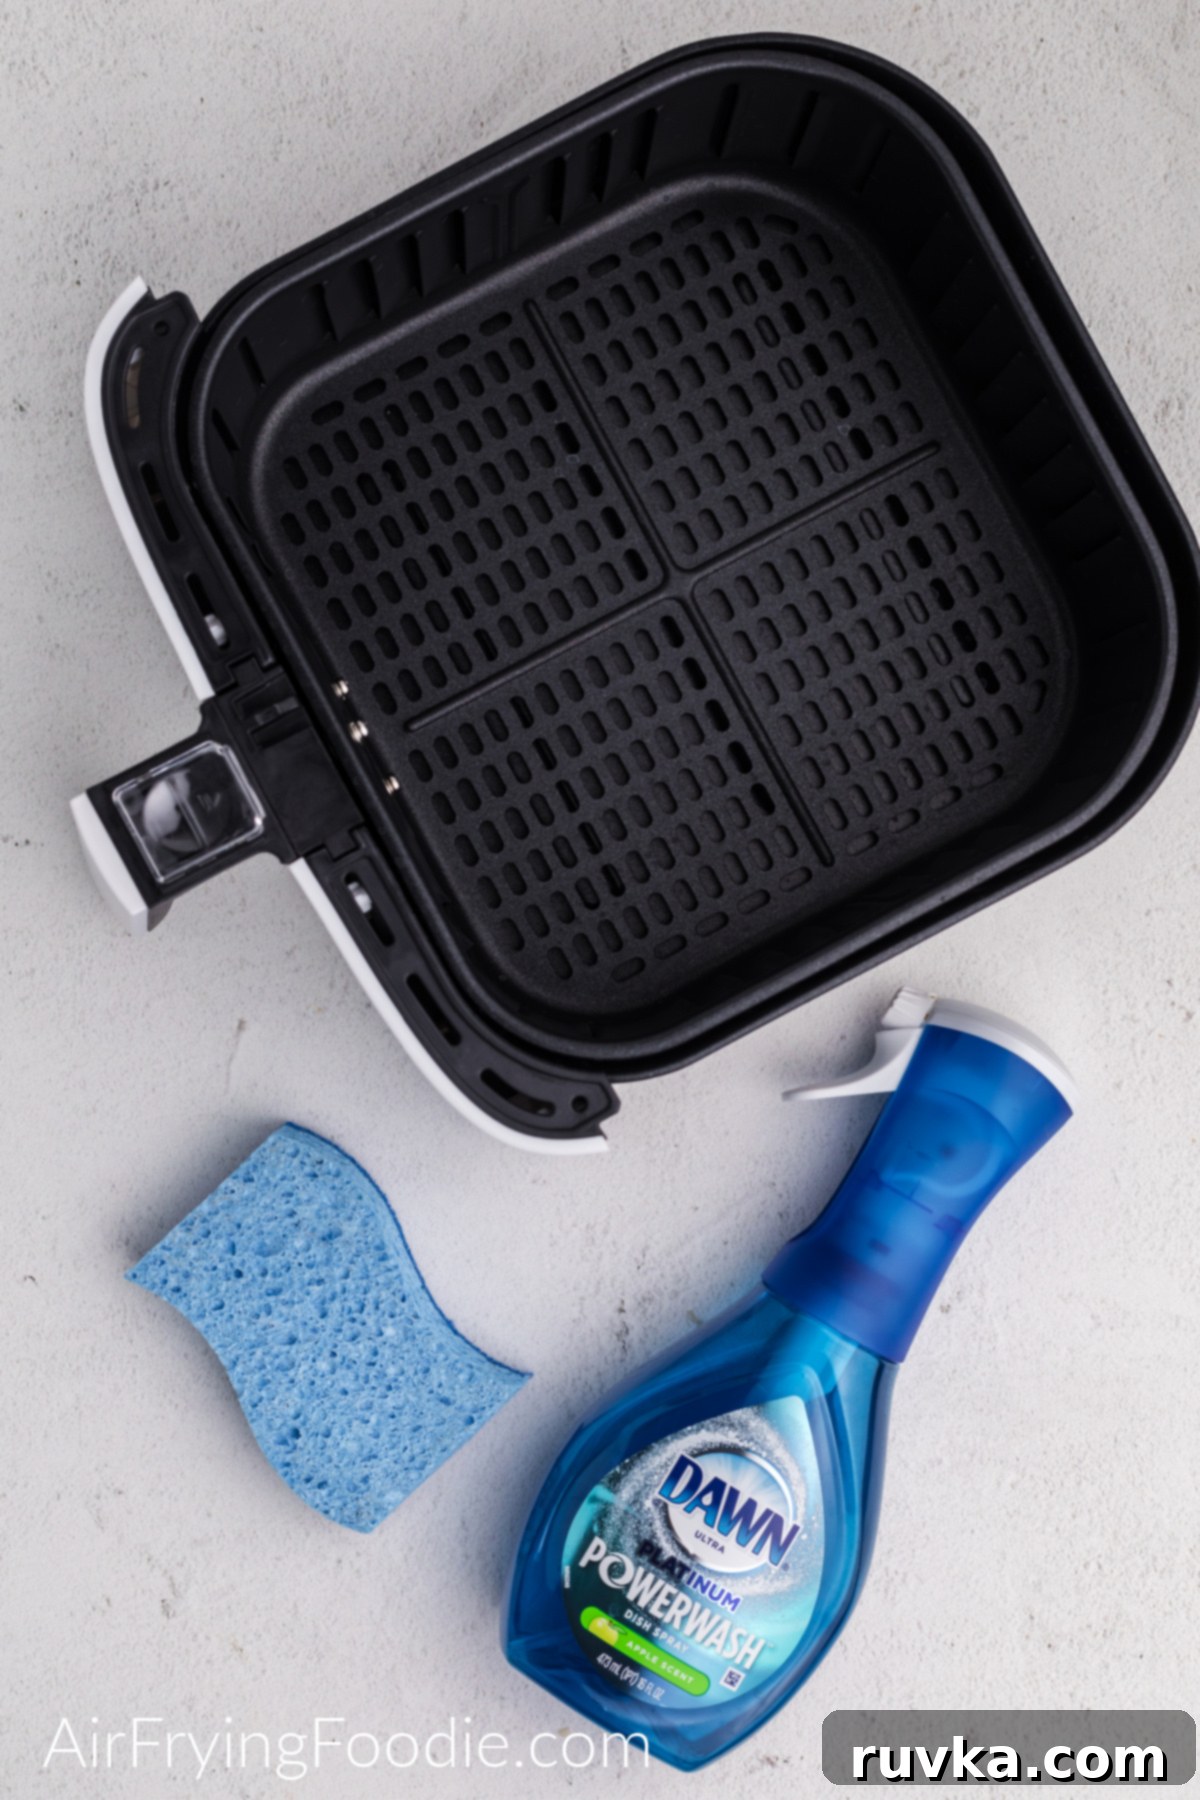
Before you begin your air fryer cleaning mission, gather these essential supplies. Having them on hand will make the process much smoother:
- Bowl of Hot Water: For soaking parts and creating soapy solutions.
- Dish Soap: A good quality dish soap, like Dawn or Dawn Power Wash, is excellent for cutting through grease and dissolving food residue.
- Damp Cloths: Several clean, soft cloths for wiping surfaces. Microfiber cloths work wonderfully.
- Paper Towels: Useful for initial wipe-downs, drying, and reaching tricky spots.
- Old Toothbrush or Small Cleaning Brush: Indispensable for scrubbing tight corners and the heating element without causing damage.
- Soft Sponge: Look for one with a non-abrasive scrubber side to gently tackle stuck-on food without scratching non-stick coatings.
- Baking Soda (Optional): For stubborn stains and deodorizing.
- White Vinegar (Optional): Excellent for cutting grease and eliminating odors.
How Does an Air Fryer Work? Understanding for Better Cleaning
To effectively clean your air fryer, it helps to understand its mechanics. Air fryers operate by using powerful fans and a heating element to rapidly circulate superheated air around your food. This convection cooking method creates a crispy, “fried” texture with significantly less oil than traditional deep frying. Because of this constant air circulation, not only does the food get cooked, but grease and food particles can also be blown onto the interior walls, the fan, and especially the heating element at the top.
Before using a new air fryer for the first time, always make sure to remove all packaging, stickers, and inserts, and thoroughly read the owner’s manual. A smart practice I’ve found helpful is to run the empty air fryer on high heat for about 15 minutes. This helps burn off any manufacturing oils, removes any “new appliance” smell, and allows it to cool before its first use with food. This simple step ensures a fresh start for what’s sure to become your favorite countertop appliance.
Safety First: Before You Begin Cleaning
Your safety is paramount. Always adhere to these critical steps before you start cleaning your air fryer:
- Unplug the Air Fryer: Always ensure the appliance is completely disconnected from any power source.
- Allow it to Cool Completely: Never attempt to clean a hot air fryer. Give it ample time to cool down to room temperature to prevent burns and damage to the appliance.
- Gather All Supplies: Have everything you need within reach to ensure a smooth and efficient cleaning process.
- Consult Your Manual: Every air fryer model can have slight variations. Always refer to your specific air fryer’s instruction manual for any particular cleaning instructions or warnings.
Step-by-Step: How to Clean an Air Fryer
Cleaning the Air Fryer Basket and Drawer
The basket and drawer are the parts that come into direct contact with food, so they require the most frequent cleaning. Most air fryer baskets are designed to be non-stick, making them relatively easy to clean.
- Remove Food Particles: Once the air fryer has cooled, carefully remove the basket and drawer. Dislodge any loose food crumbs or larger debris into the trash.
- Hand Wash: Fill your sink or a basin with warm, soapy water (using a grease-cutting dish soap like Dawn). Submerge the basket and drawer, allowing them to soak for 10-15 minutes if there’s significant buildup.
- Gentle Scrub: Use the soft side of a sponge or a soft cloth to gently scrub away food residue and grease. For stubborn spots, the non-abrasive side of your sponge can be used carefully. Avoid harsh scrubbers that could damage the non-stick coating.
- The Dawn Powerwash Trick: For exceptionally greasy messes, I highly recommend spraying the basket and drawer generously with Dawn Powerwash. Let it sit for a few minutes – this stuff works wonders on baked-on grease! After a short soak, wash thoroughly with warm soapy water and rinse completely.
- Dishwasher Safe? Check your air fryer’s manual to see if the basket and drawer are dishwasher safe. If so, clear off any large food particles first, then place them in the dishwasher. Even if dishwasher safe, hand washing often helps preserve the non-stick coating over time.
- Rinse and Dry: Rinse all parts thoroughly with warm water to remove all soap residue. Dry completely with a soft cloth or paper towel before reassembling or storing. This prevents water spots and ensures hygiene.
Cleaning the Main Unit: Interior and Exterior
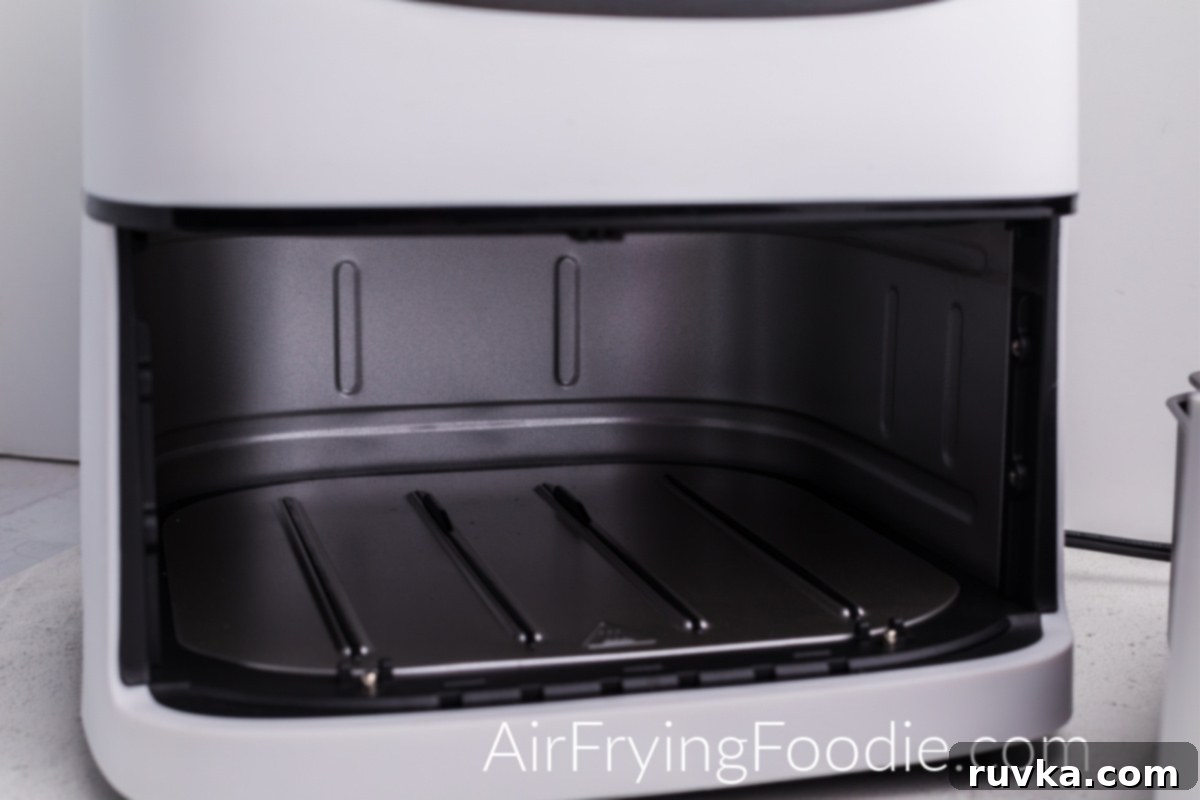
Don’t forget the interior walls of your air fryer! Grease and food splatters can accumulate here, affecting performance and causing odors.
- Interior Walls: Dampen a soft cloth or paper towel with a small amount of dish soap diluted in water. Gently wipe down the interior walls of the air fryer, removing any food debris or grease. For tougher spots, a slightly more concentrated soapy solution can be used.
- Rinse and Wipe: Follow up with a clean, damp cloth (moistened with plain water) to wipe away any remaining soapy residue. It’s crucial to ensure no soap is left behind.
- Exterior Cleaning: For the outside of the air fryer, a simple damp cloth is usually all you need to wipe away dust, fingerprints, or light spills. Avoid harsh chemicals that could damage the finish.
- Air Fryer Racks: If your model has removable racks, treat them similarly to the basket. Use a scrub brush with warm soapy water to dislodge any stuck-on food particles. Soaking them for a while can also be very effective. Rinse thoroughly and dry.
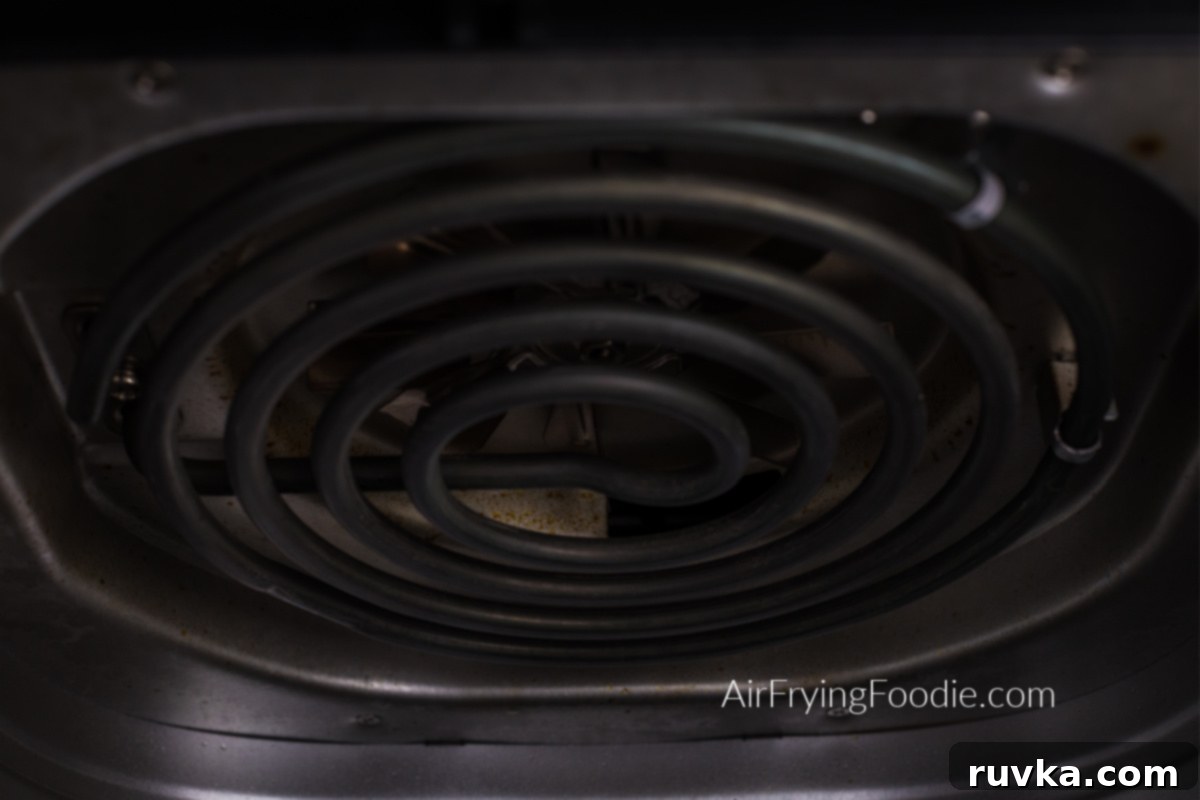
How to Clean the Heating Element of the Air Fryer
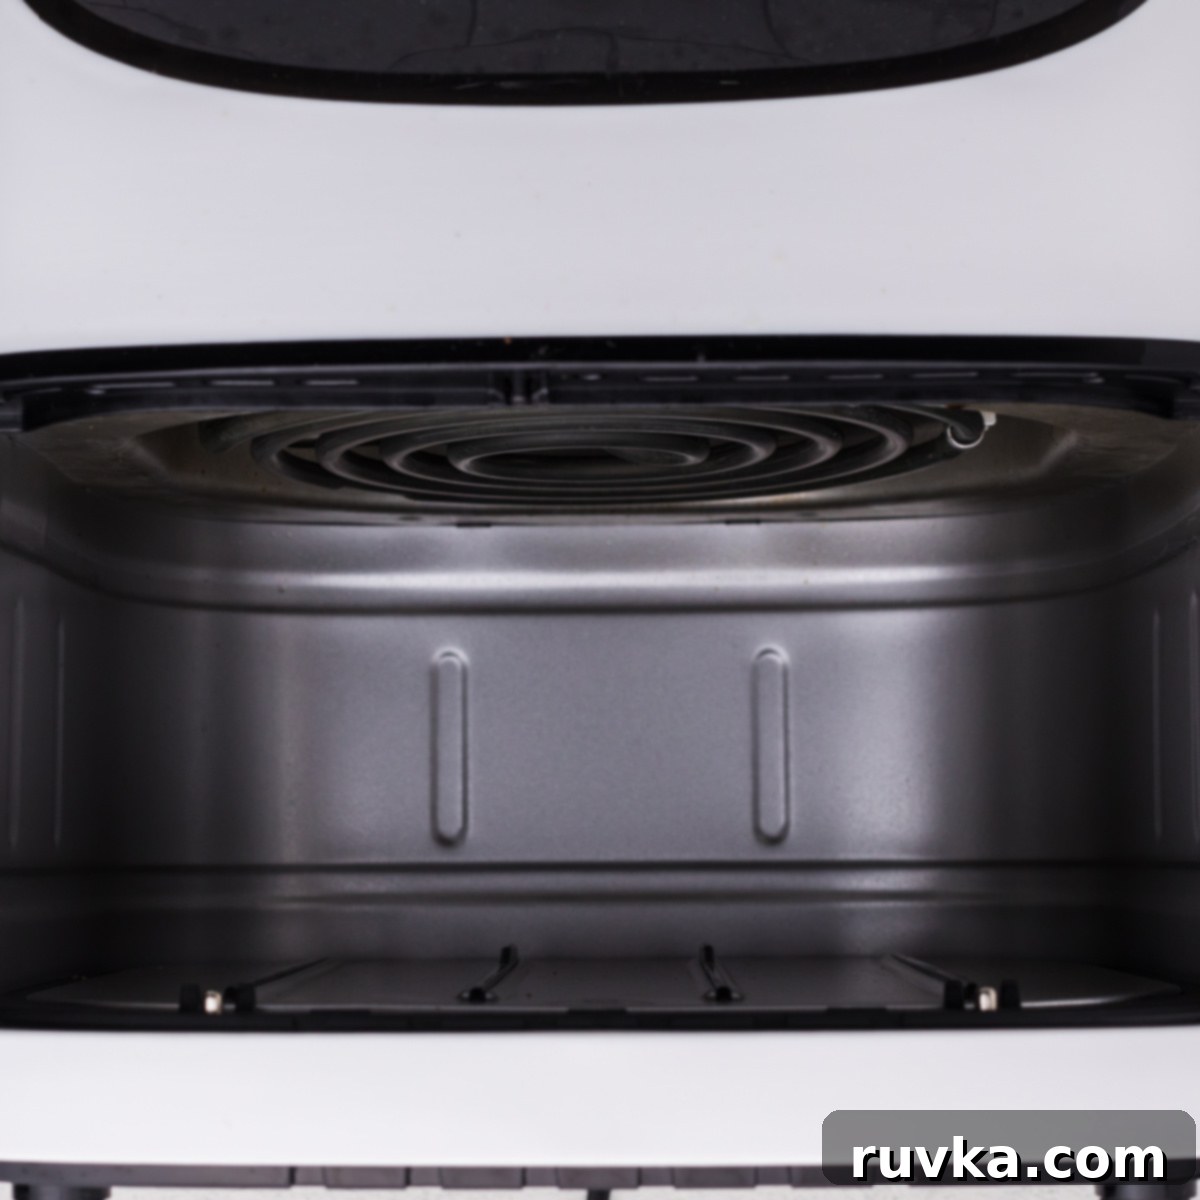
The heating element, located at the top interior of your air fryer, is often overlooked but critical for proper function. Grease can accumulate here and lead to smoking during future uses. Approach this area with care.
- Visibility: For easier access, you might gently tip your air fryer upside down (ensuring it’s unplugged and cooled) to get a better view of the heating element.
- Gentle Scrub: Dip an old toothbrush or a small, soft cleaning brush into a bowl of warm, soapy water. Gently scrub any food particles or grease buildup from the heating coils. Be careful not to apply too much pressure or bend the element.
- Wipe Clean: Once you’ve scrubbed the visible areas, take a damp cloth (moistened with just water) and carefully wipe down the heating element to remove any soap residue and loosened grime.
- Behind the Element: Cleaning behind the heating element can be a little tricky due to limited space. I’ve found that using a damp, soapy paper towel, carefully maneuvered around and behind the element with a tong or a thin stick, does the trick. Once clean, use a clean, damp cloth or paper towel to wipe and dry the area thoroughly.
- Ensure Dryness: It is absolutely crucial that the heating element and surrounding areas are completely dry before you plug in and use your air fryer again.
Advanced Cleaning Tips for Stubborn Messes and Odors
Sometimes, regular cleaning isn’t enough for those extra-tough baked-on stains or lingering smells. Here are some advanced techniques:
Dealing with Stubborn Baked-On Grease
- Baking Soda Paste: For stubborn, non-stick-safe areas (like stainless steel racks or certain interior parts), make a paste of baking soda and a little water. Apply it to the stubborn spots, let it sit for 15-30 minutes, then scrub gently with a soft brush or sponge. Rinse thoroughly.
- Vinegar Solution: A mixture of equal parts white vinegar and water can work wonders on grease. Spray it on the affected areas, let it sit for a few minutes, then wipe clean. Vinegar is also excellent for breaking down mineral deposits.
- Soaking Power: For heavily soiled baskets or racks, an extended soak in very hot, soapy water (even overnight) can help loosen nearly all stubborn residue.
Removing Unpleasant Air Fryer Odors
If your air fryer retains smells from previous cooks, try these natural deodorizing methods:
- Lemon Slices: Place a few lemon slices in the air fryer basket and “air fry” them for 5-10 minutes at 350°F (175°C). The citrus scent will help neutralize lingering food odors.
- Vinegar Solution (Again!): A bowl of white vinegar placed inside the cooled air fryer for a few hours (or overnight) can absorb odors. Ensure the air fryer is off and unplugged.
- Baking Soda: Place an open bowl of baking soda inside the air fryer and leave it overnight. Baking soda is a natural odor absorber.
Preventative Measures for a Cleaner Air Fryer
Prevention is always easier than a cure. Implement these habits to keep your air fryer cleaner for longer:
- Clean After Every Use: A quick clean of the basket and drawer immediately after use (once cooled) prevents food from hardening and becoming difficult to remove.
- Use Parchment Paper Liners or Silicone Mats: These are game-changers! They catch drips and crumbs, significantly reducing the mess in the basket and drawer. Just make sure they don’t block air circulation.
- Trim Excess Fat: Before cooking fatty foods like bacon or chicken wings, trim off excess fat. This reduces the amount of grease that can splash around inside your air fryer.
- Don’t Overcrowd: Overcrowding the basket can lead to uneven cooking and more splattering. Cook in batches if necessary.
How Often Should You Clean Your Air Fryer?
The frequency of cleaning depends on how often you use your air fryer and what you cook:
- After Every Use: A quick wash of the basket and drawer is recommended after each cooking session, especially after cooking greasy foods.
- Weekly/Bi-Weekly (Light to Moderate Users): If you use your air fryer a few times a week, a more thorough clean including wiping down the interior walls should be done every week or two.
- Monthly (Heavy Users or Deep Clean): For those who use their air fryer daily or for very greasy items, a monthly deep clean, including the heating element, is crucial to prevent buildup and maintain efficiency.
If your air fryer sees regular use as mine does, then you know these comprehensive steps and tips are essential for keeping your appliance clean, efficient, and working for you for a long time to come. These practices are the best way to keep your favorite small appliance in tip-top shape, ensuring delicious results with every meal.
Ready to get started using your air fryer, now that you know how to keep it spotless? If so, we have a fantastic list of over 100+ Beginner Air Fryer Recipes that are perfect for everyone. Just browse the recipes, pick the ones you want, and print them for future use. Make sure to bookmark this page for later!
Looking for more easy and delicious air fryer recipes? You might also enjoy these listed below:
MORE AIR FRYER RECIPES:
- Air Fryer Country Style Ribs
- Air Fryer French Fries
- Keto Dinner Recipes
- Air Fryer Appetizers
- Air Fryer Side Dishes
We Would Love to Hear From YOU!
Let Us Know What You Think!
Tag Us In Your Photos! Are you on Facebook? If so, join our Easy Air Fryer Recipes Group (with hundreds of thousands of Air Fryer Foodie Fans!)and share your photos! We love to see your creations.
Have a Question or General Feedback?
Jump down to the COMMENT section and let us know! We would love to help and also love feedback on all of our posts.
